Components
BOM for REMO Robot
The following figure shows a 3D-printed Remo robot together with its components that satisfy the requirements for the ROS Navigation Stack. These parts are introduced next:
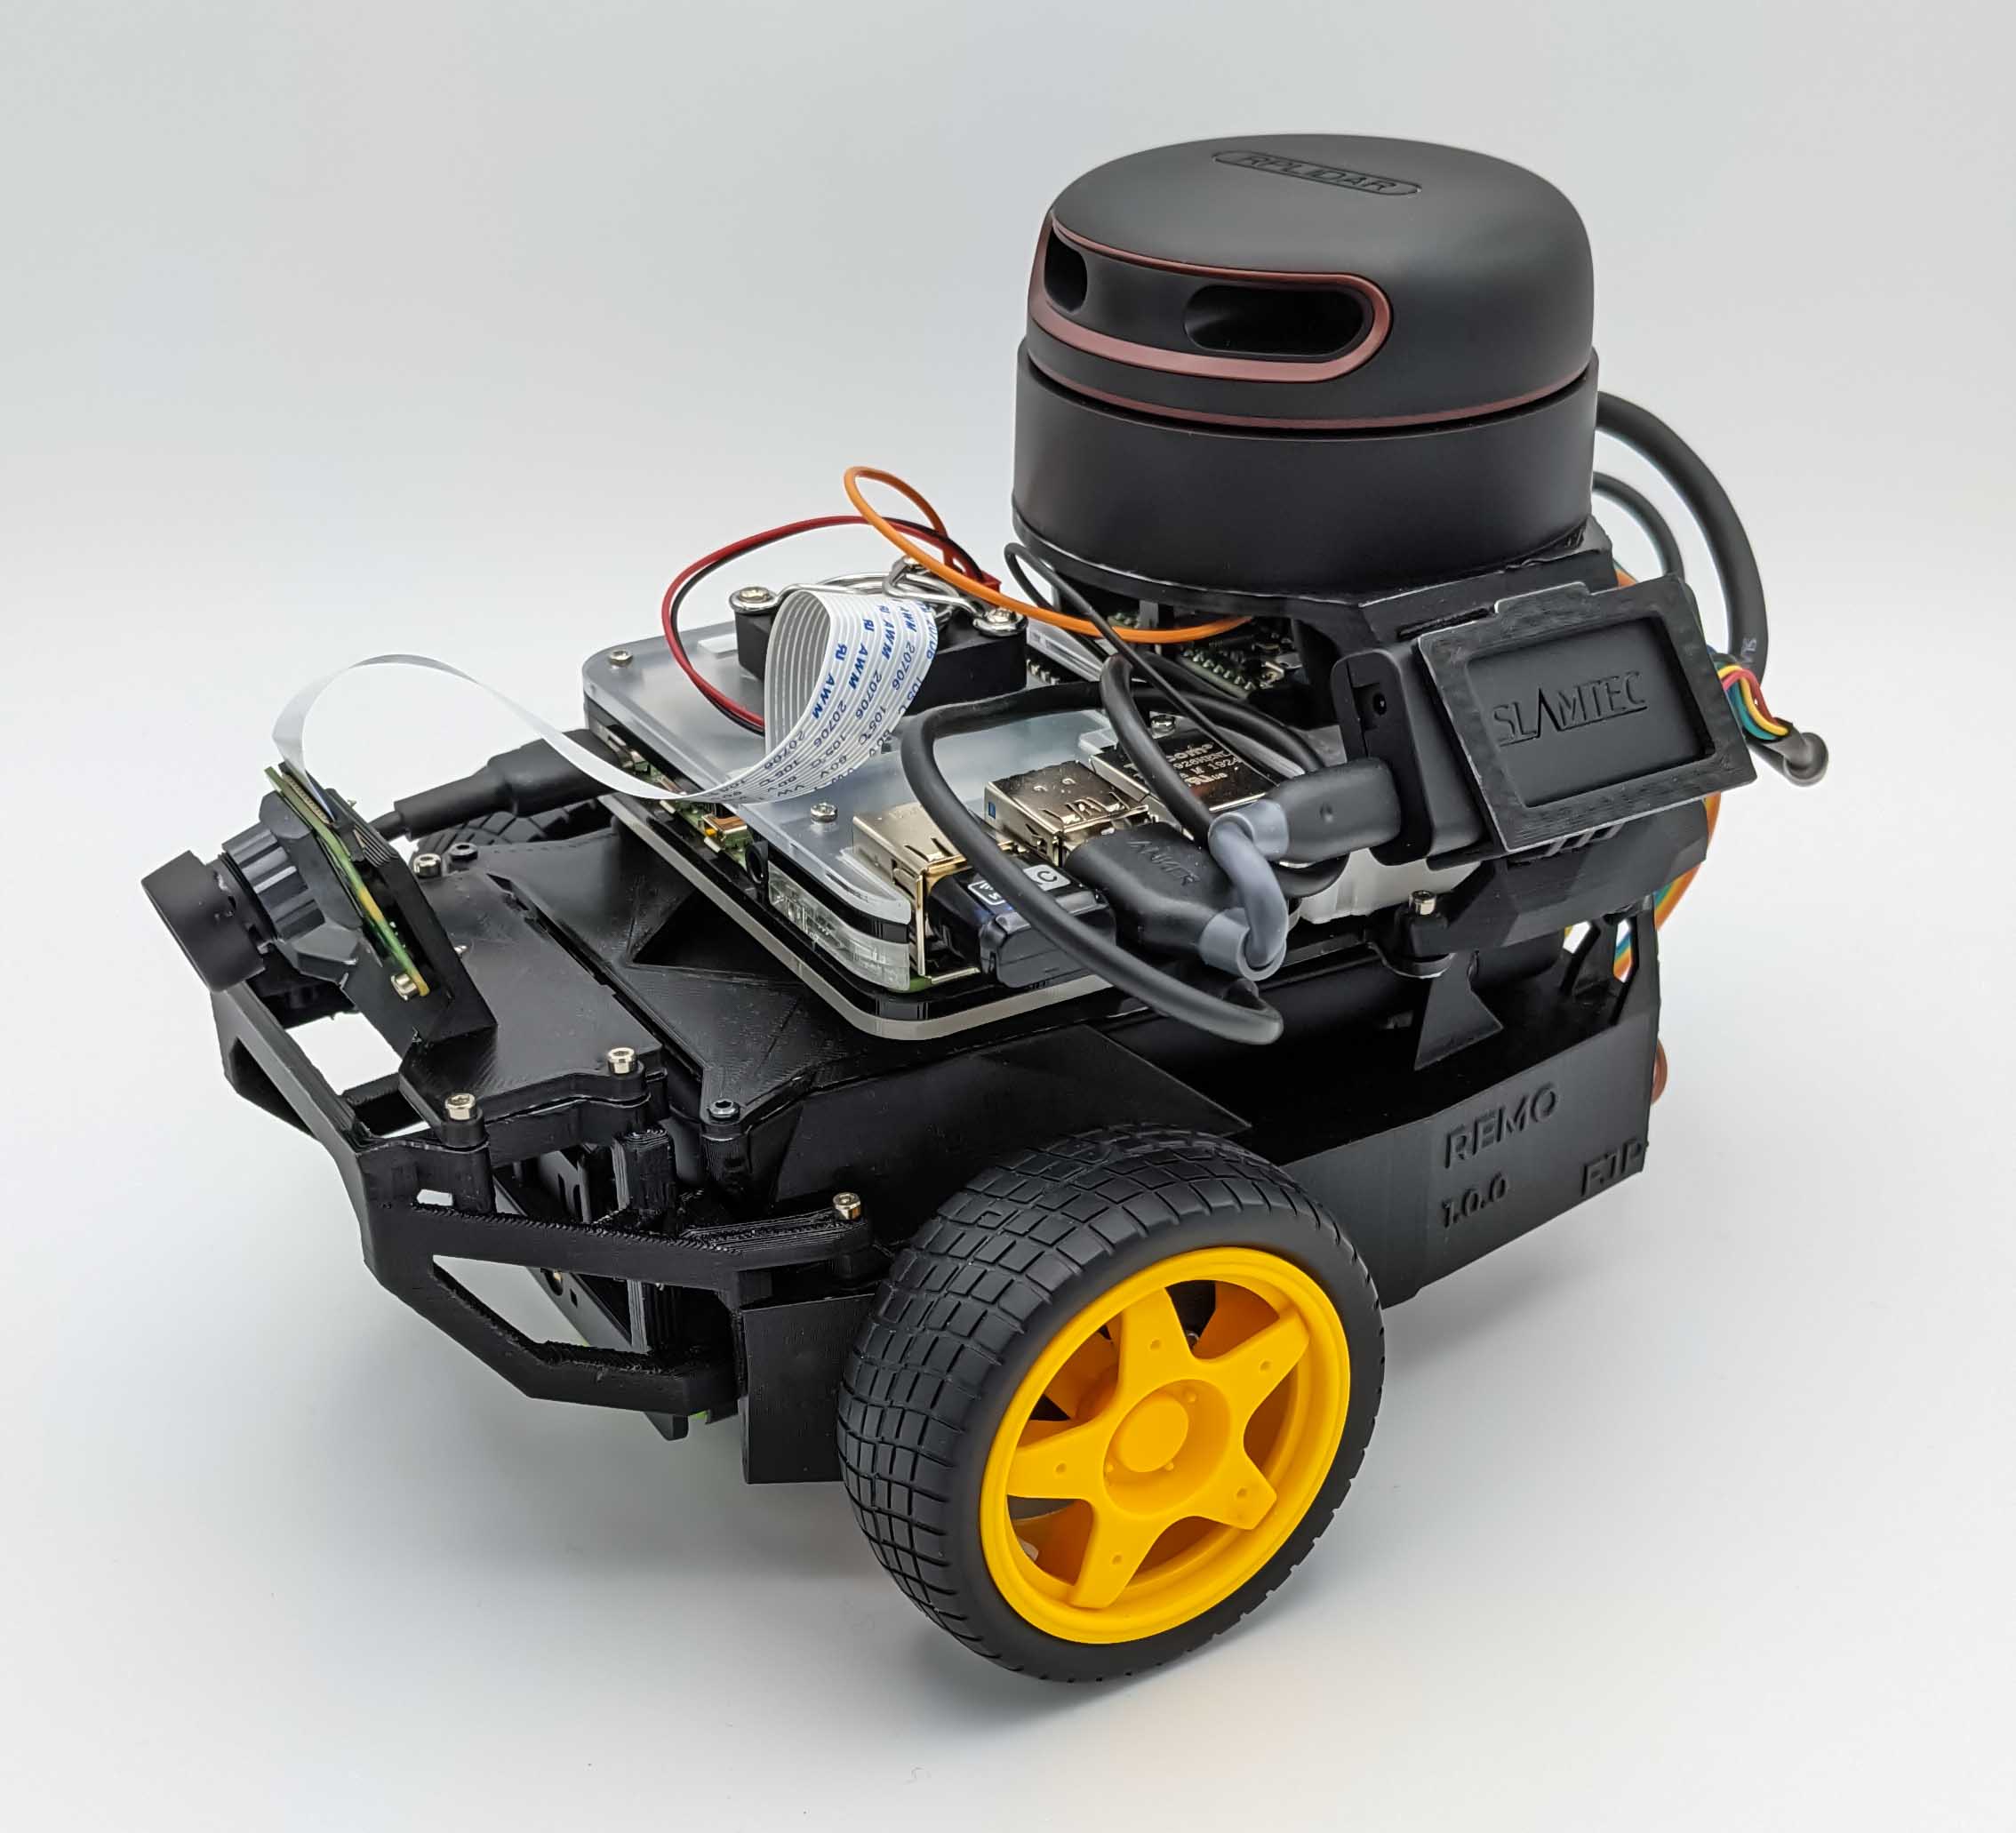
Bill of Materials (BOM) for REMO robot:
| Part | Quantity | Cost | Store | Notes |
|---|---|---|---|---|
| Raspberry Pi 4 B (4 Gb) | 1 | $55.0 | Sparkfun, Amazon.com, Amazon.de | |
| SanDisk 64 GB SD Card Class 10 | 1 | $13.99 | Amazon.com, Amazon.de | |
| SLAMTEC RPLiDAR A2M12 (12 m) | 1 | $319.00 | Robotshop, Amazon.com, Amazon.de | Other, less expensive, LiDARs will work as well, e.g., RPLiDAR A1 |
| SLAMTEC RPLiDAR A1M8 (12 m) | 1 | $99.00 | Robotshop, Amazon.com, Amazon.de | Cheaper alternative to RPLiDAR A2M8 |
| Adafruit DC Motor (+ Stepper) FeatherWing | 1 | $19.95 | adafruit.com, Amazon.us, Amazon.de | |
| Teensy 4.0 or 3.2 | 1 | $32.29 | Amazon.com, Amazon.de, PJRC Teensy 4.0 | |
| Hobby Motor with Encoder - Metal Gear (DG01D-E) | 2 | $12.50 | Amazon.com, Sparkfun | |
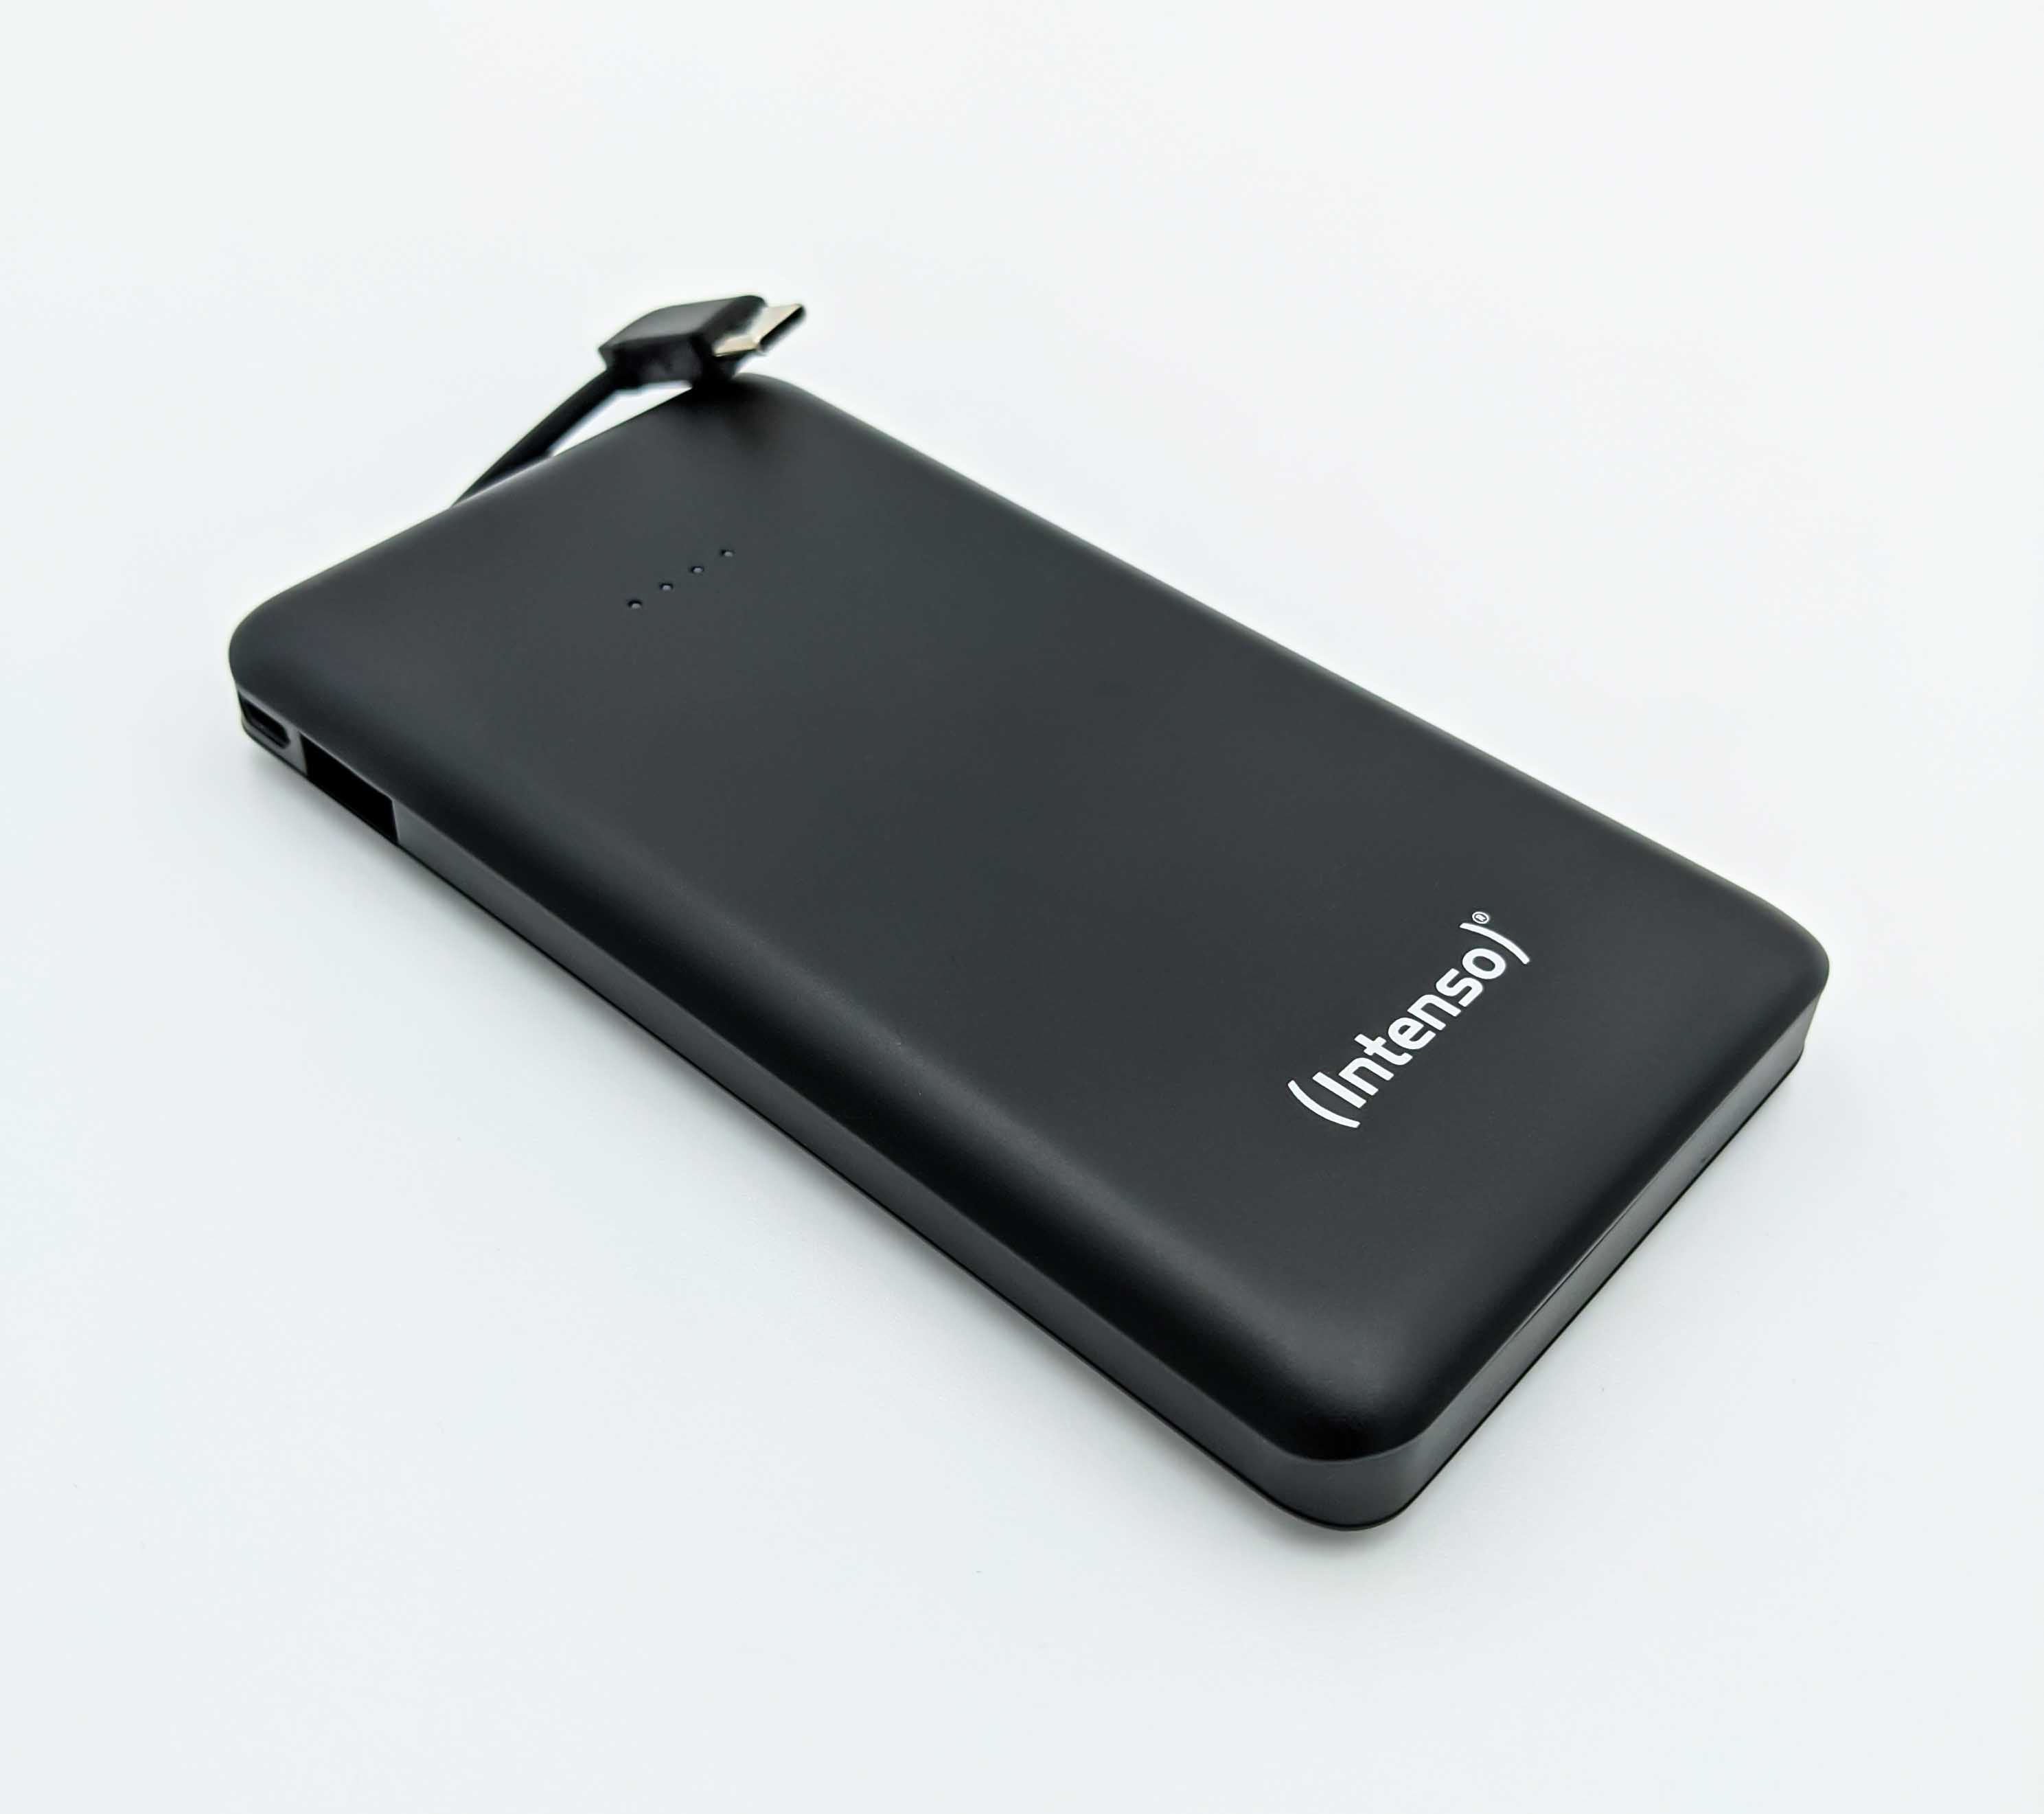
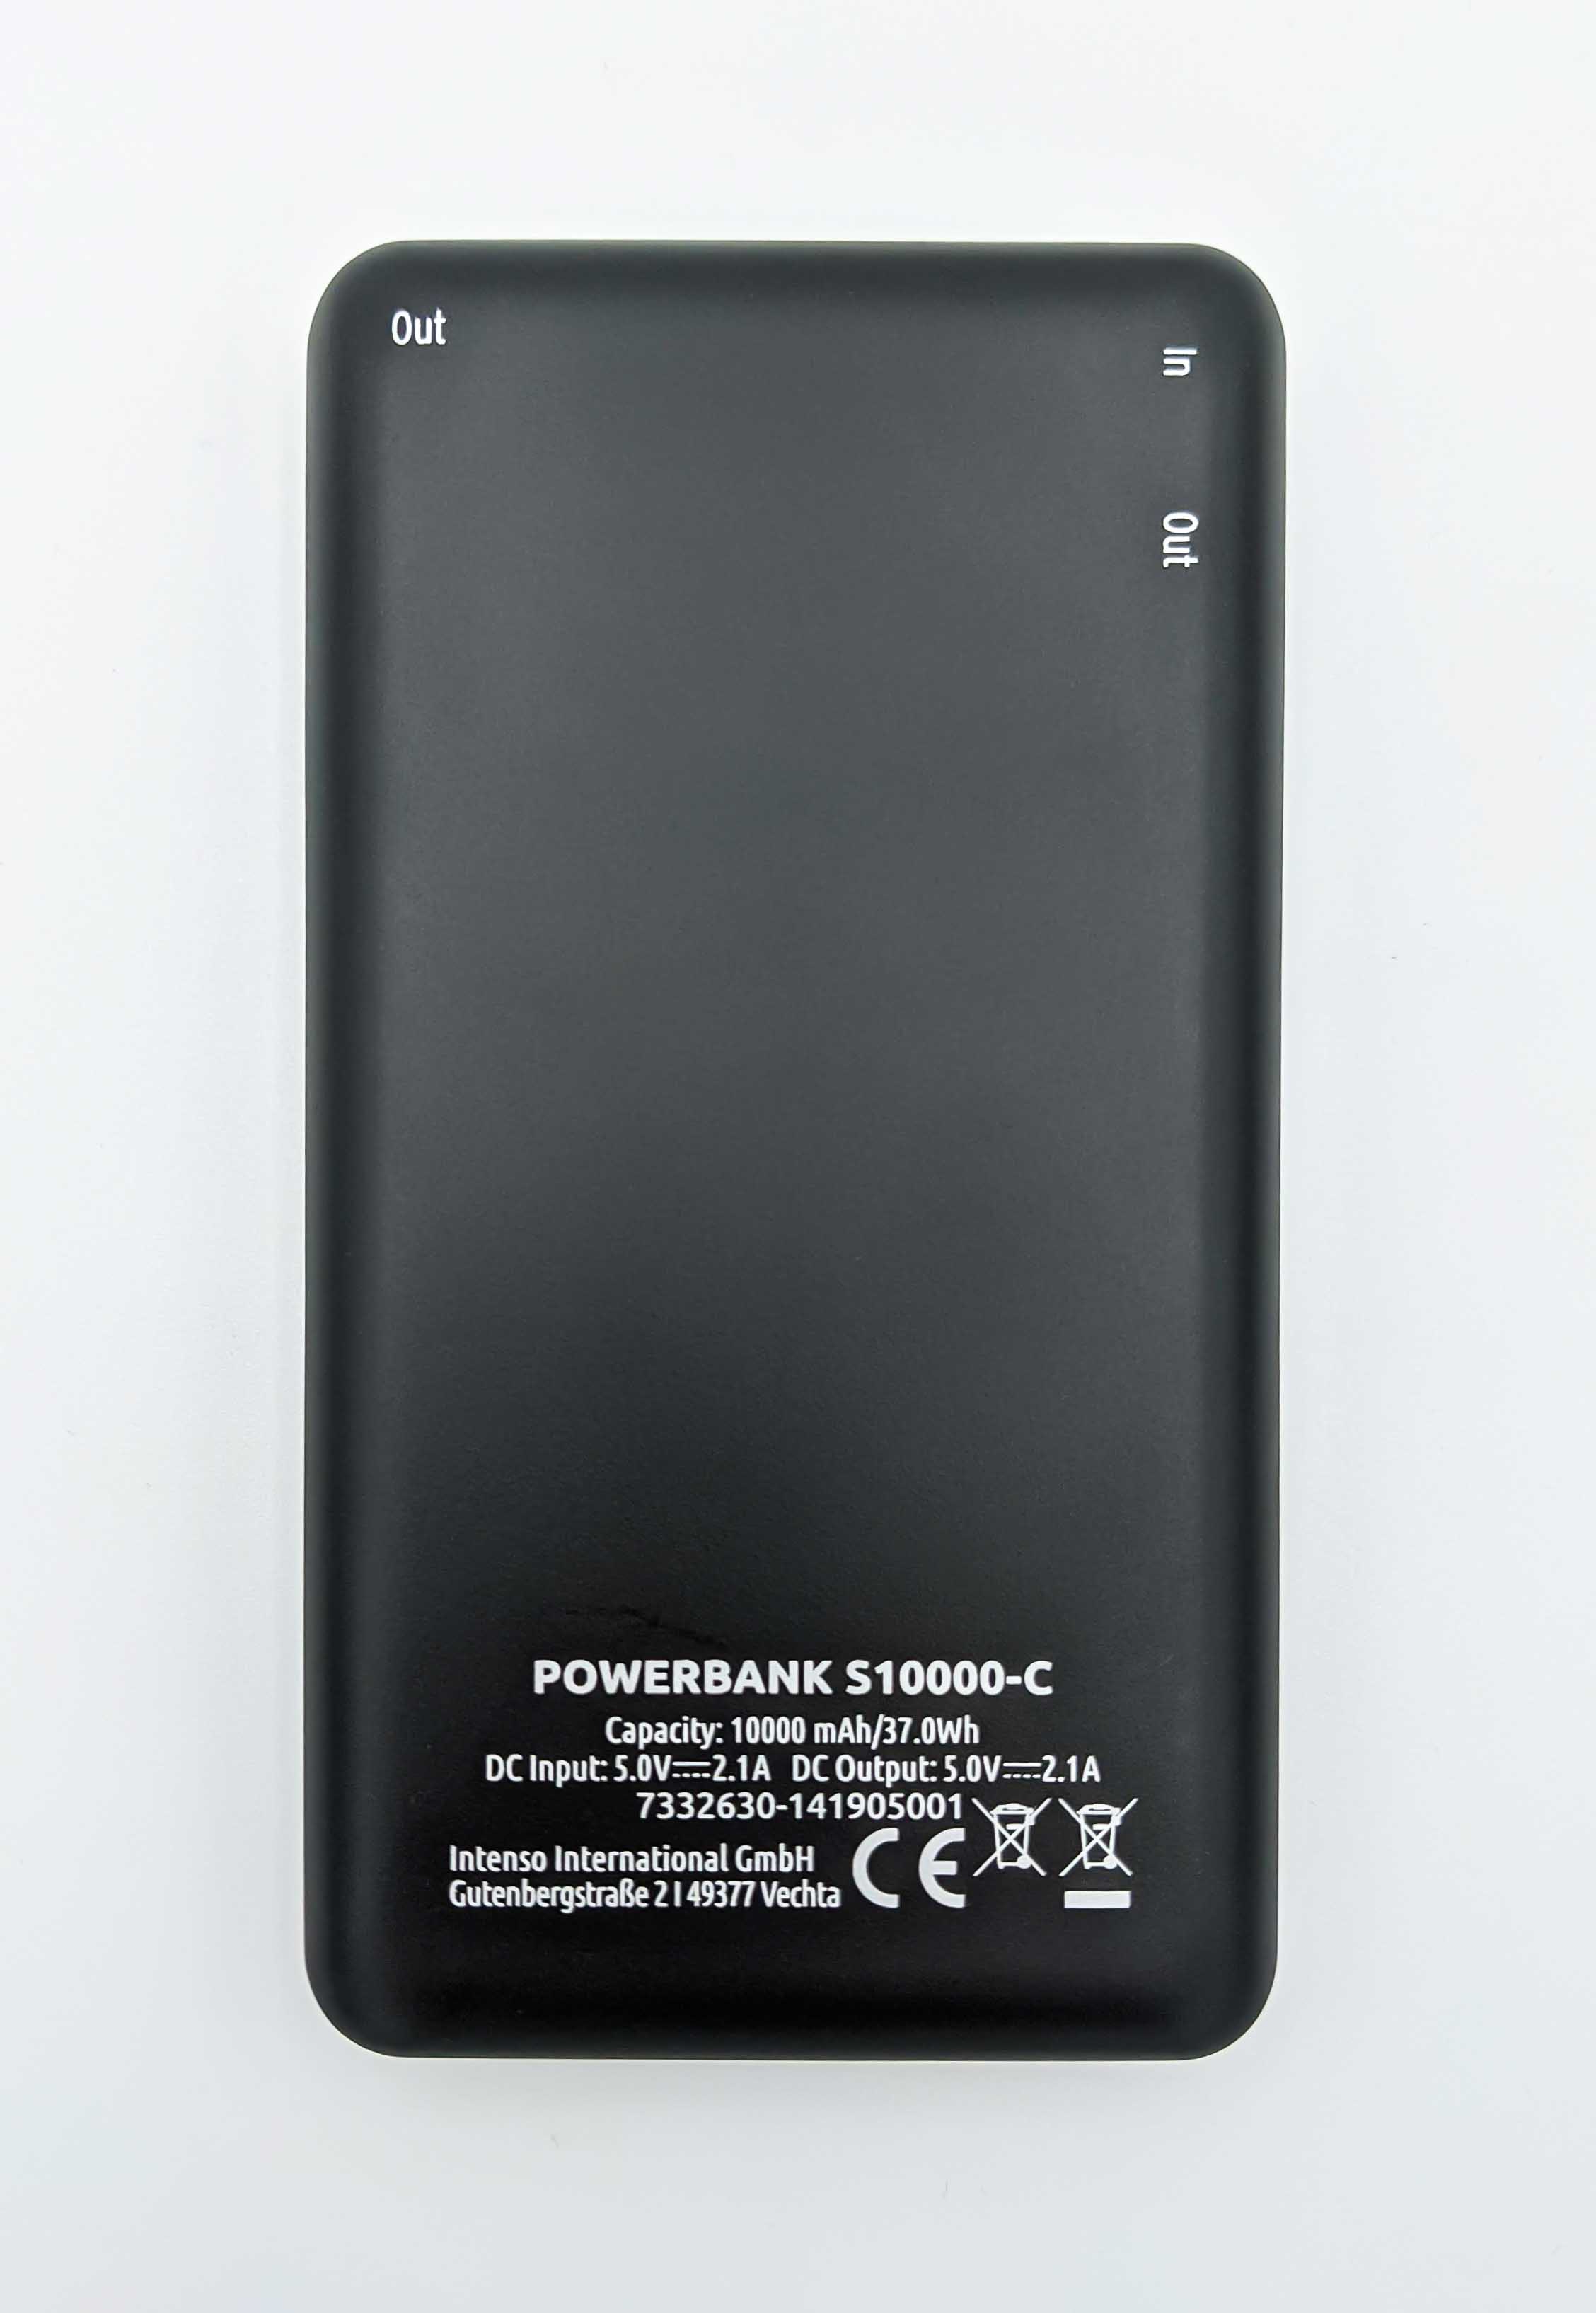
| Powerbank (e.g 15'000 mAh, or 10'000 mAh) | 1 | $23.99 | Anker 10K Amazon.com, Anker 10K Amazon.de, Amazon.de | The Powerbank from Goobay (and Anker) is close to the maximum possible size LxWxH: 135.5 x 71 x 18 mm |
| Battery pack (for four or eight batteries) | 1 | $5.59 | Amazon.com, Amazon.de | |
| USB C to USB C cable | 1 | $6.99 | Amazon.com, Amazon.de | USB C to USB C for Powerbank to SBC |
| Remo Base | 1 | -- | 3D printable, see remo_description |
|
| Caster ball | 1 | $6.30 | [Amazon.com][amazon_caster_ball], Amazon.de | 25.4 mm (1-inch) diameter; Alternatively any smooth, durable 3/4" ball bearing for the caster |
| Wheels | 2 | $3.50 | Amazon.com, Amazon.de, Sparkfun, exp-tech.de | Wheels are often part of a robotics kit or can be purchased separately |
| Power supply | 1 | $7.50 | Amazon.com, Amazon.de | USB C, 5V, 3.5A |
USB Wi-Fi Dongle (optional)
For improved connectivity use a Wi-Fi USB dongle.
| Part | Quantity | Cost | URL | Notes |
|---|---|---|---|---|
| WiFi Dongle - TP-Link Archer T2U Nano | 1 | $17.99 | Amazon.us, Amazon.de | RTL8811AU chipset |
| WiFi Dongle - TP-Link Archer T3U | 1 | $18.99 | Amazon.us, Amazon.de | RTL8812AU chipset |
| WiFi Dongle - TP-Link Archer T3U Plus | 1 | $19.99 | Amazon.us, Amazon.de | RTL8811AU chipset |
Camera Modules (optional)
The camera modules are currently optional. SLAM, localization and navigation is currently laser based. Get a camera in case you plan to do applications such as object detection, visual graph based SLAM methods, etc.
| Part | Quantity | Cost | Store | Notes |
|---|---|---|---|---|
| Raspi Camera Module V2, 8 MP, 1080p | 1 | $ | Amazon.com, Amazon.de | |
| OAK-1 | 1 | $149 | OpenCV.ai | |
| OAK-D | 1 | $199 | OpenCV.ai | |
| OAK-D Lite | 1 | -- | OpenCV.ai | Will be released |
Assembly Hardware
You need the following parts to build REMO. They come in packs, so order the quantity you need for the number of REMOs you are going to build.
| Part | Qty per REMO | Qty per pack | Cost per REMO | URL | Notes |
|---|---|---|---|---|---|
| Adhesive pads | 2 | 48 | $0.14 | optional | |
| Velcro strap | 2 | 48 | $0.14 | To fix the battery pack | |
| M2 screw (self tapping) | 20 | 100 | $1.29 | Amazon | 8mm long, self tapping |
| M2 screw | 4 | 60 | $0.47 | Amazon | 8mm long |
| M3 screw | 4 | 60 | $0.47 | Amazon | 25mm long, to fix the motors to the base frame |
| M3 nut | 4 | 100 | $0.24 | Amazon | To fix the motors to the base frame |
| M2 Brass threaded inserts | 4 | 100 | $0.24 | Amazon | |
| Jumper wires | 4 | 40 | $0.13 | Amazon | Female-female, ~20cm |
Optional parts
| Part | Quantity | Cost | Store | Notes |
|---|---|---|---|---|
| Jetson Nano | 1 | $99.00 | NVIDIA | |
| PiOLED display | 1 | $14.95 | Adafruit, Amazon | |
| PiOLED header | 1 | $5.95 | Adafruit, Amazon, Sparkfun | 2x(3+) right angle male |
Components
The following shows a more detailed part list and assembly of the robot platform and the components.
| Category | Hardware | Part Number | Data Sheet & Info |
|---|---|---|---|
| Accessories | |||
| Case for Raspberry Pi 4 B | Slim acrylic case for Raspberry Pi 4, stackable, rainbow/transparent | BerryBase | |
| Micro SD Card | SanDisk 64GB Class 10 | SanDisk, Ubuntu 18.04 Image | |
| Robot Car Kit 2WD | robot05 | Instructions manual | |
| Power bank | Intenso Powerbank S10000 | Intenso | |
| Actuator | |||
| (Deprecated) Gearbox motor | DC Gearbox motor - "TT Motor" - 200RPM - 3 to 6VDC | Adafruit | |
| DG01E-E Motor with encoder | DG01E-E Hobby motor with quadrature encoder | Sparkfun | |
| Board | |||
| Raspberry Pi 4 B | Raspberry Pi 4 B - 4 GB | OEM Website | |
| Cables | |||
| Jumper - Female to Female | |||
| Jumper - Male to Male | |||
| Micro USB - USB Cable | |||
| Camera extension cable | |||
| I2C 4 pin cable | |||
| Electronics | |||
| Fan | Fan 30x30x7mm 5V DC with Dupont connector | BerryBase | |
| I2C motor driver | Grove - I2C Motor Driver | Seeed Studio | |
| I2C Hub | Grove - I2C Hub | Seeed Studio | |
| Human Machine Interface | |||
| OLED Display | Grove OLED Display 0.96" | Seeed Studio | |
| LED Ring | NeoPixel Ring 12x5050 RGB LED | Adafruit | |
| Sensors | |||
| Camera module | Raspberry Pi - camera module v2.1 | Raspberry Pi | |
| Ultrasonic ranger | Grove - Ultrasonic Ranger | Seeed Studio | |
| IMU | Adafruit 9-DOF Absolute Orientation IMU Fusion Breakout - BNO055 | Adafruit | |
| Odometry | Joy-IT - LM393 Speed Sensor with H206 slot-type opto interrupter | Joy-IT |
Order list
| Part | Store |
|---|---|
| Raspberry Pi 4 B (4 Gb) | Amazon.com, Amazon.de |
| SanDisk 64 GB SD Card Class 10 | Amazon.com, Amazon.de |
| Robot Smart Chassis Kit | Amazon.com, Amazon.de |
| SLAMTEC RPLidar A2M8 (12 m) | Amazon.com, Amazon.de |
| Grove Ultrasonic Ranger | Amazon.com, Amazon.de |
| Raspi Camera Module V2, 8 MP, 1080p | Amazon.com, Amazon.de |
| Grove Motor Driver | seeedstudio.com, Amazon.de |
| I2C Hub | seeedstudio.com, Amazon.de |
Additional (Optional) Equipment
| Part | Store |
|---|---|
| PicoScope 3000 Series Oscilloscope 2CH | Amazon.de |
| VOLTCRAFT PPS-16005 | Amazon.de |
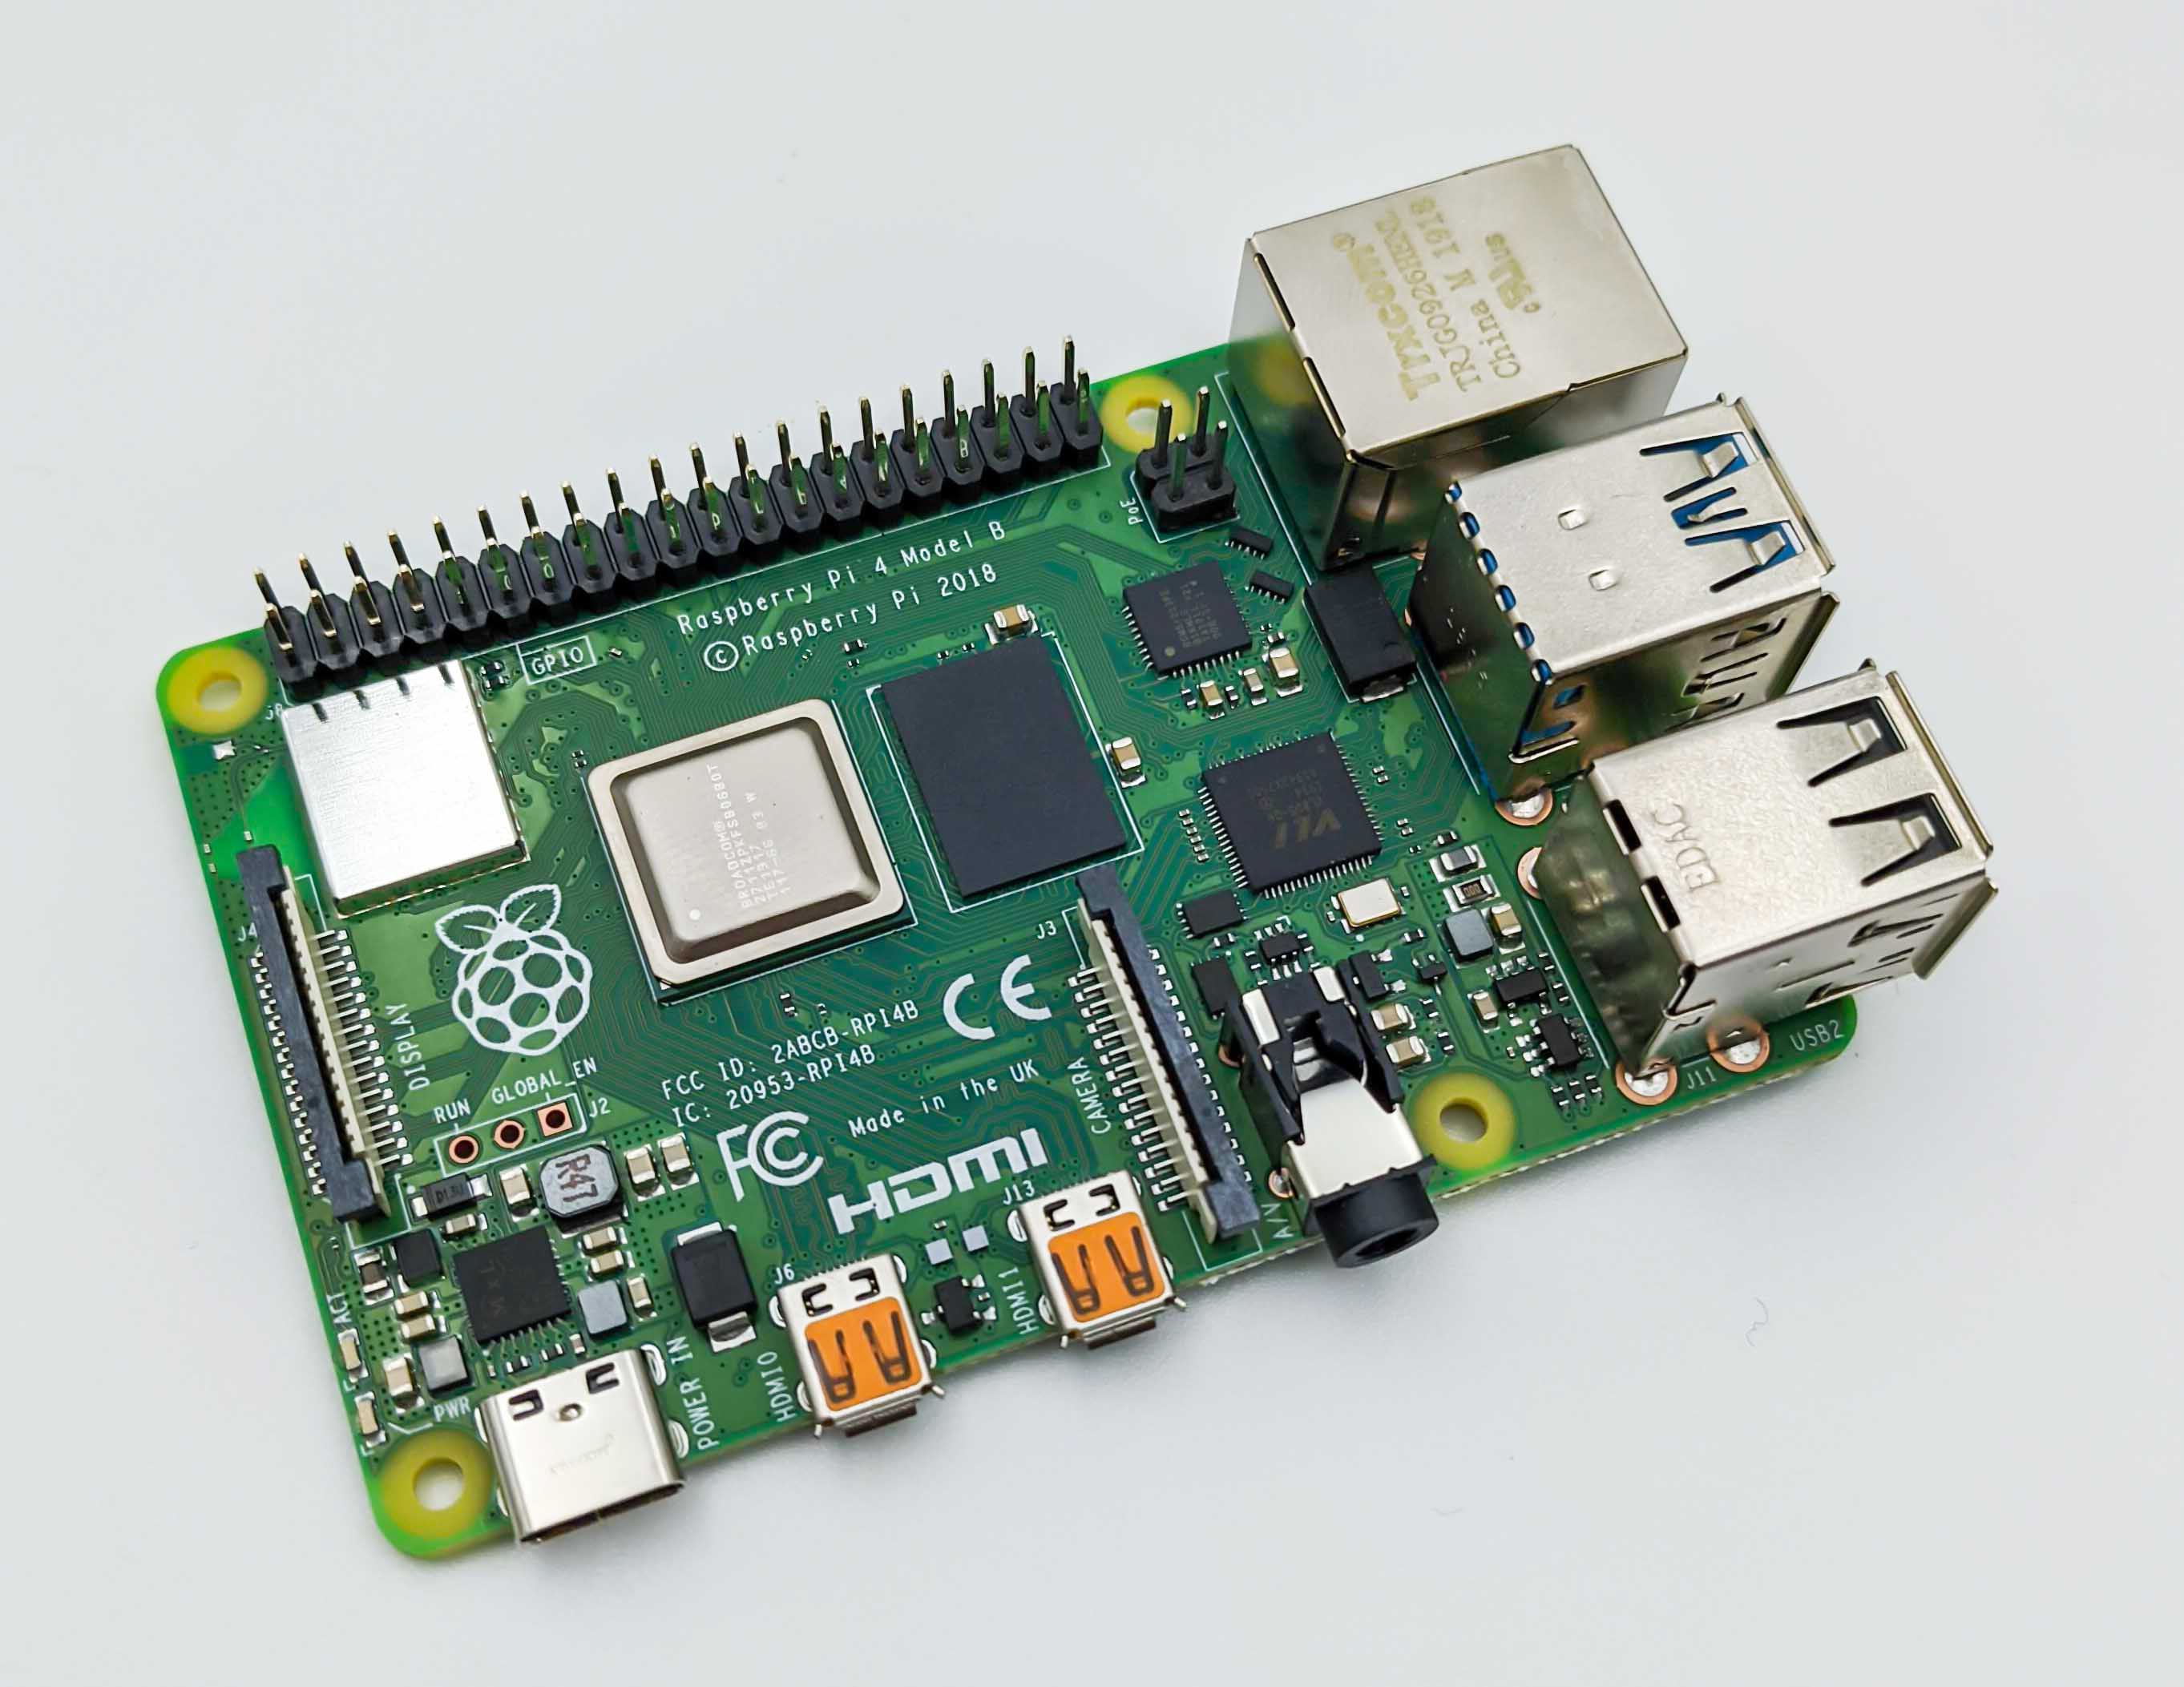
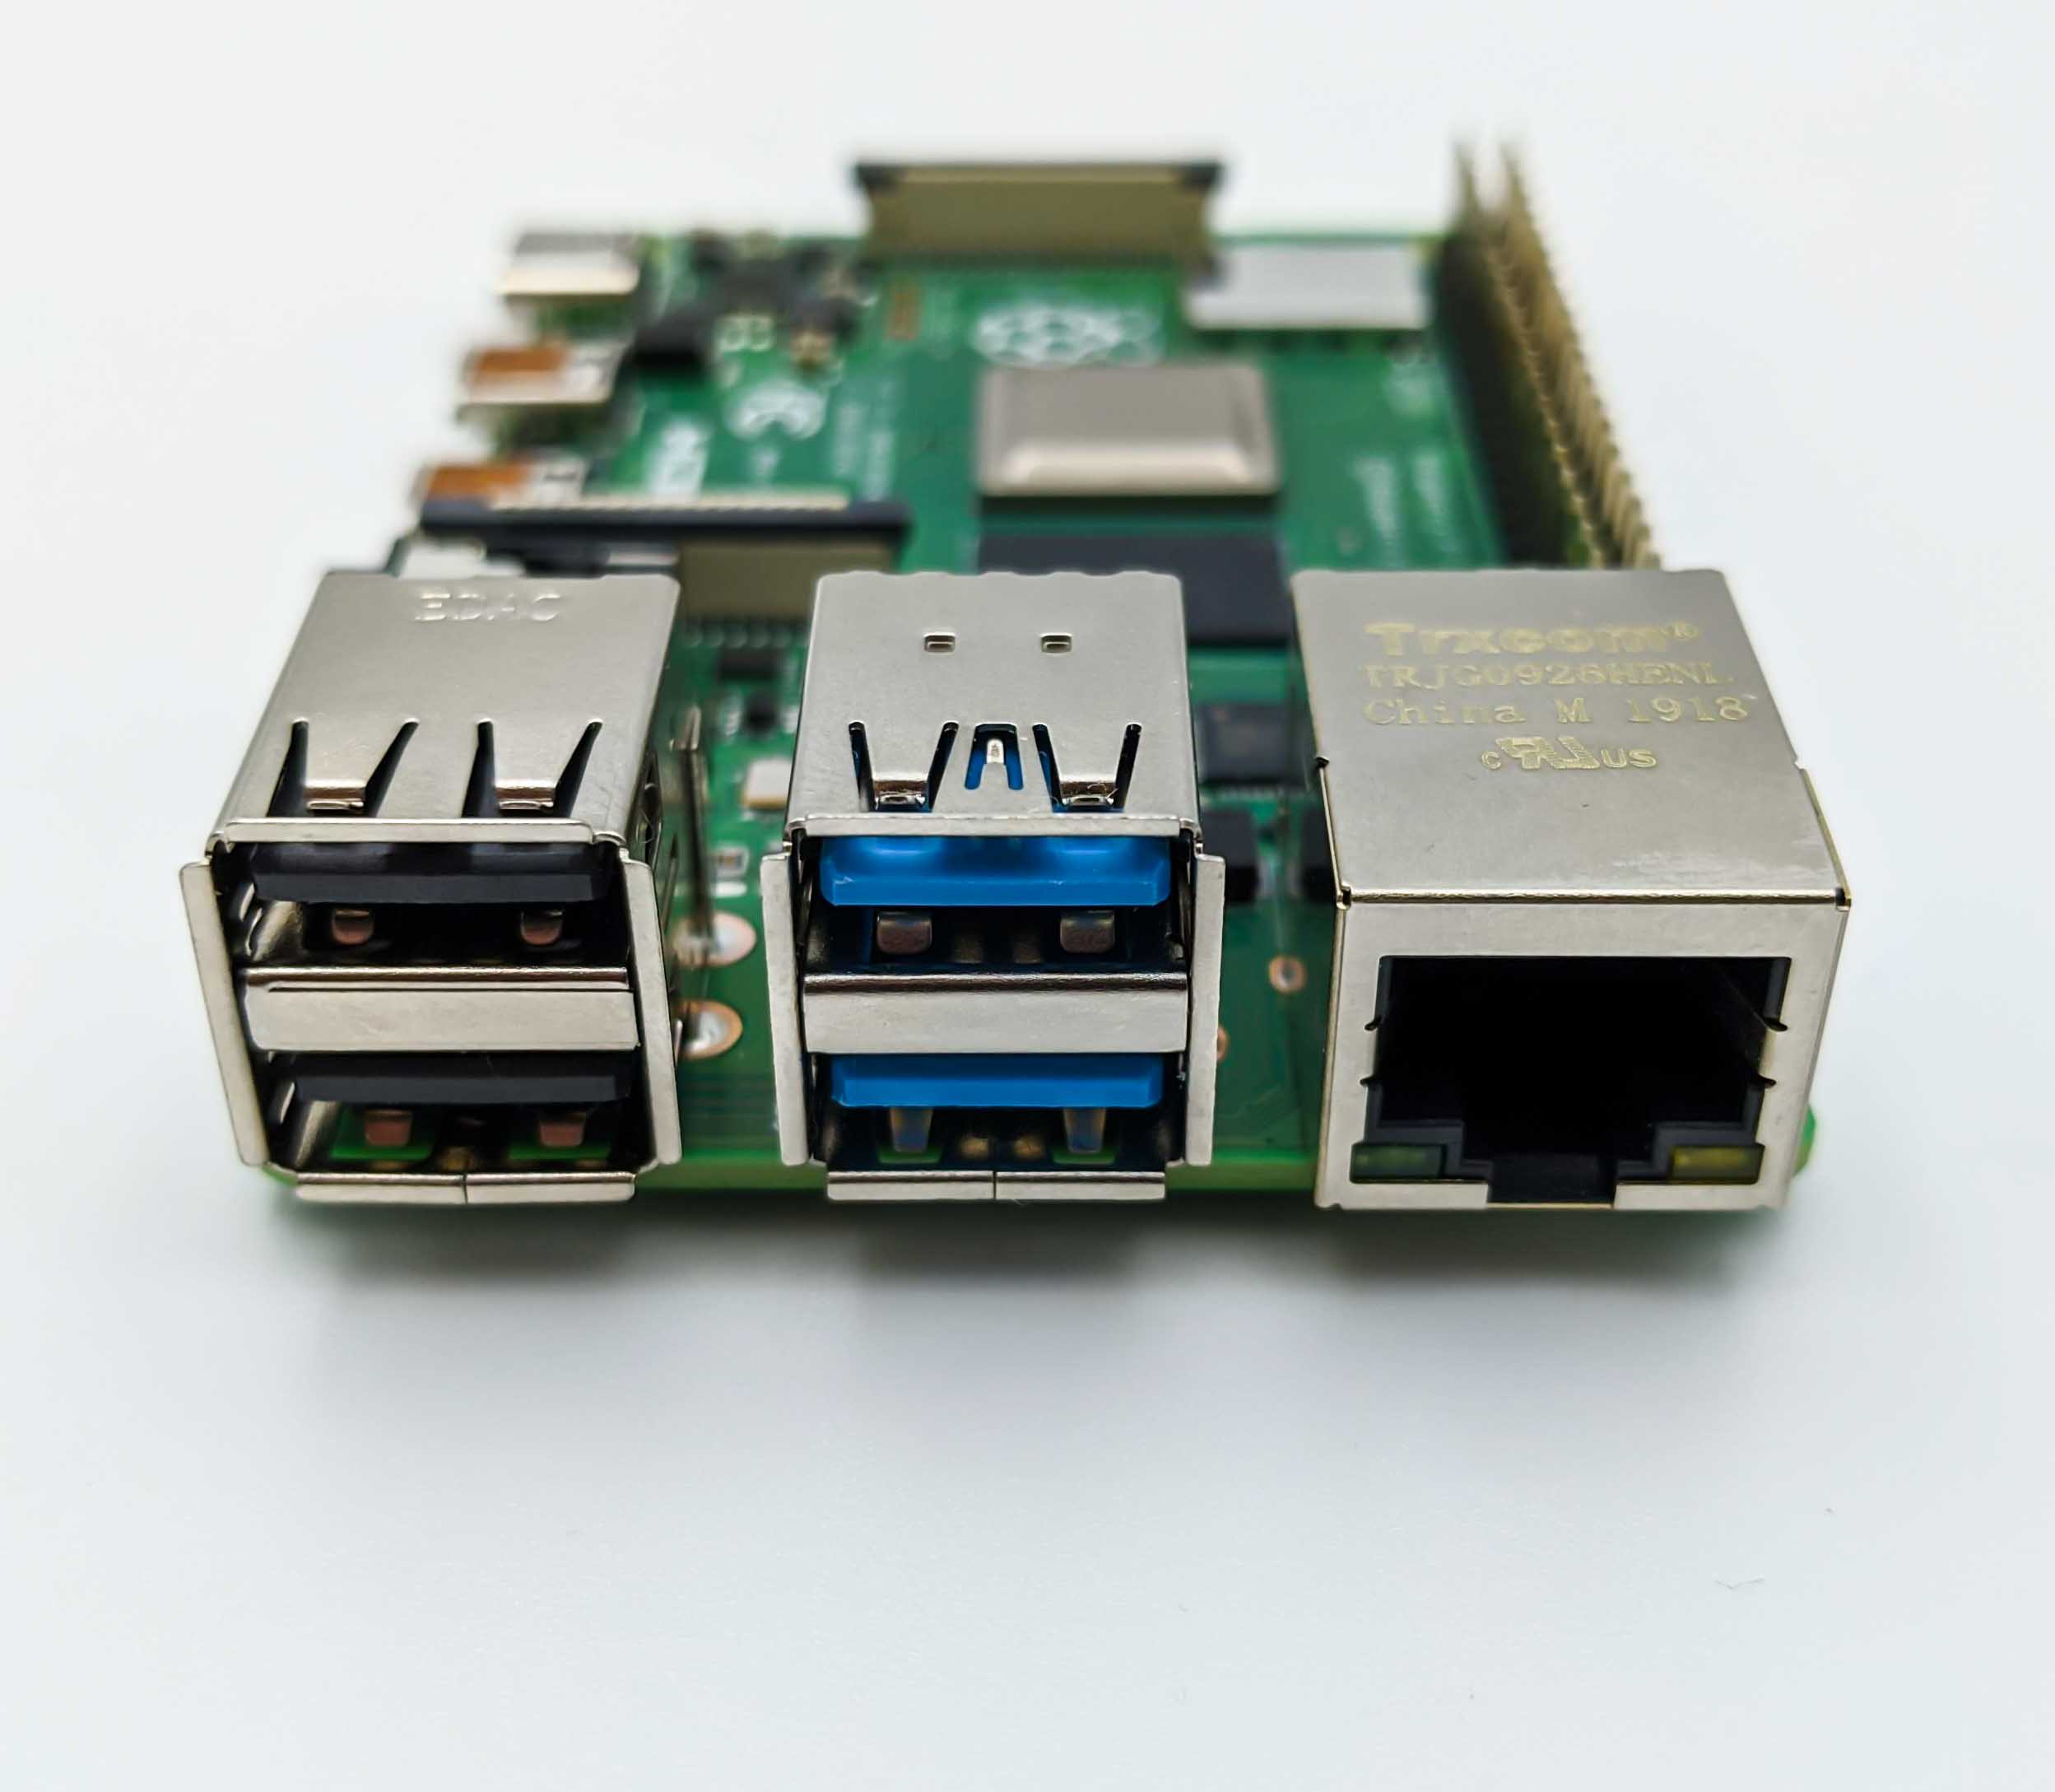
Board - Raspberry Pi 4 B
The main processing unit of the robot is a Raspberry Pi 4 B with 4 GB of RAM.
Accessories and Electronics
Case and Cooling
To protect the Rasbperry Pi 4 B we choose a case that provides access to all its ports. The following images show a stackable acrylic case in rainbow colors.
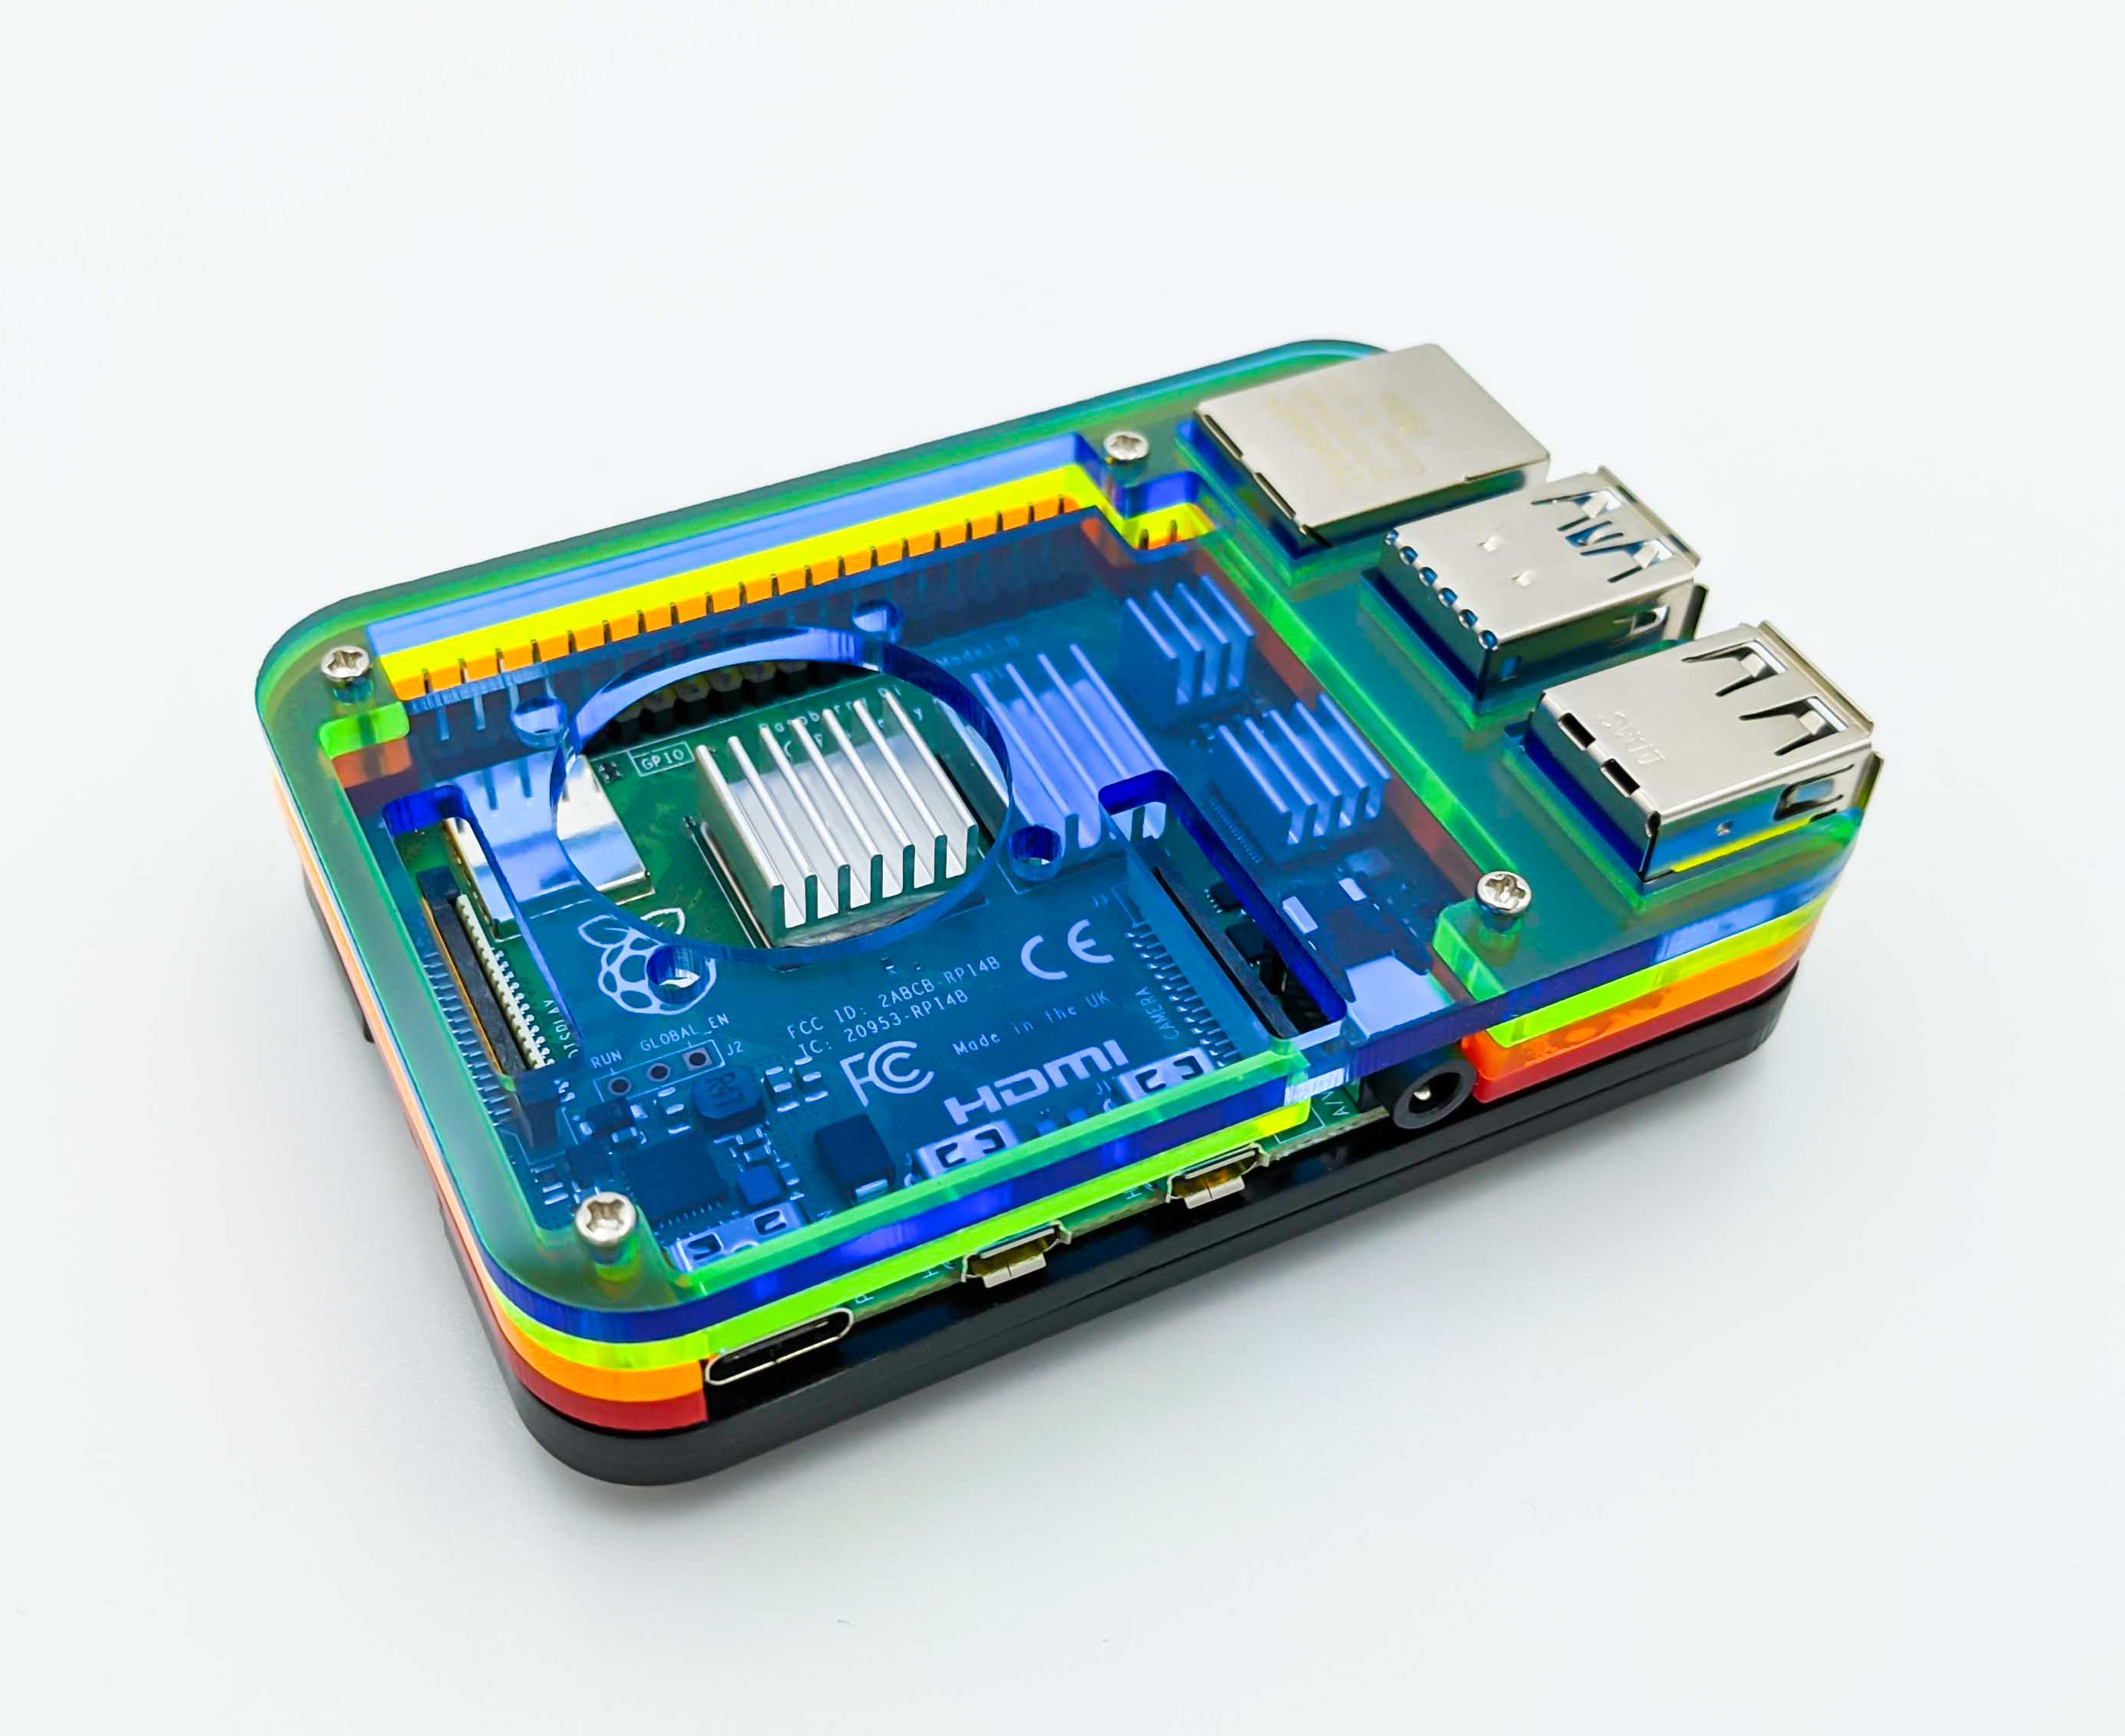
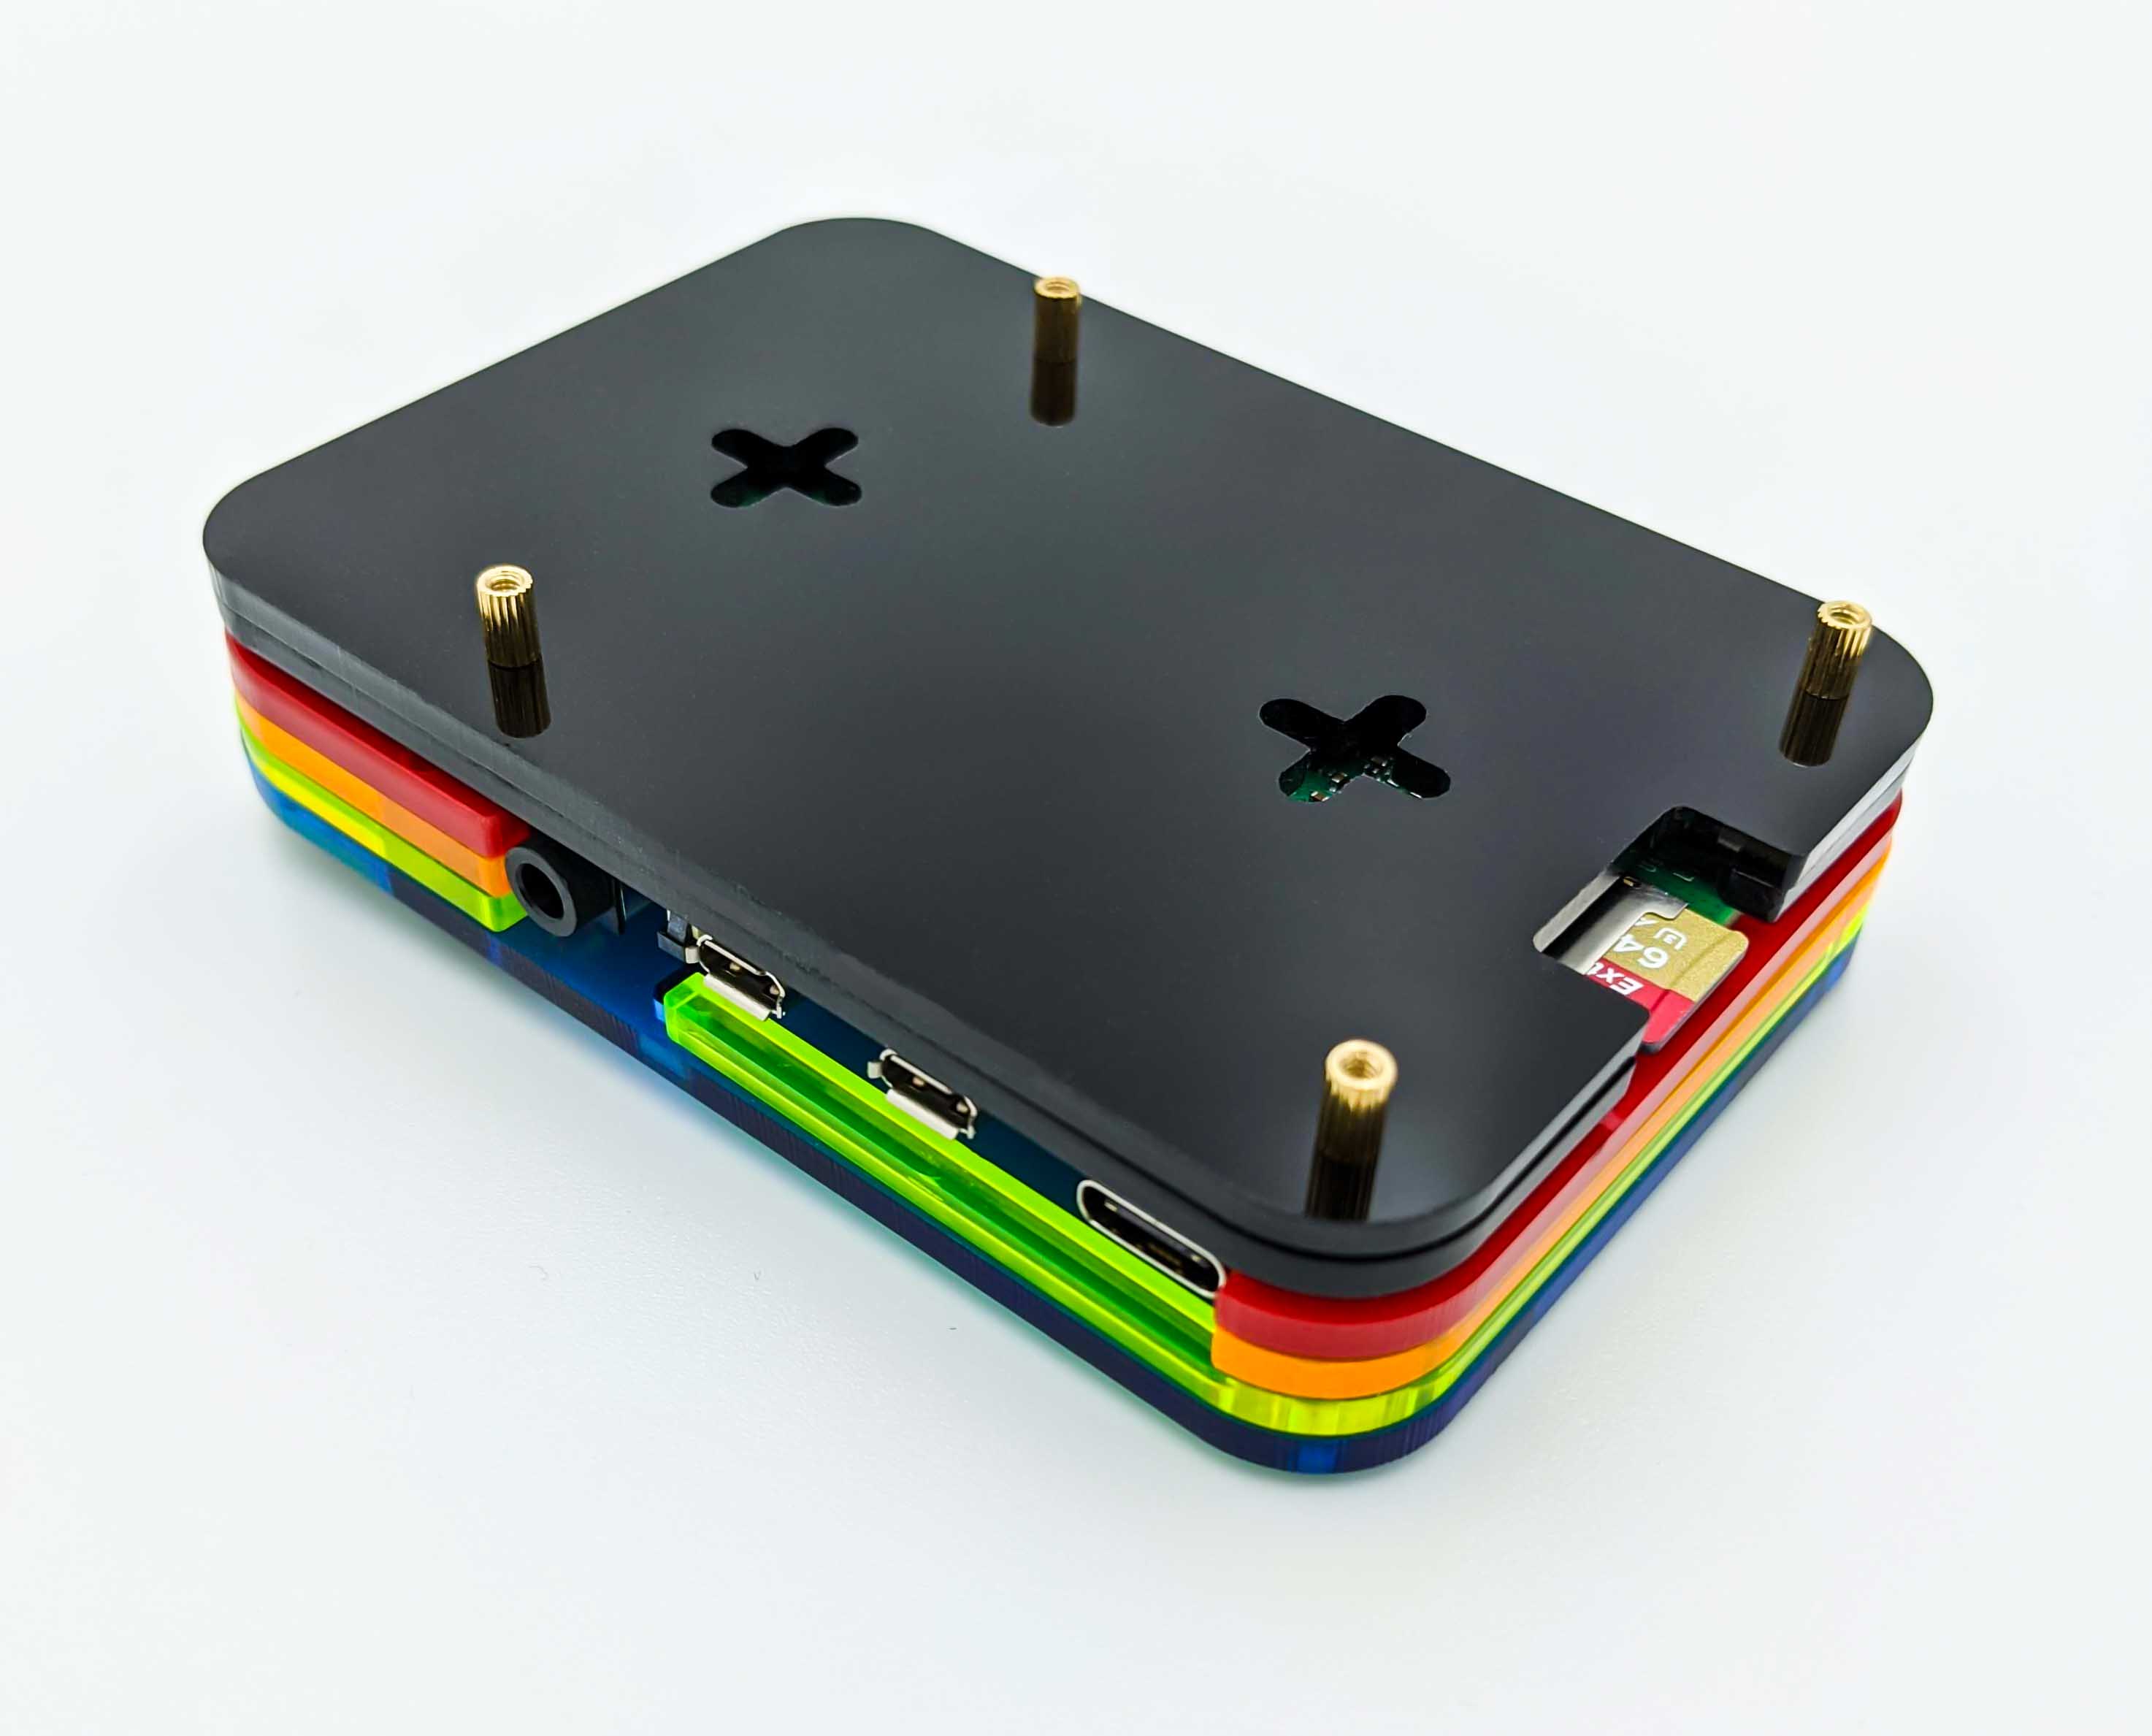
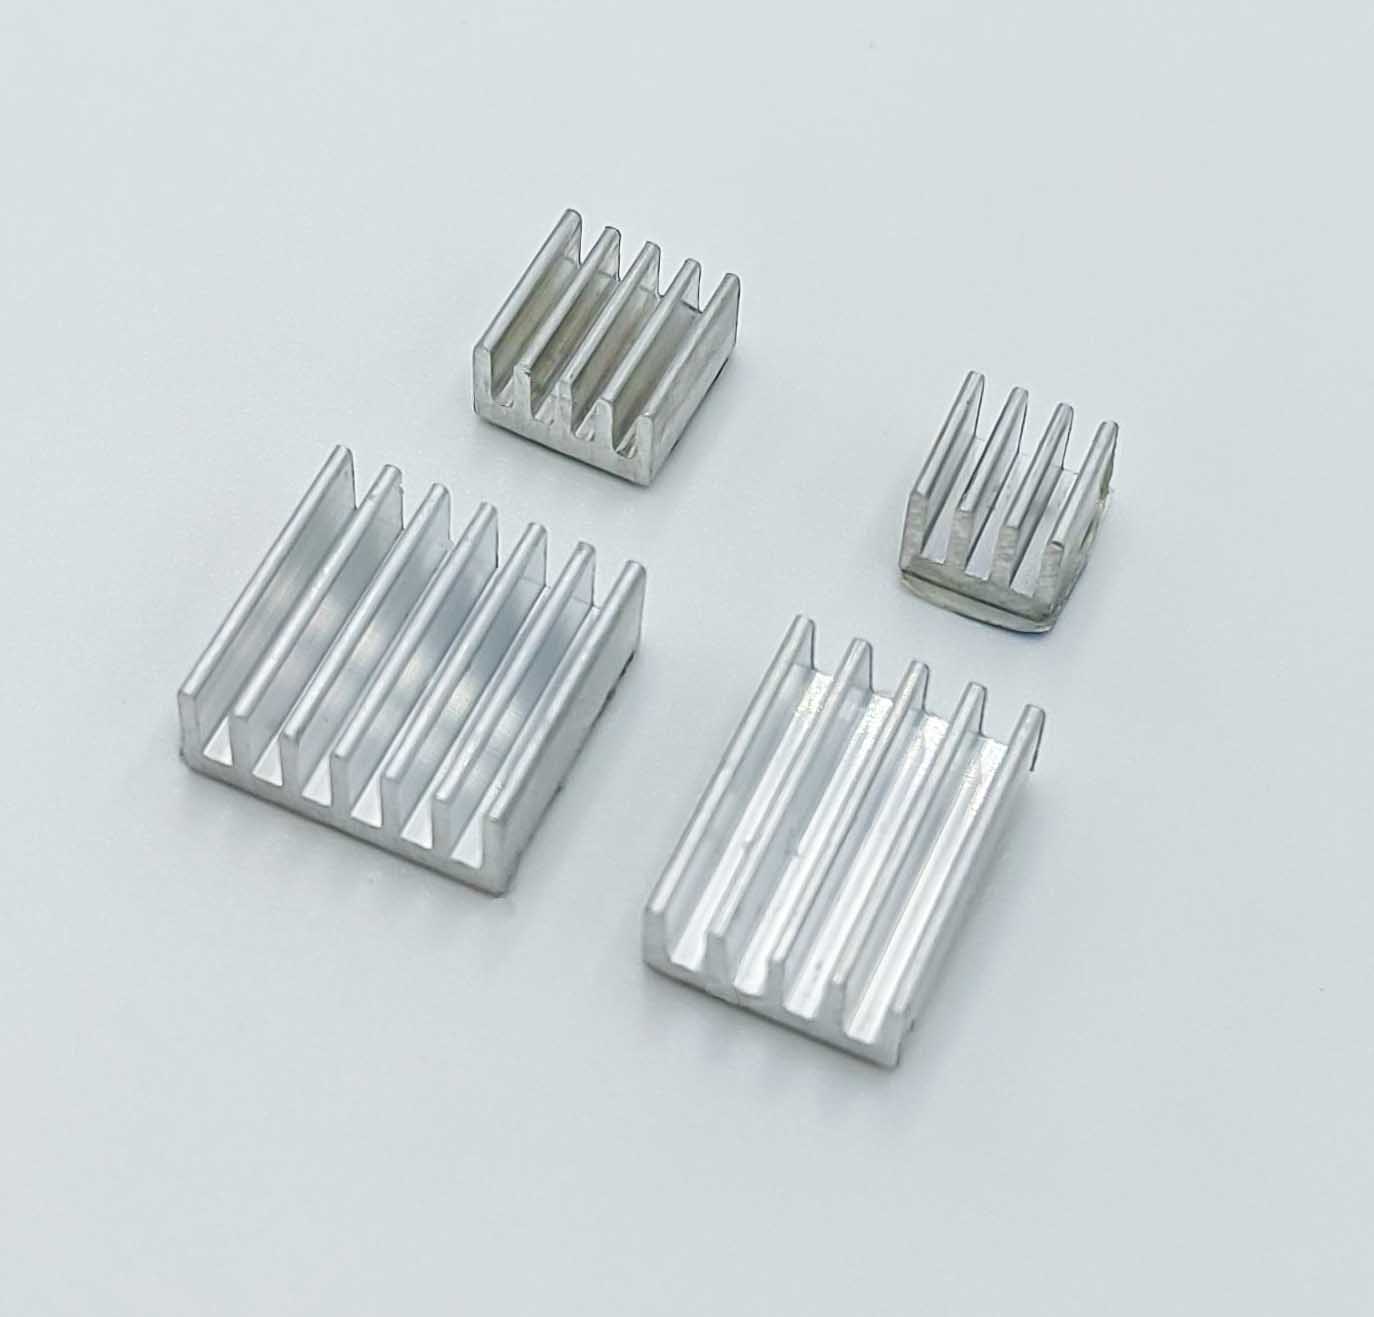
With this case it is possible to install four heatsinks and apply a fan as cooling equipment for the electronics of the Raspberry Pi 4 B such as its ARM processor.

SD Card
The Raspberry Pi requires a medium to boot from. For this we will use a micro sd card because it is lightweight and easy to flash new operating systems.
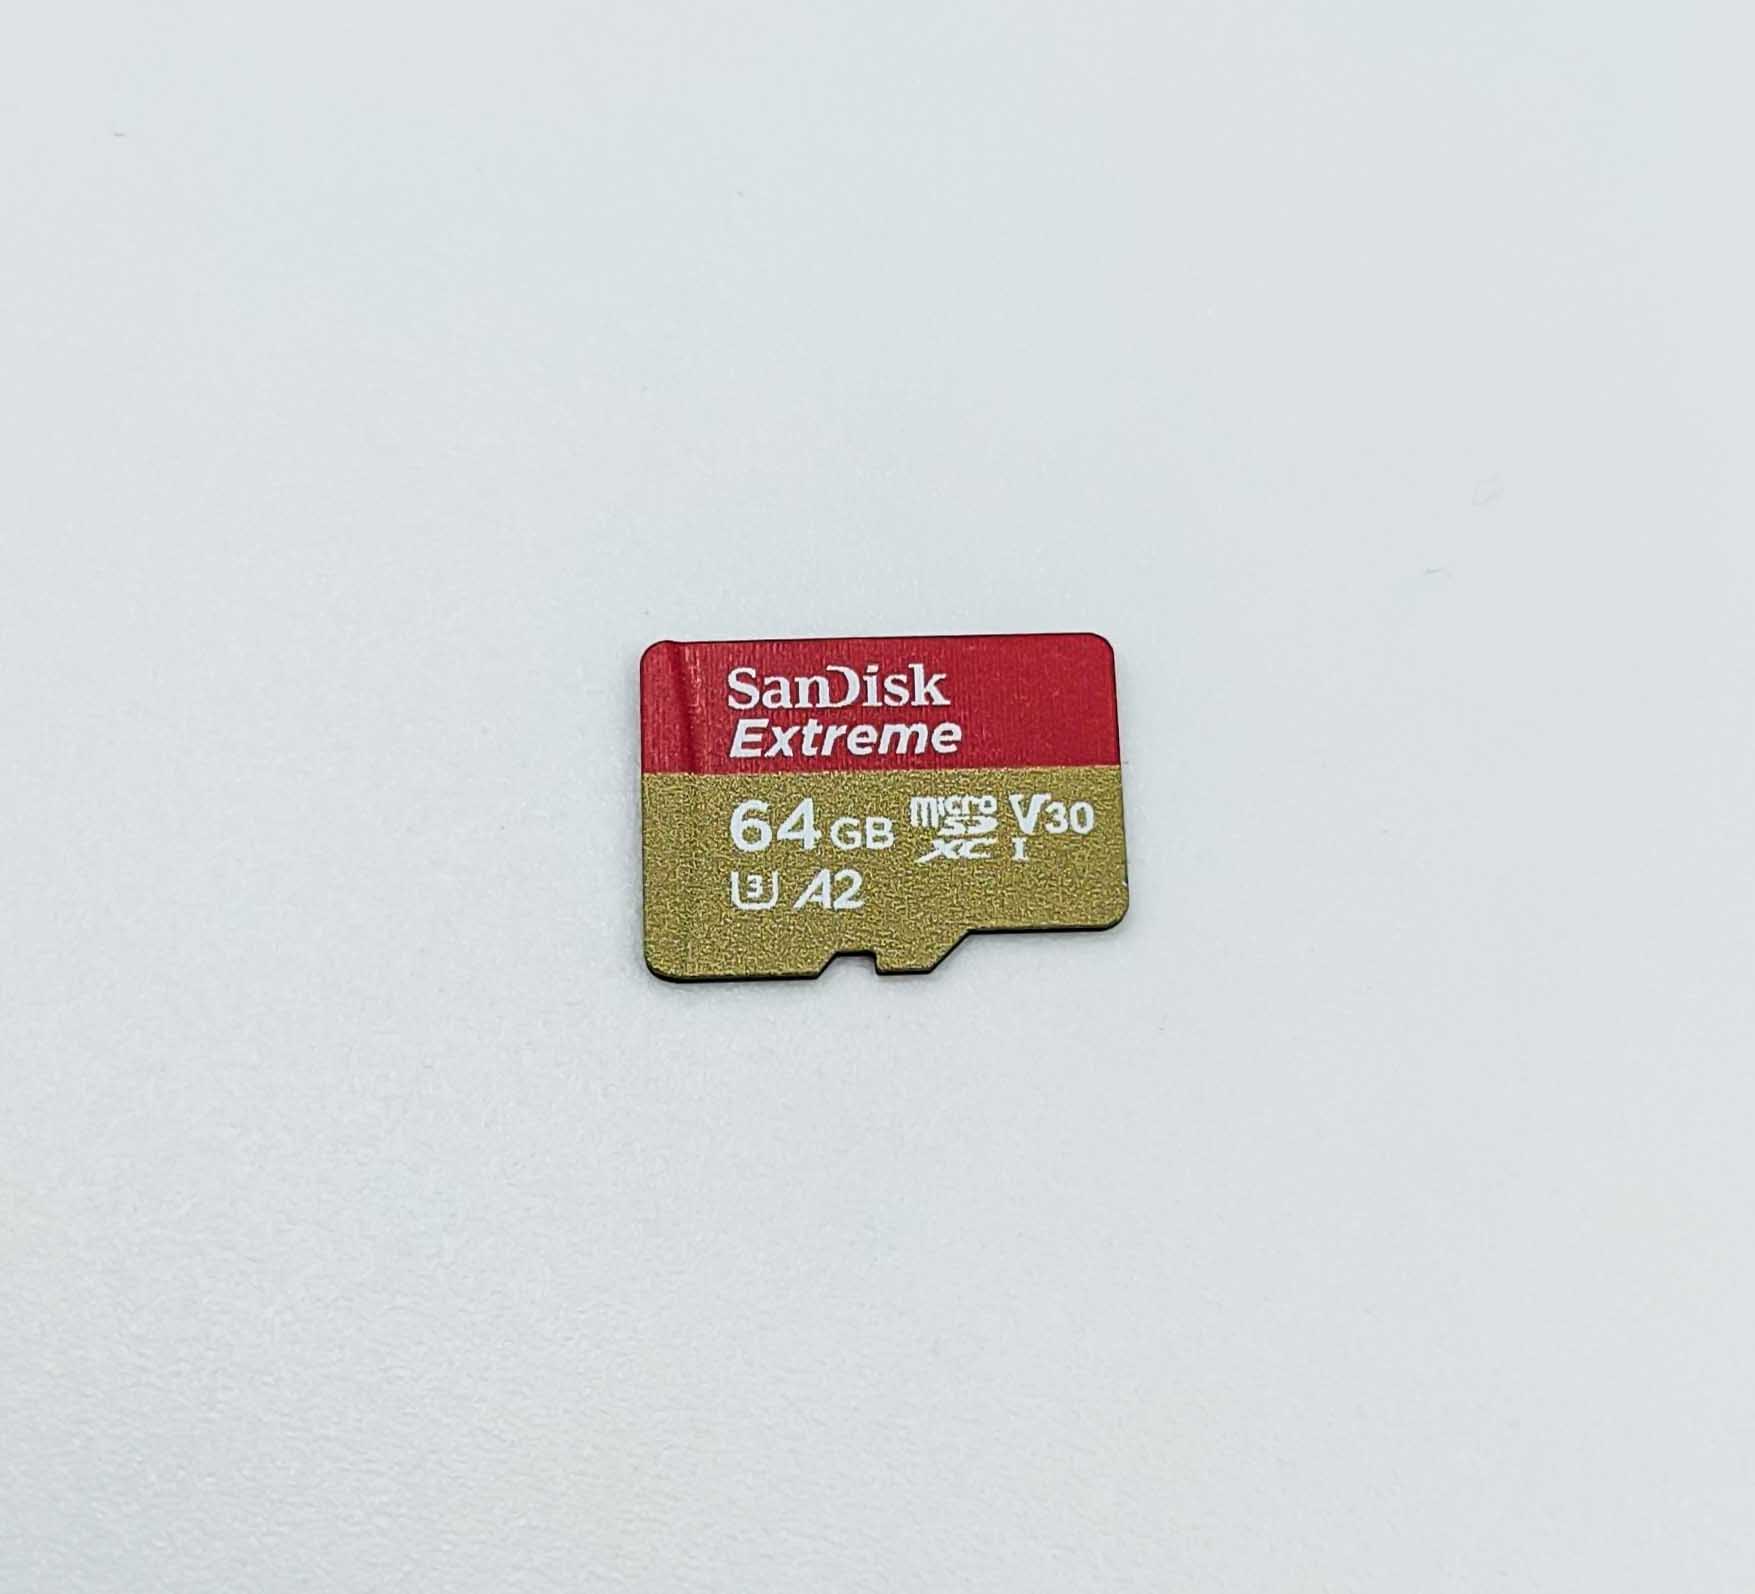
Although a micro sd card won't last that long compared to an hard disk drive (HDD) or solid state disk (SSD) it is well suited for testing. Because sd cards are slower when reading and writing data you should make sure to choose a micro sd card with high performance ratings. For the Raspberry Pi a Class 10 micro sd card is recommended. Regarding speed, the Pi has a limited bus speed of approximately 20 MB/s (source)
Robot Base
For the robot base you have at least two options to choose from. Either the robot car kit consisting of plexi glas material or a more sturdier 3D printed variant named Remo.
The Robot Car Kit 2WD from Joy-IT (article no.: robot05) is used as the base for the autonomous mobile robot.
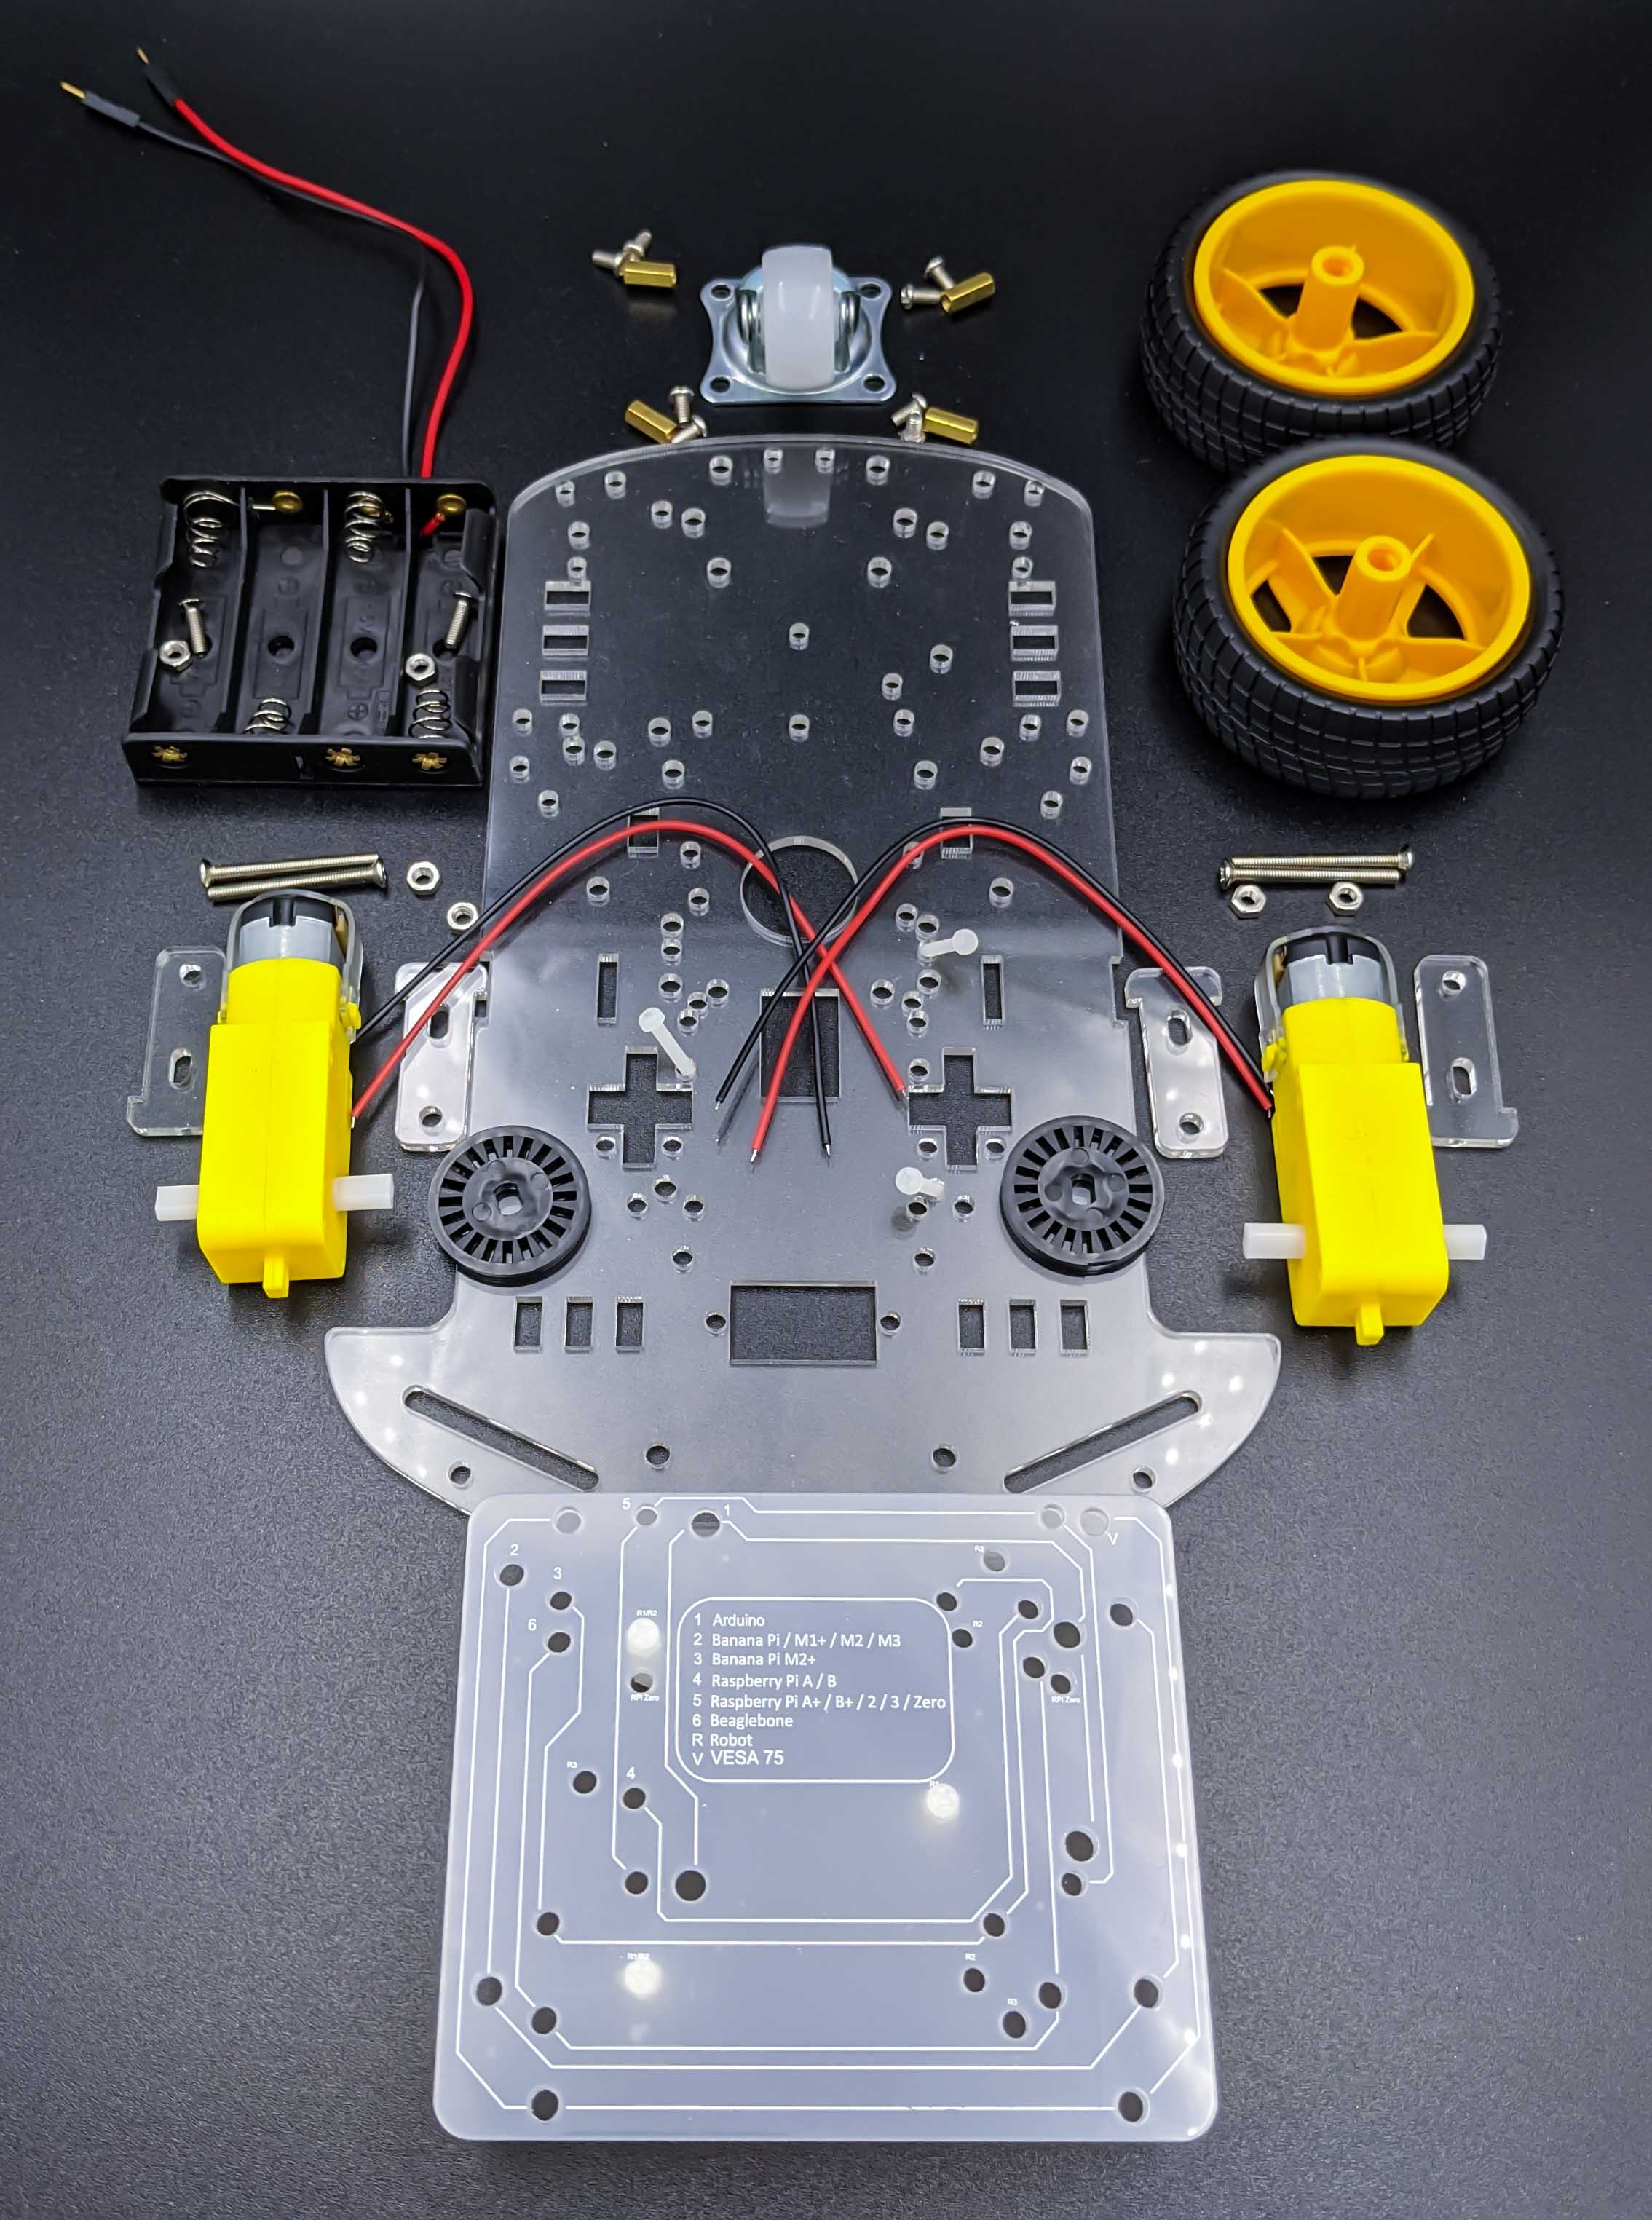
The acrylic chassis has many holes which allow to mount a mounting plate that can hold different development boards. It allows also to mount a Raspberry Pi 4 B, which will be used in this project. Two wheels, hence 2WD, are included in the kit which can be attached to the motors that are provided too. A third caster wheel is provided which allows the robot to spin on the spot. This means the robot can be described by a holonomic model.
The motors operate in a range between 3 to 6 Volts DC and make it possible to mount a punched disk for speed measurements. With that punched disk and additional speed sensors it is possible to implement odometry in ROS. To power the motors a battery compartment is available together with a switch to turn the robot on or off.
Remo is a 3D printable Research Education Mobile/Modular Open robot platform. You can find more information in the following video and
on the remo_description package page.

Alternatively, you can build your own mobile robot!
Power Supplies
As mentioned the robot will be equipped with a 5V/2.1A USB-C powerbank to supply the Raspberry Pi 4 B with 5 V.
To power the motors the provided battery compartment will be used, which holds four AA batteries \(4 \cdot 1.5\text{V} = 6\text{V}\).
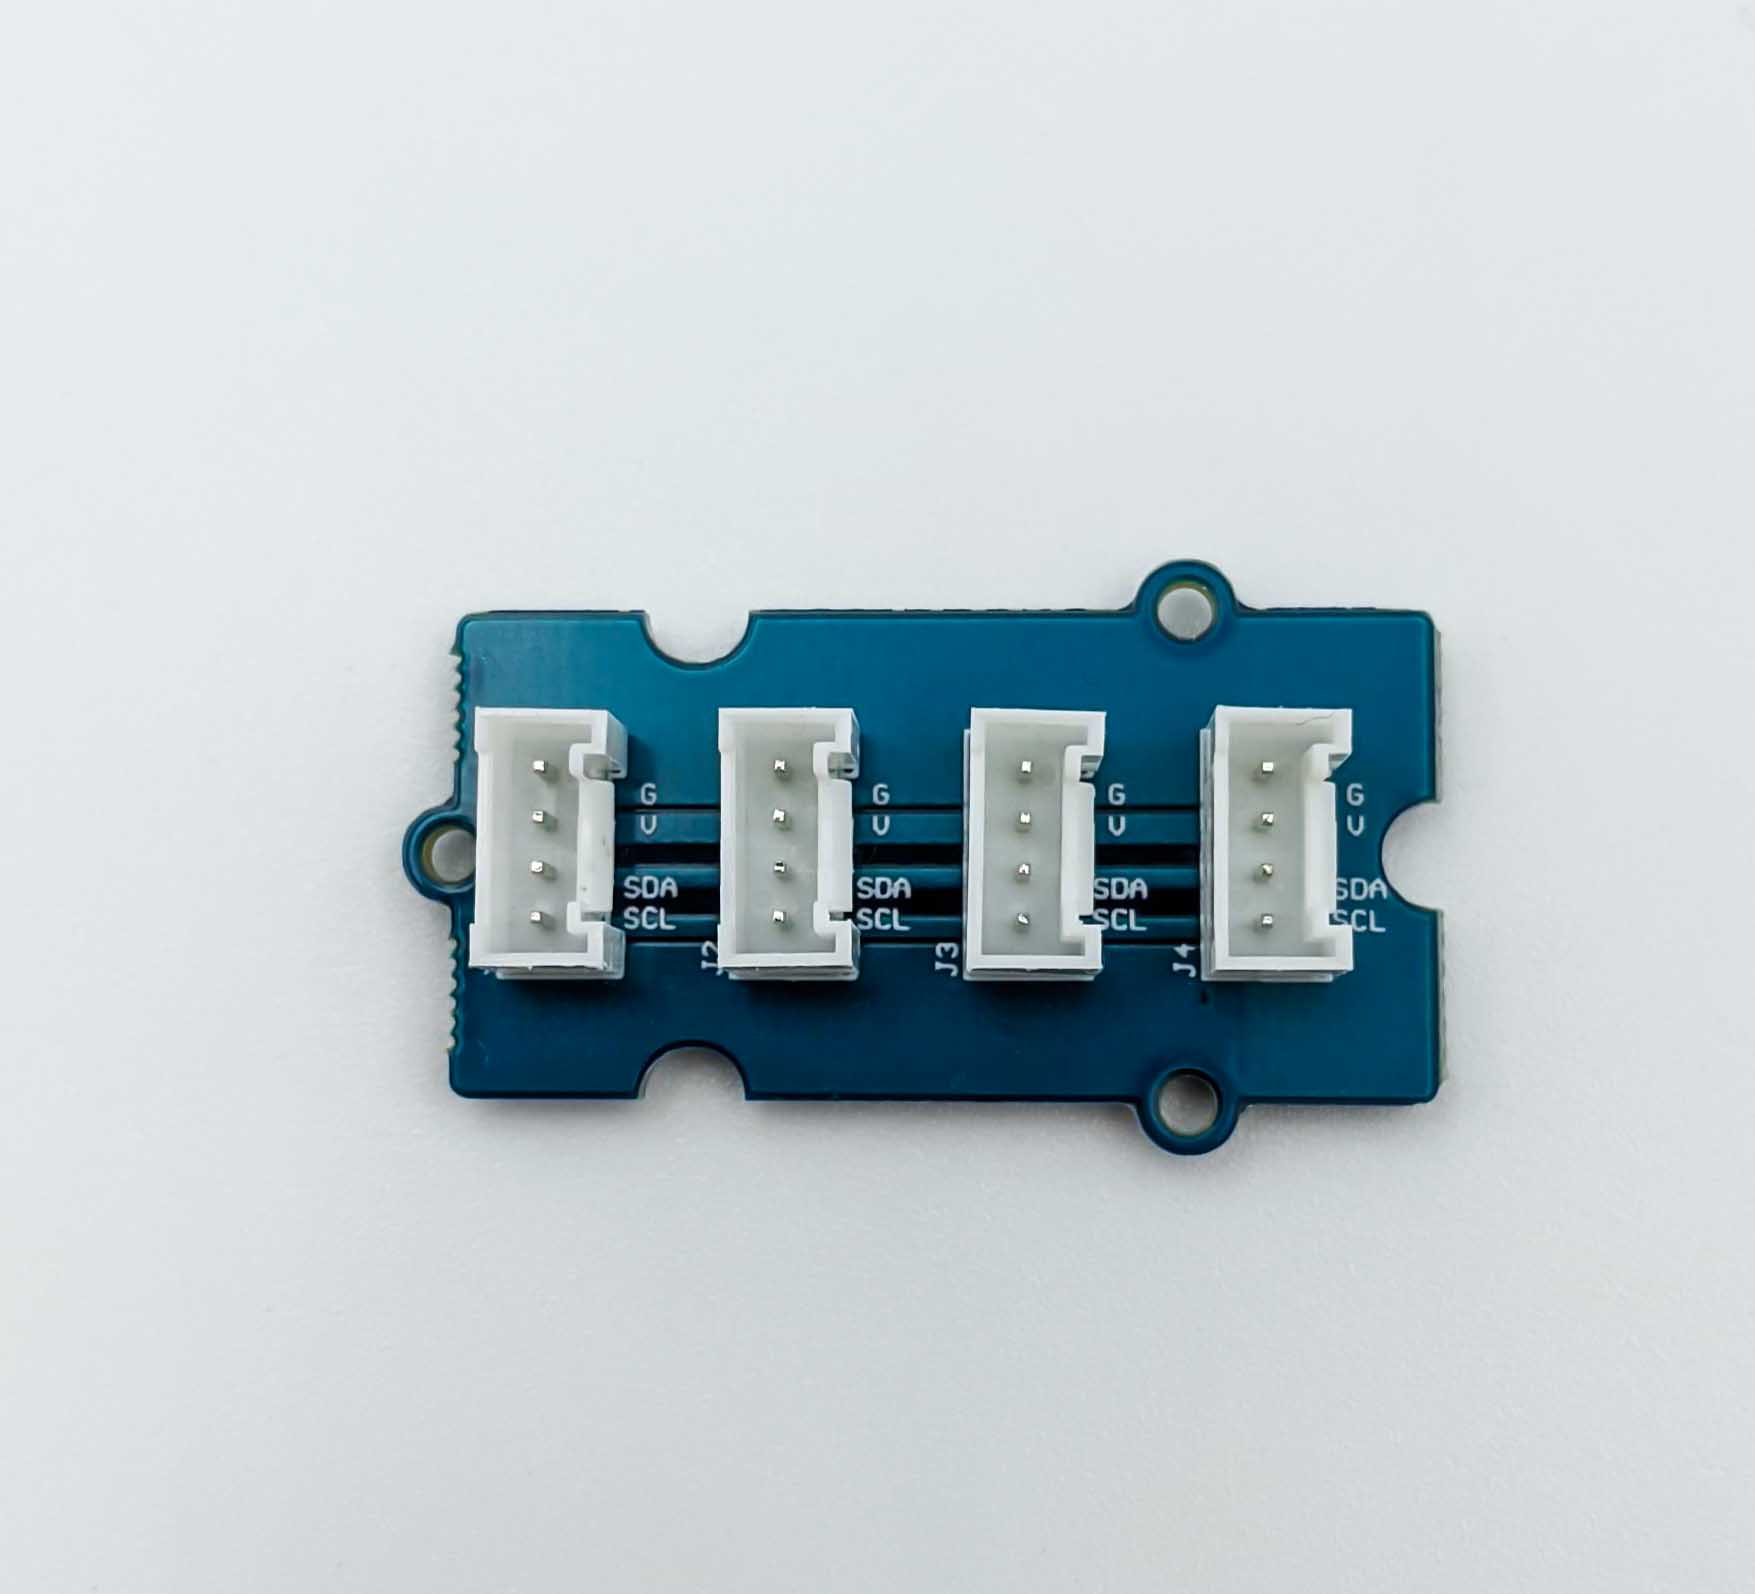
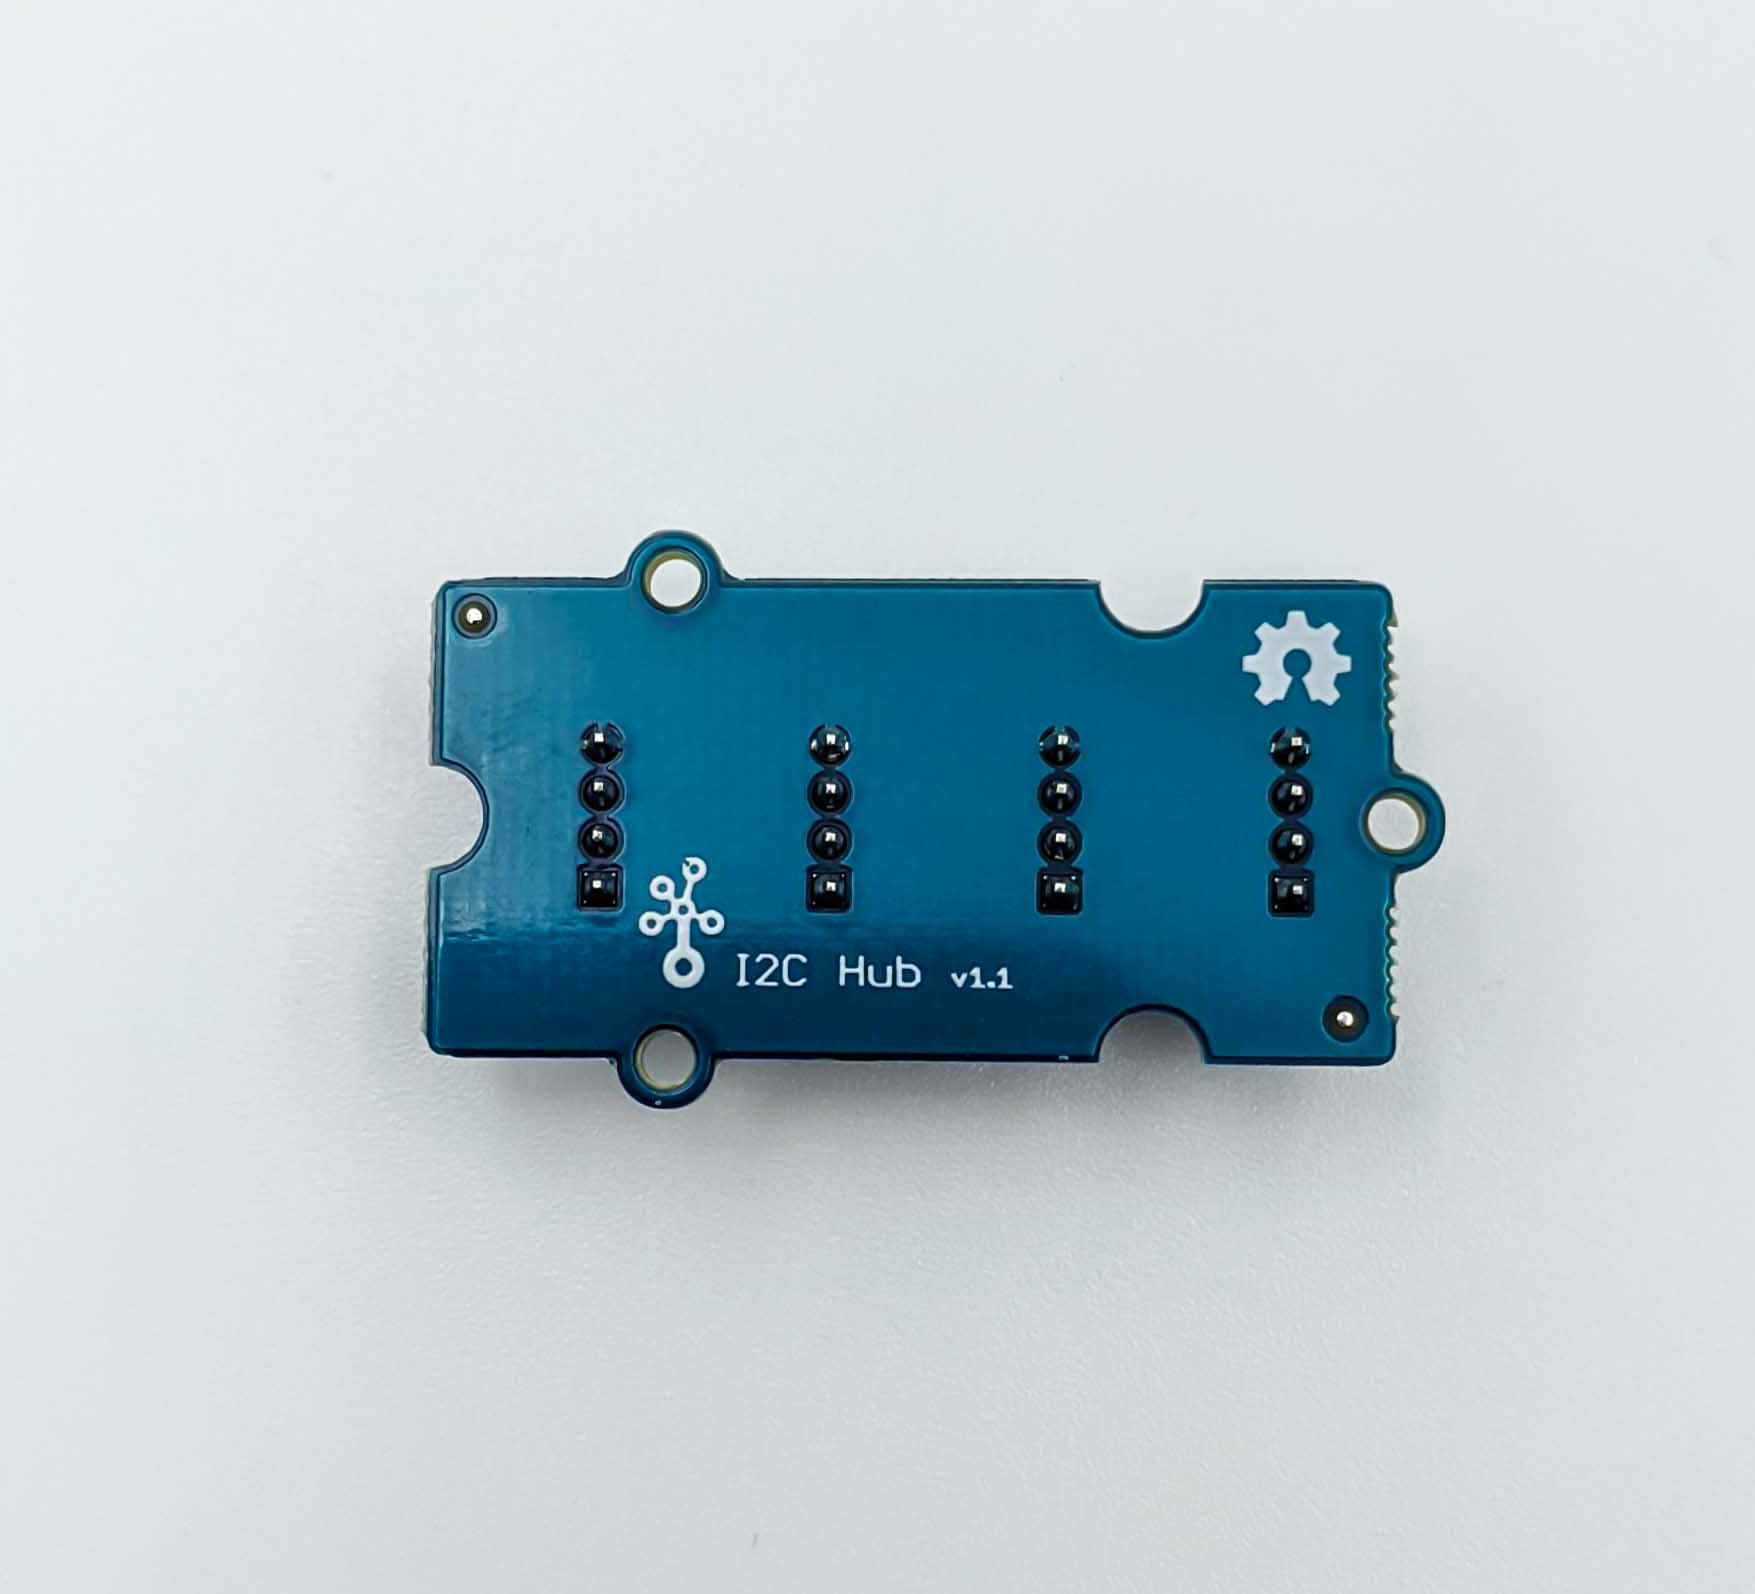
I2C Hub
The Raspberry Pi provides just two I2C ports, which is why we will use a I2C hub. With the four port I2C hub from Grove it is possible to connect three I2C devices to a single I2C port of the Raspberry Pi
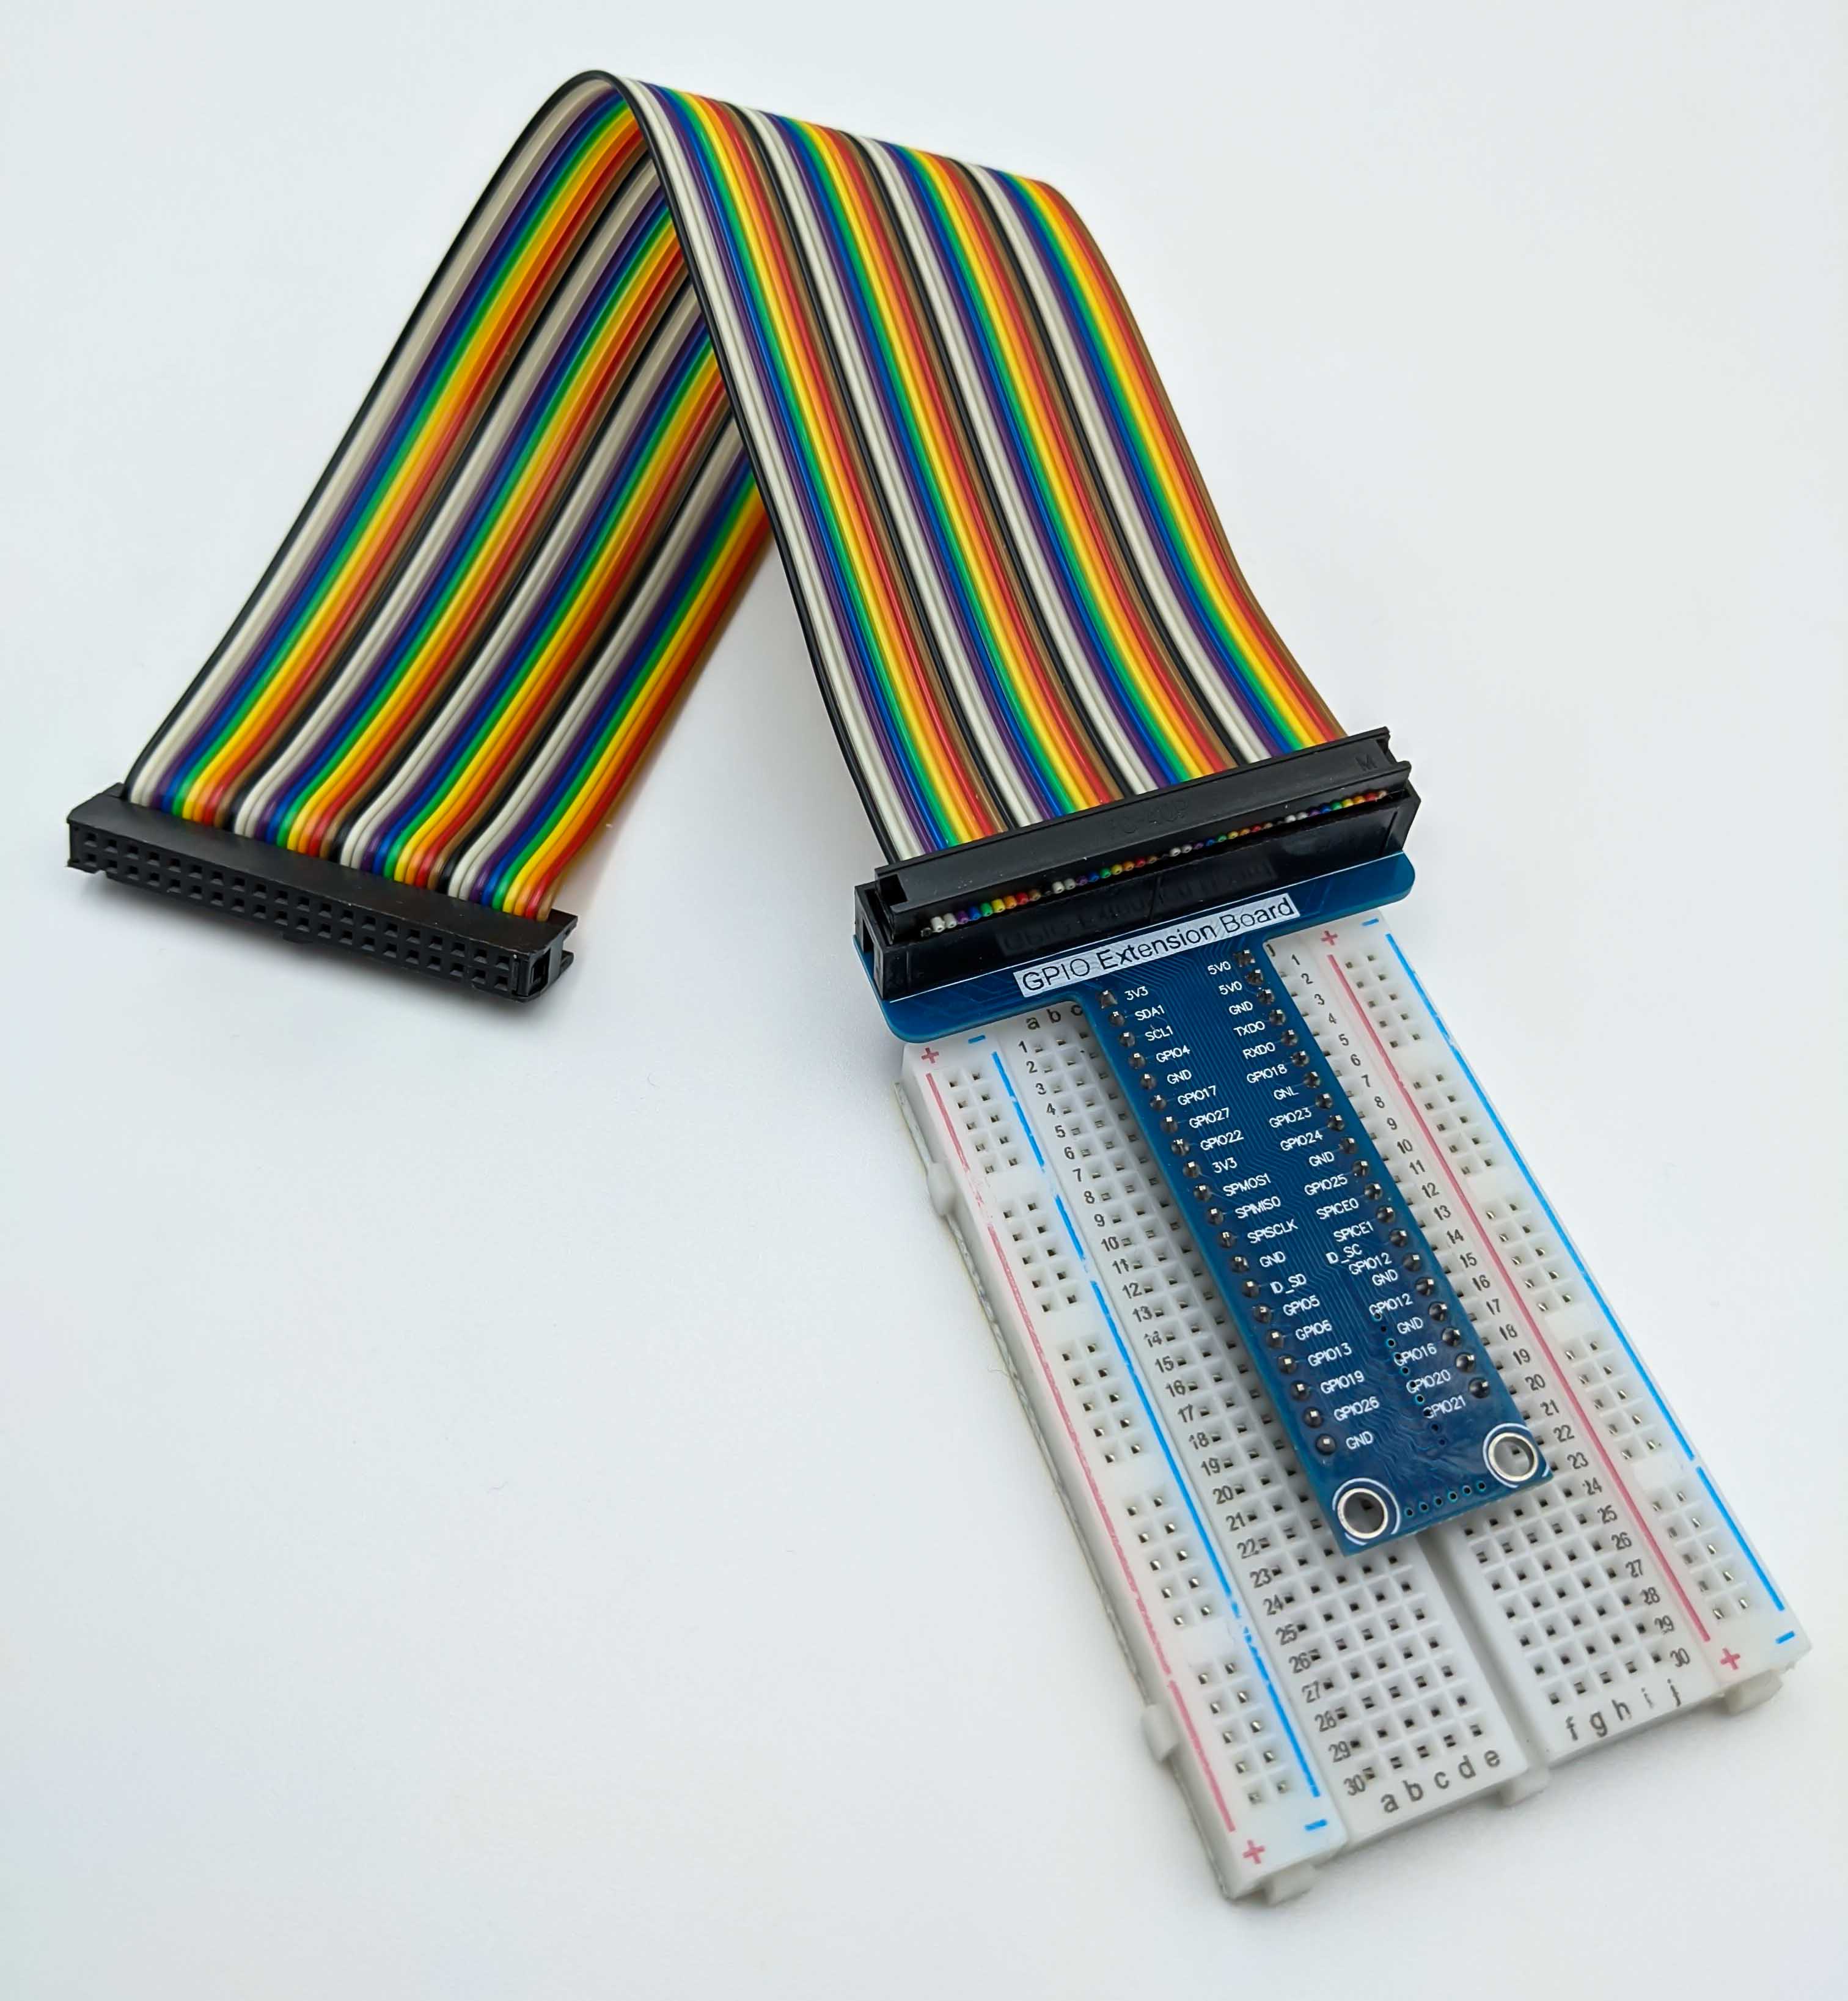
Breadboard and GPIO Extension Cable
Optional but helpful for testing is a breadboard and a GPIO extension cable suitable for the Raspberry Pi 4 B.
Sensors
Sensors are used to sense the environment and to collect information of the current state. For this 2WD robot the sensors are categorized into perception and localization which are explained in the following two sections.
Perception
Perception sensors of the 2WD robot will be used to avoid collisions using ultrasonic rangers. Another use case is to detect and follow objects using a camera.
Ultrasonic Ranger
To avoid obstacles the robot will carry a Grove - Ultrasonic Ranger at the front.
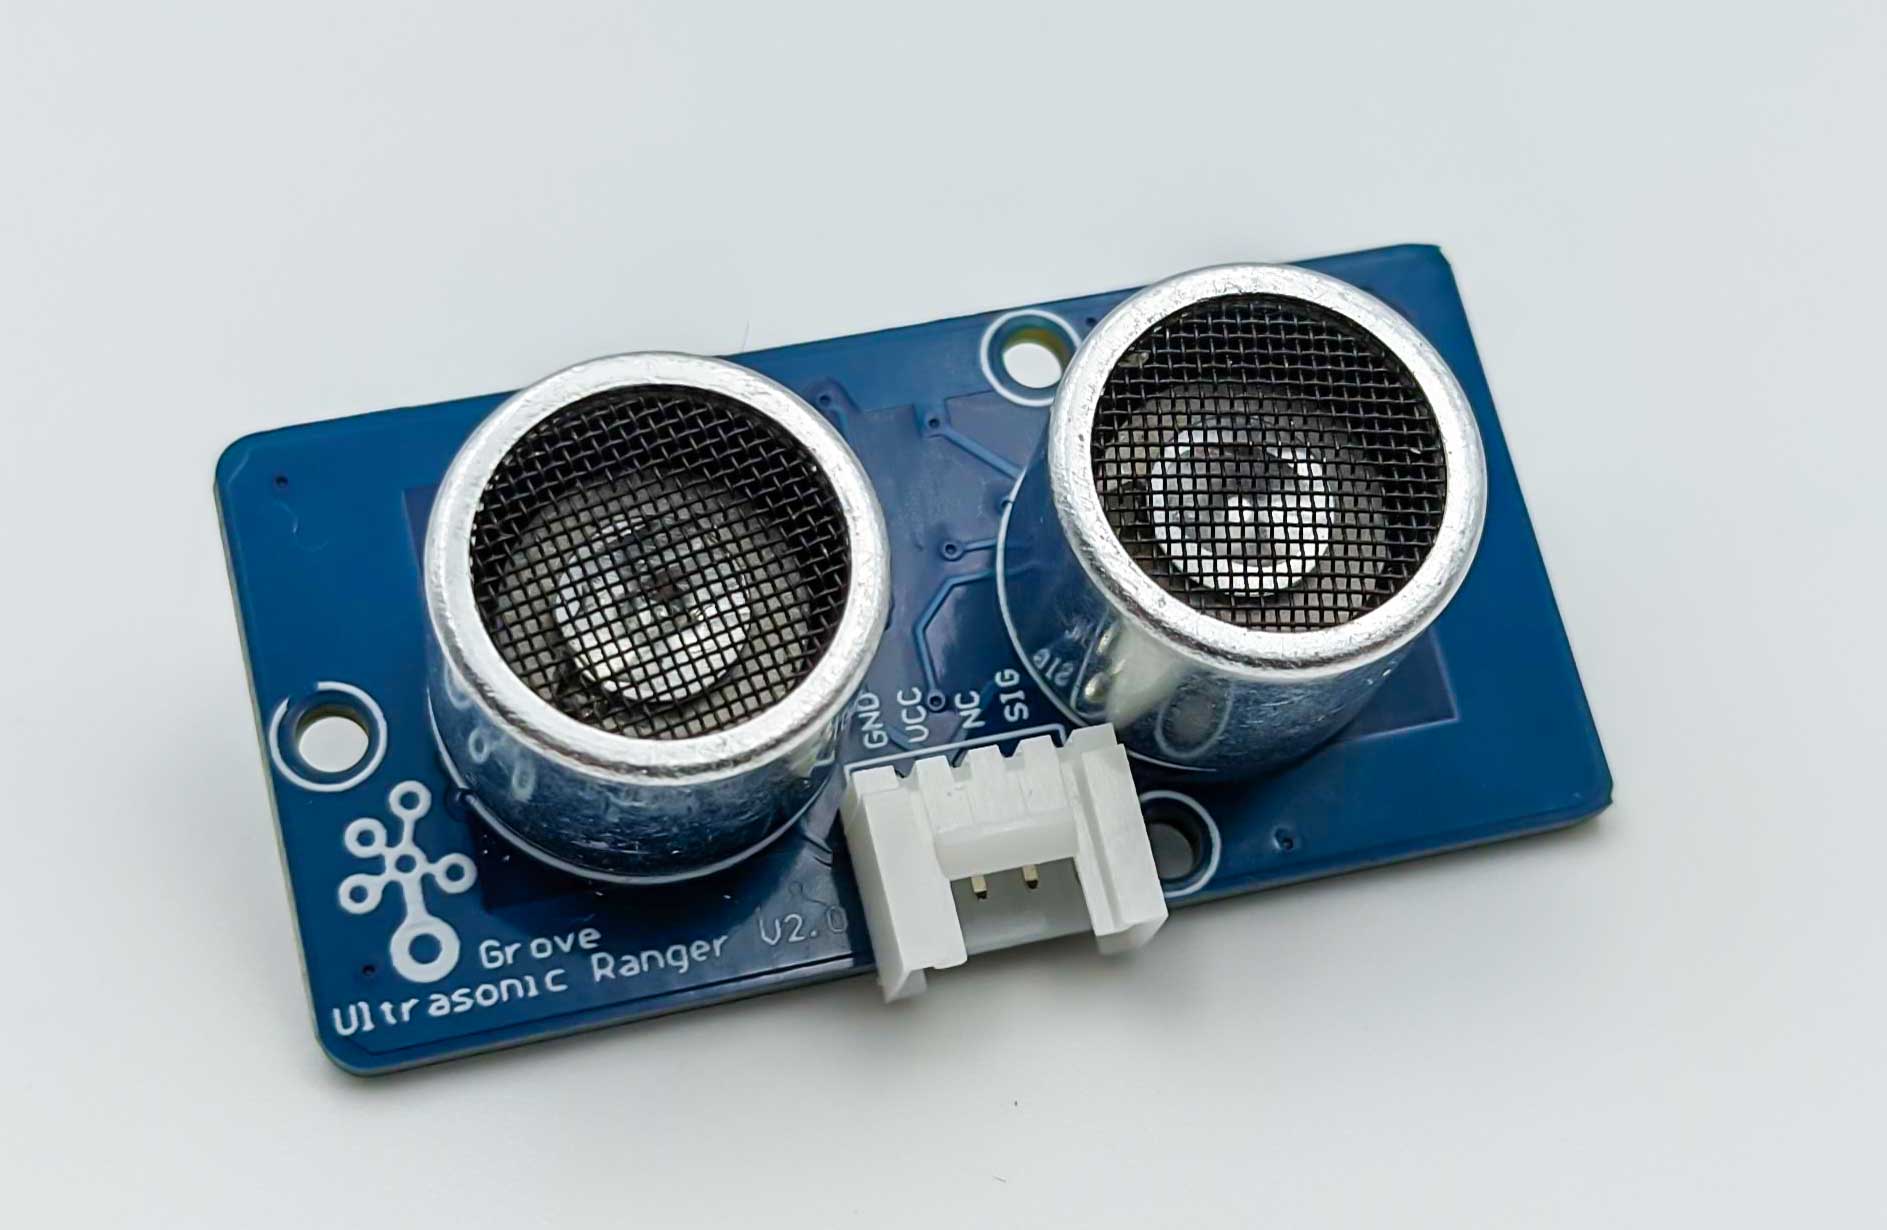
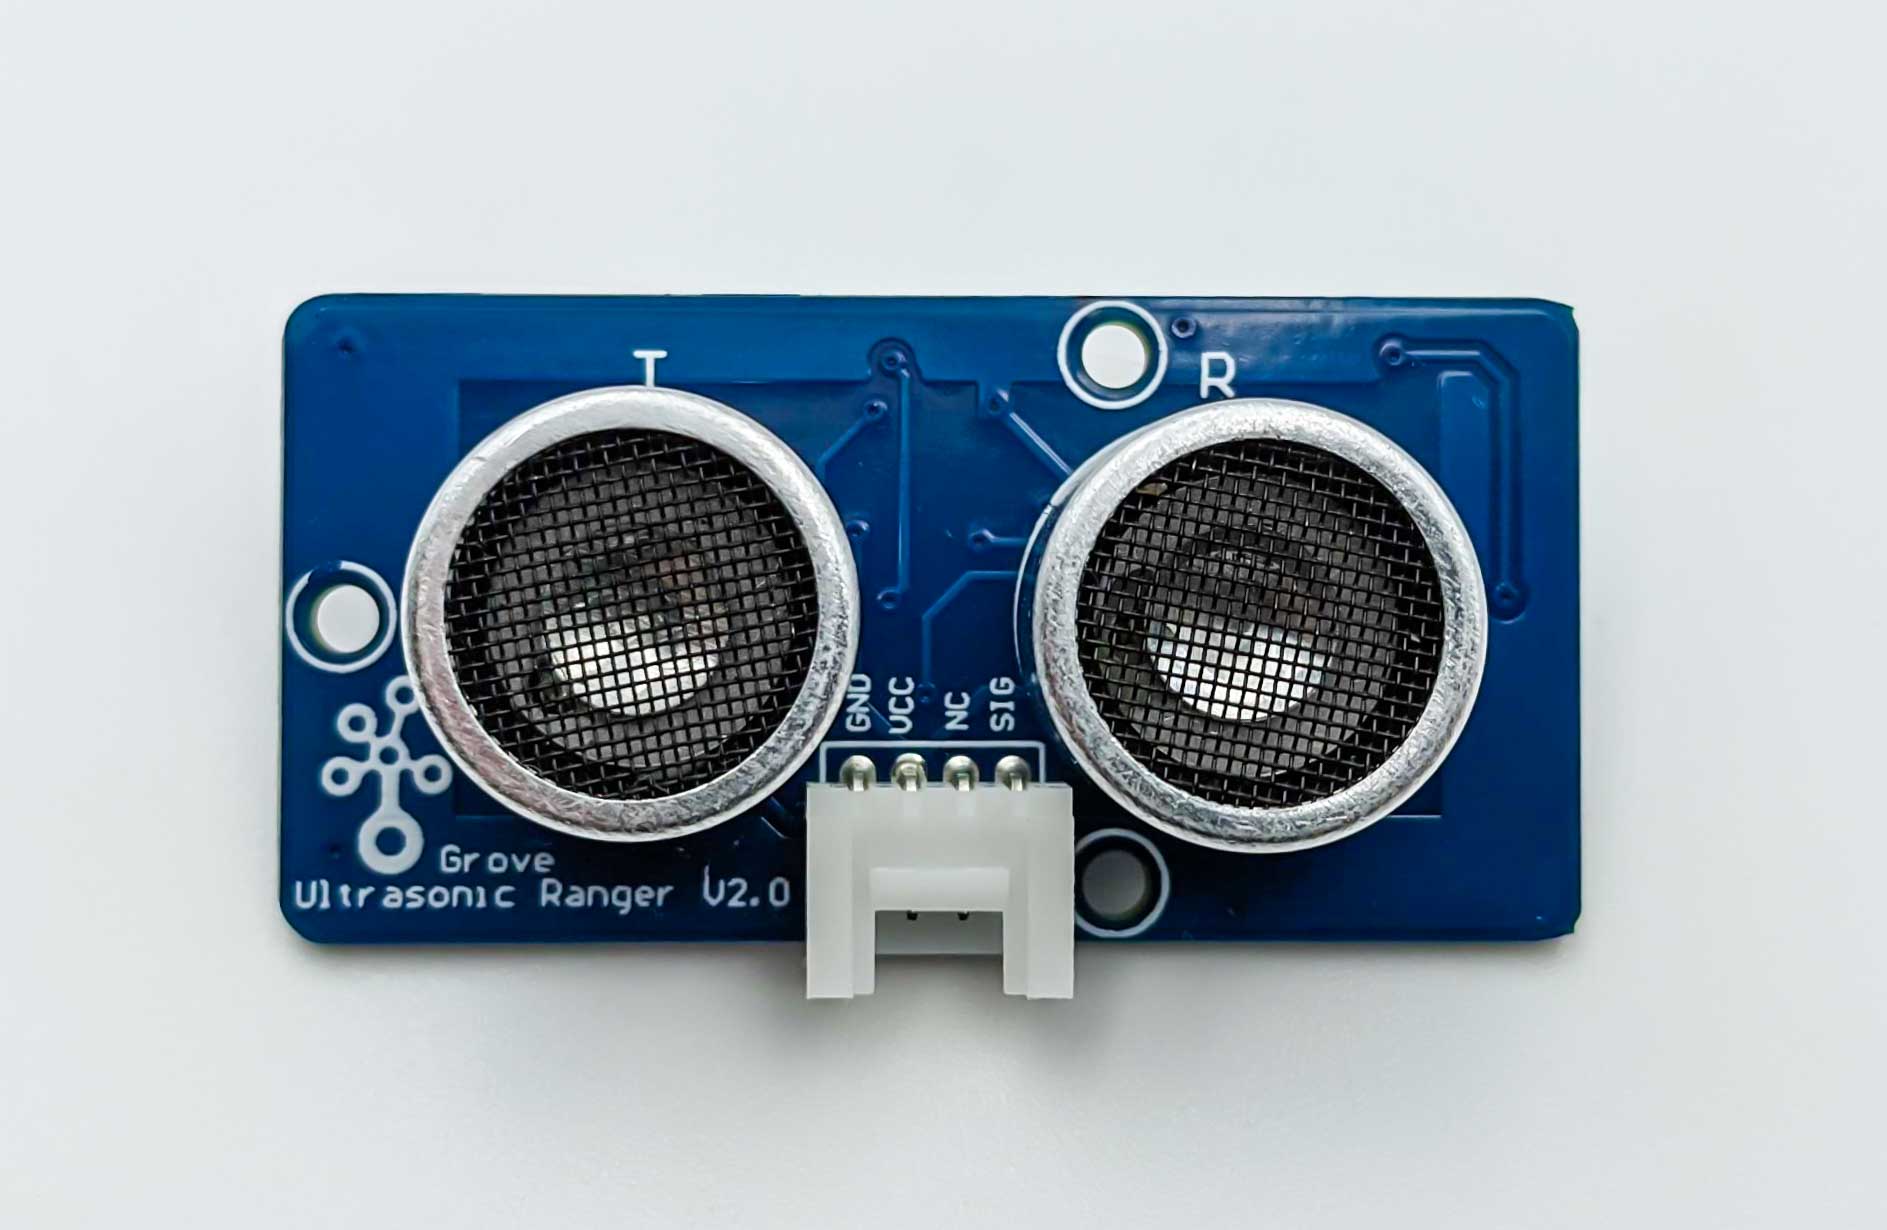
It is a non-contact distance measurement module which works at 40KHz and can be interfaced via a single GPIO. For example physical pin 11 of the Raspberry Pi connected to the SIG pin on the sensor can provide the PWM communication.
| Parameter | Value/Range |
|---|---|
| Operating voltage | 3.2~5.2V |
| Operating current | 8mA |
| Ultrasonic frequency | 40kHz |
| Measuring range | 2-350cm |
| Resolution | 1cm |
| Output | PWM |
| Size | 50mm X 25mm X 16mm |
| Weight | 13g |
| Measurement angle | 15 degree |
| Working temperature | -10~60 degree C |
| Trigger signal | 10uS TTL |
| Echo signal | TTL |
The code that will be used to wrap this sensor as a ROS node can be found in the Grove Raspberry Pi repository on GitHub.
As an alternative we could use the HC SR04.
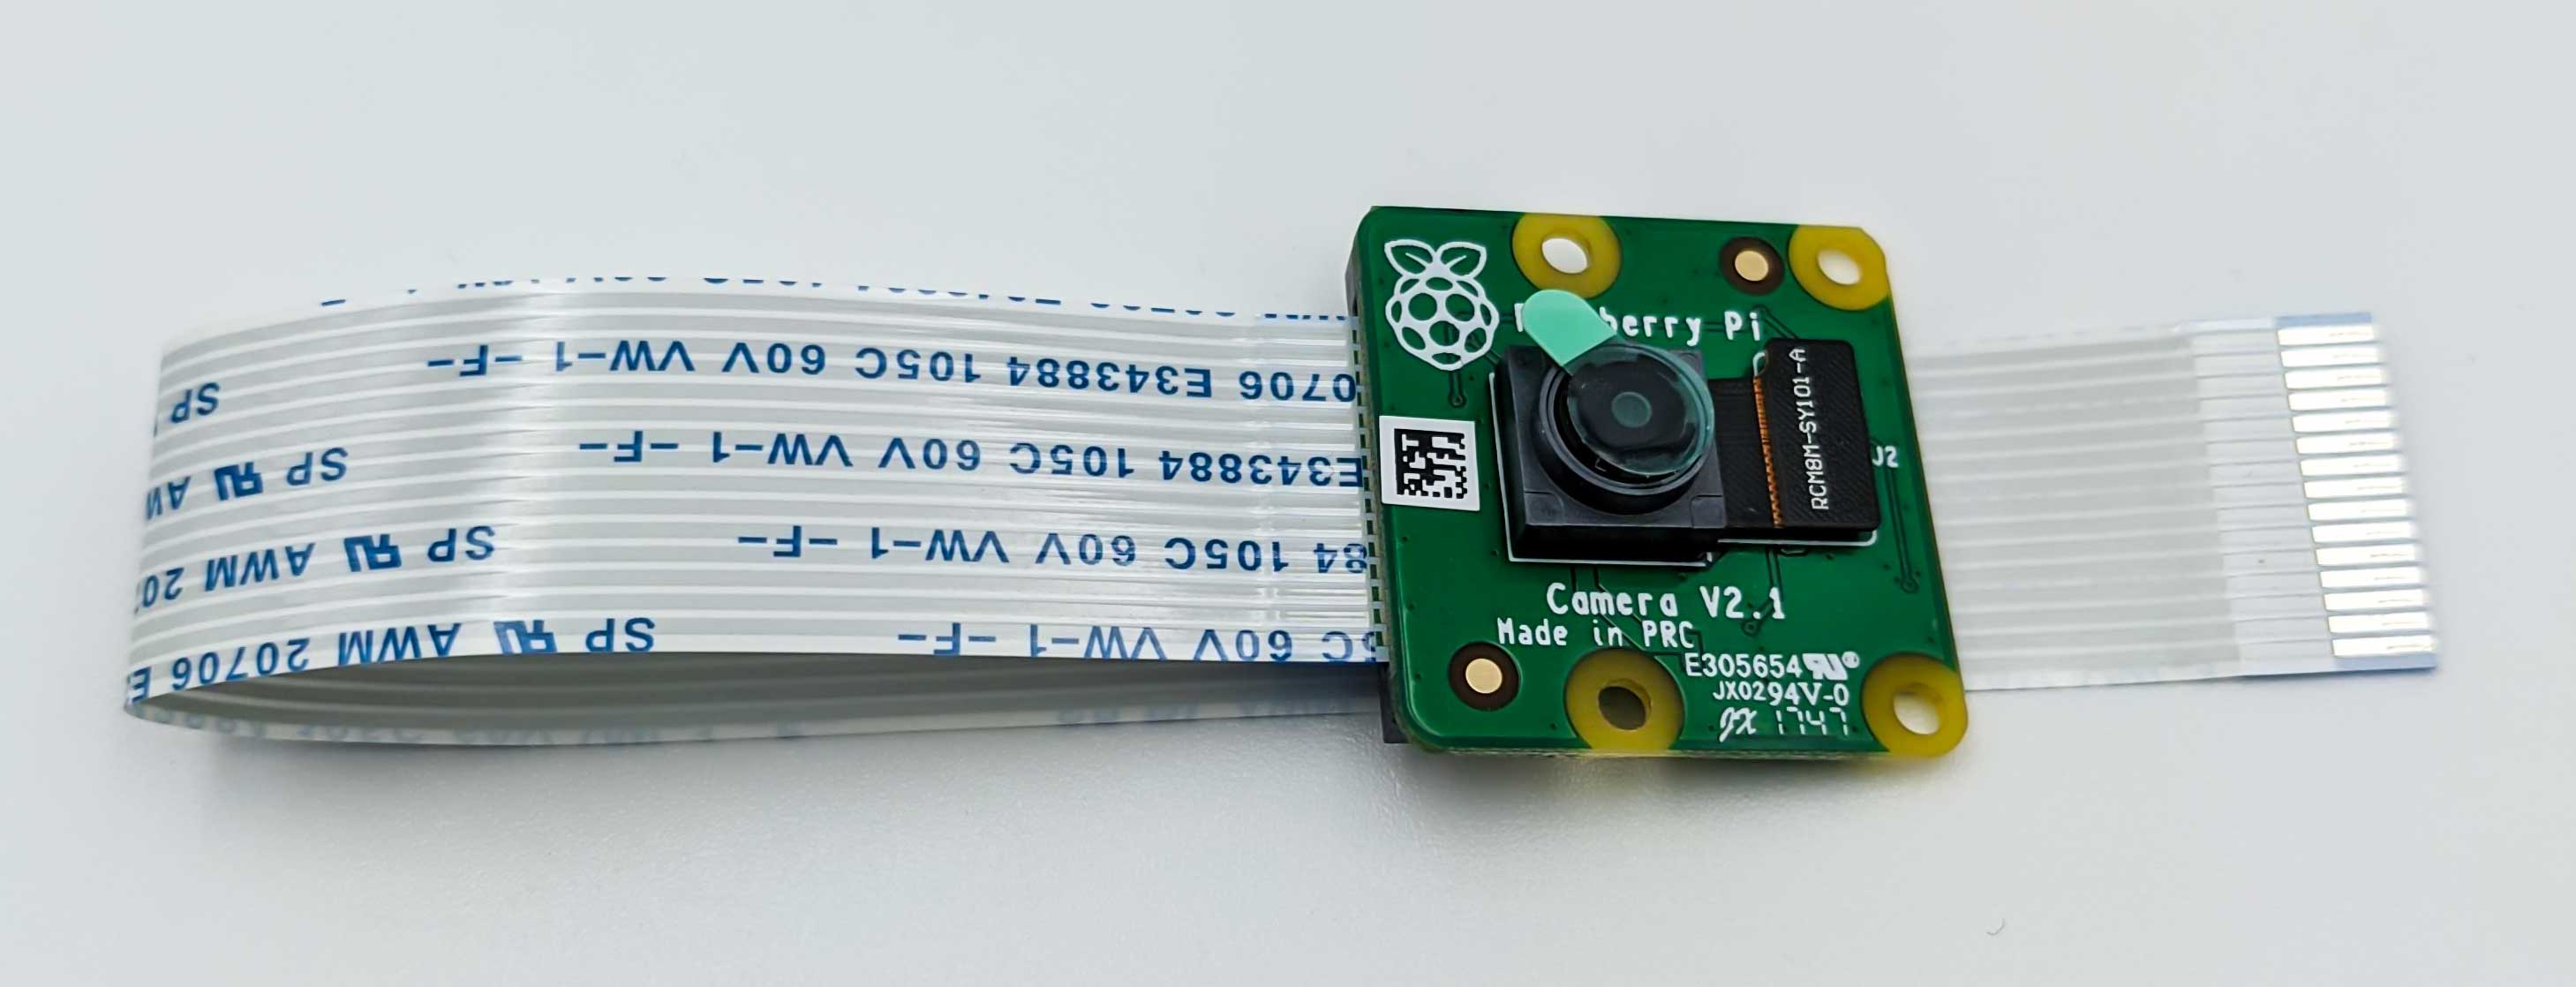
Camera
Localization
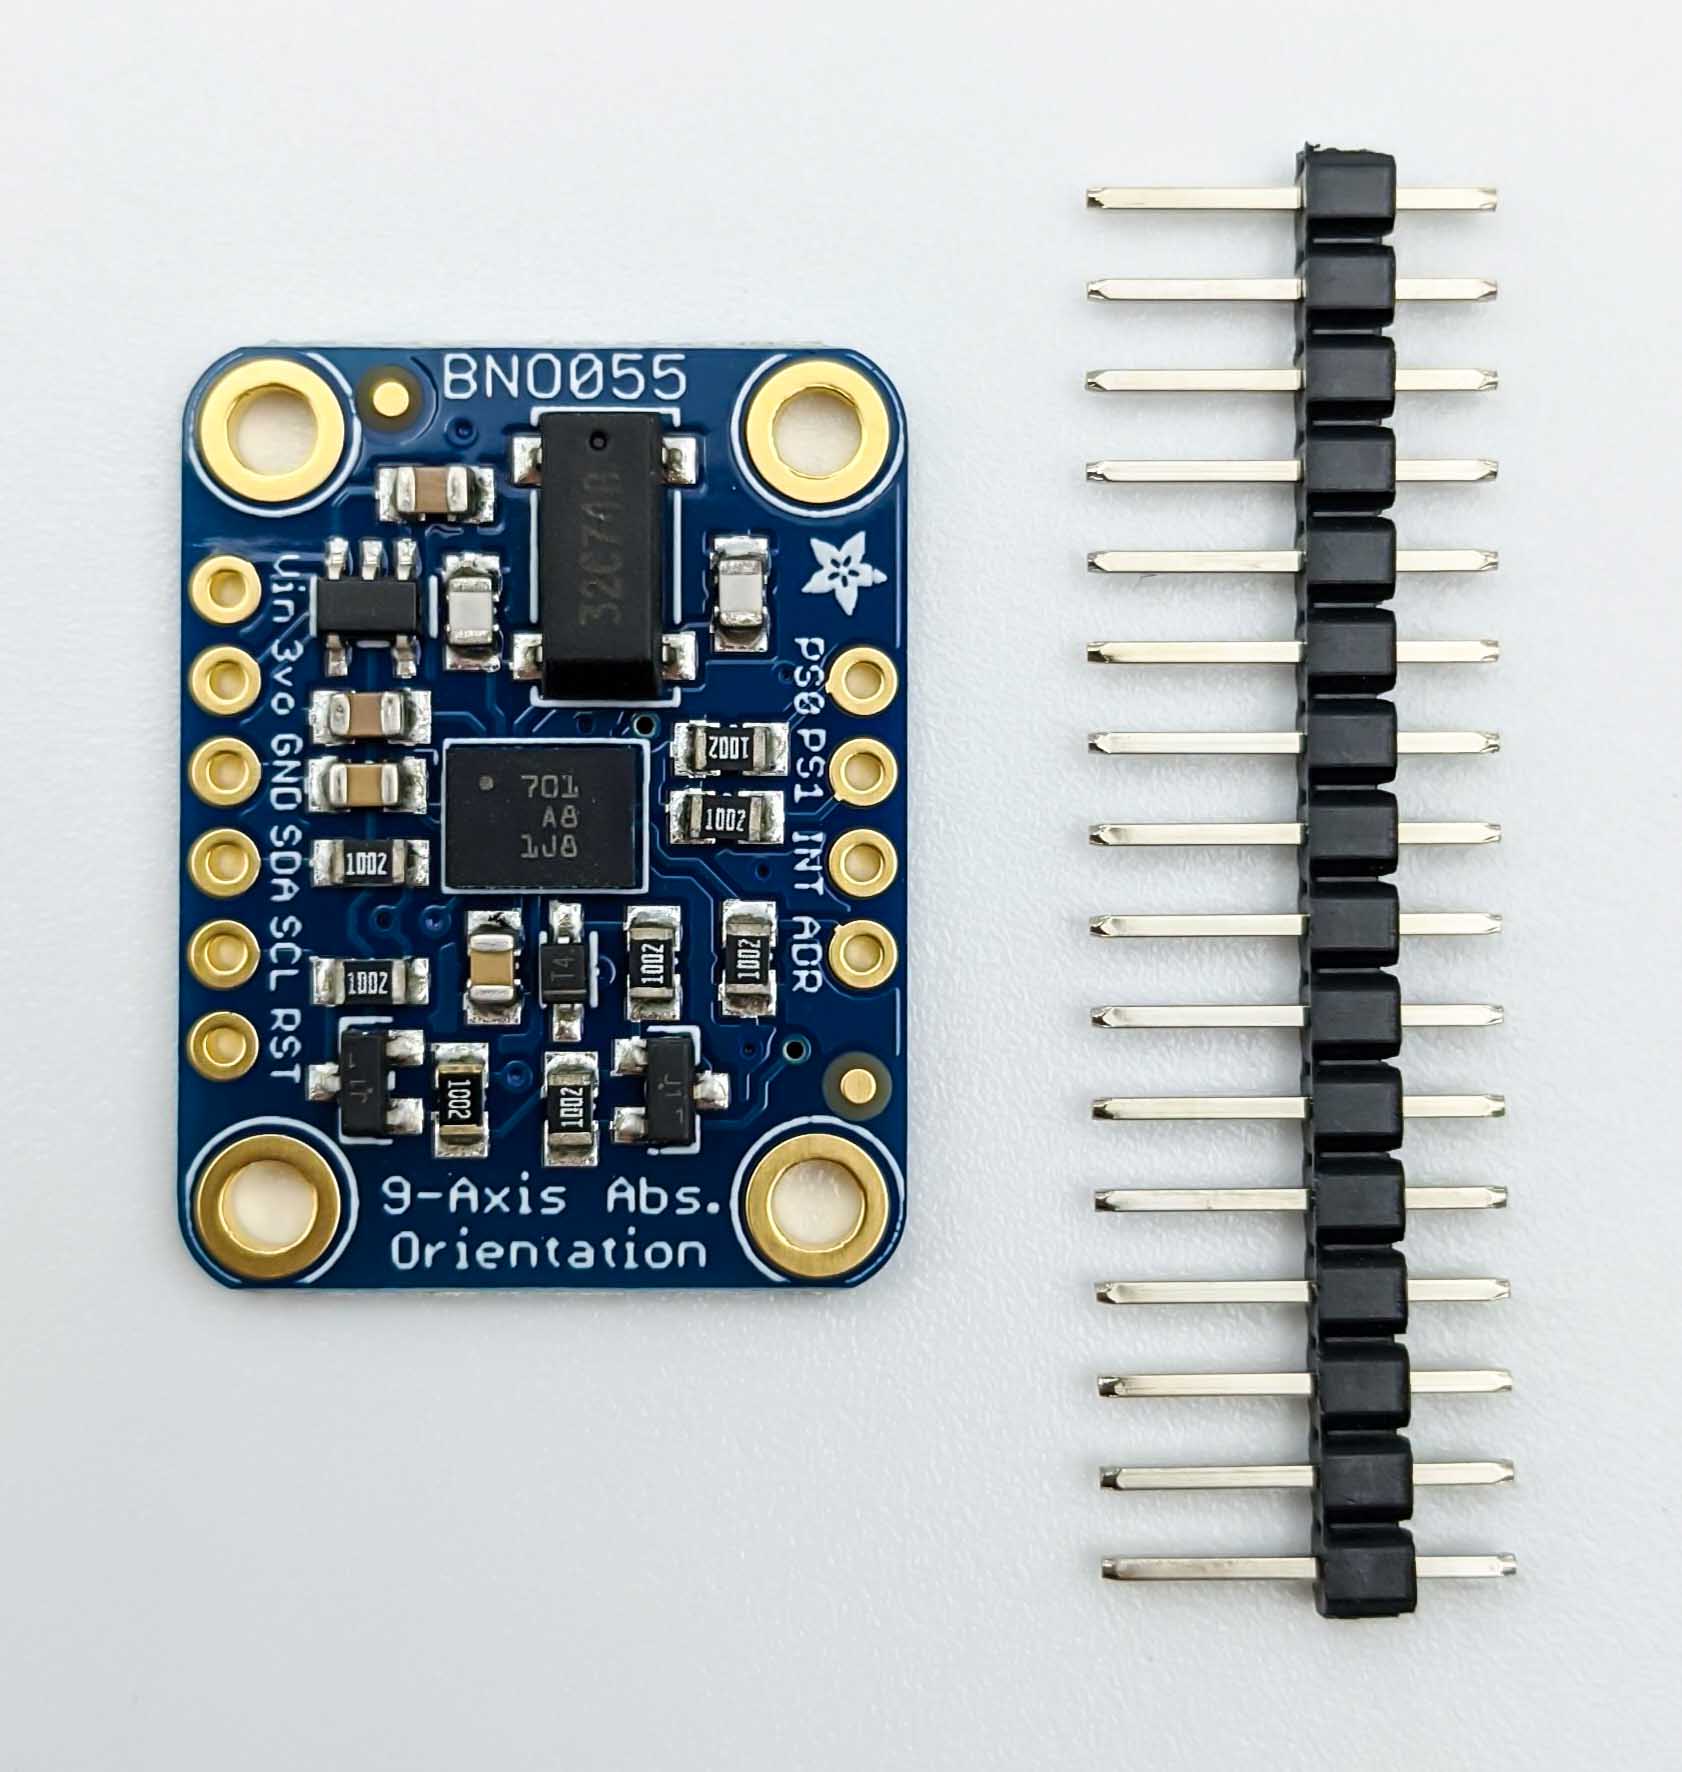
Inertial Measurement Unit
An intertial measurement unit (IMU) measures the acceleration and orientation through gyroscopes directly. Other states such as the velocity can then be calculated. For this the Adafruit 9-DOF Absolute Orientation IMU Fusion Breakout - BNO055 is used.
Odometry
For the used odometry sensor see the section below Motor and Wheel Encoder
Alternative Optical Sensor
To estimate the change in position over time (odometry) the robot will utilize an optical speed sensor. Specifically the Joy-IT Speed Sensor which combines a LM393 (datasheet) comperator and a H206 slot-type opto interrupter.

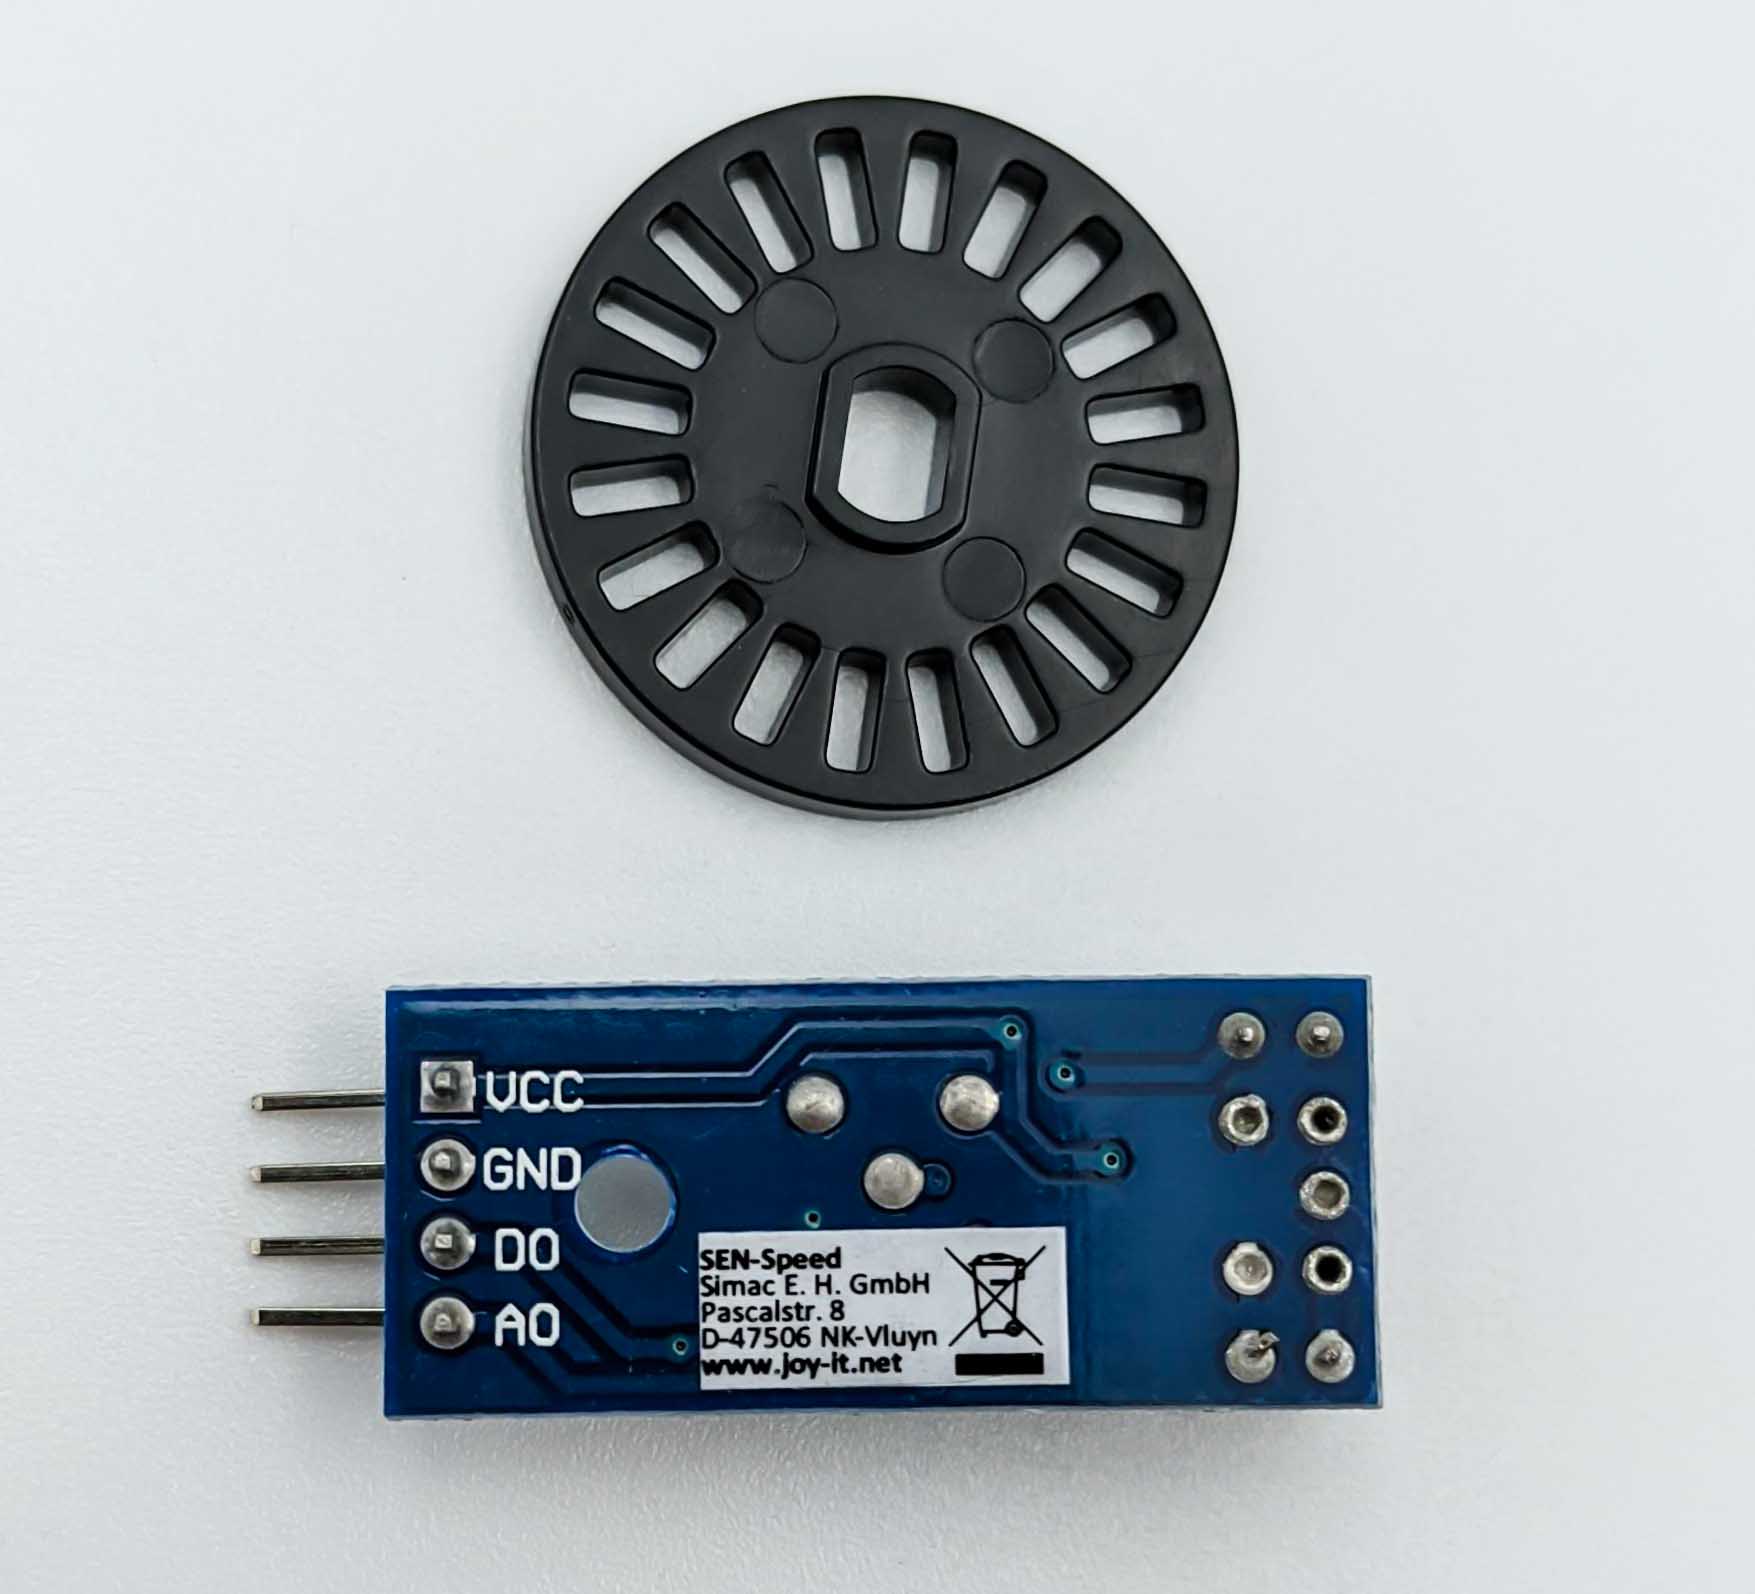
Technical Specifications:
- Dimensions: 32 x 14 x 7mm
- Operating voltage: 3.3V to 5V (we will use 3.3V)
- Two outputs: Digital (D0) and Analog (A0)
References: https://dronebotworkshop.com/robot-car-with-speed-sensors/
Actuators
Control
To drive the two motors of the car kit we use the Grove - I2C Motor Driver V1.3 from Seeed Studio.

Motor and Wheel Encoder
The DG01E-E Hobby Motor has a quadrature encoder built in, which makes it easy to assemble the robot and saves space because of no additional (optical or magnetic) wheel encoders.

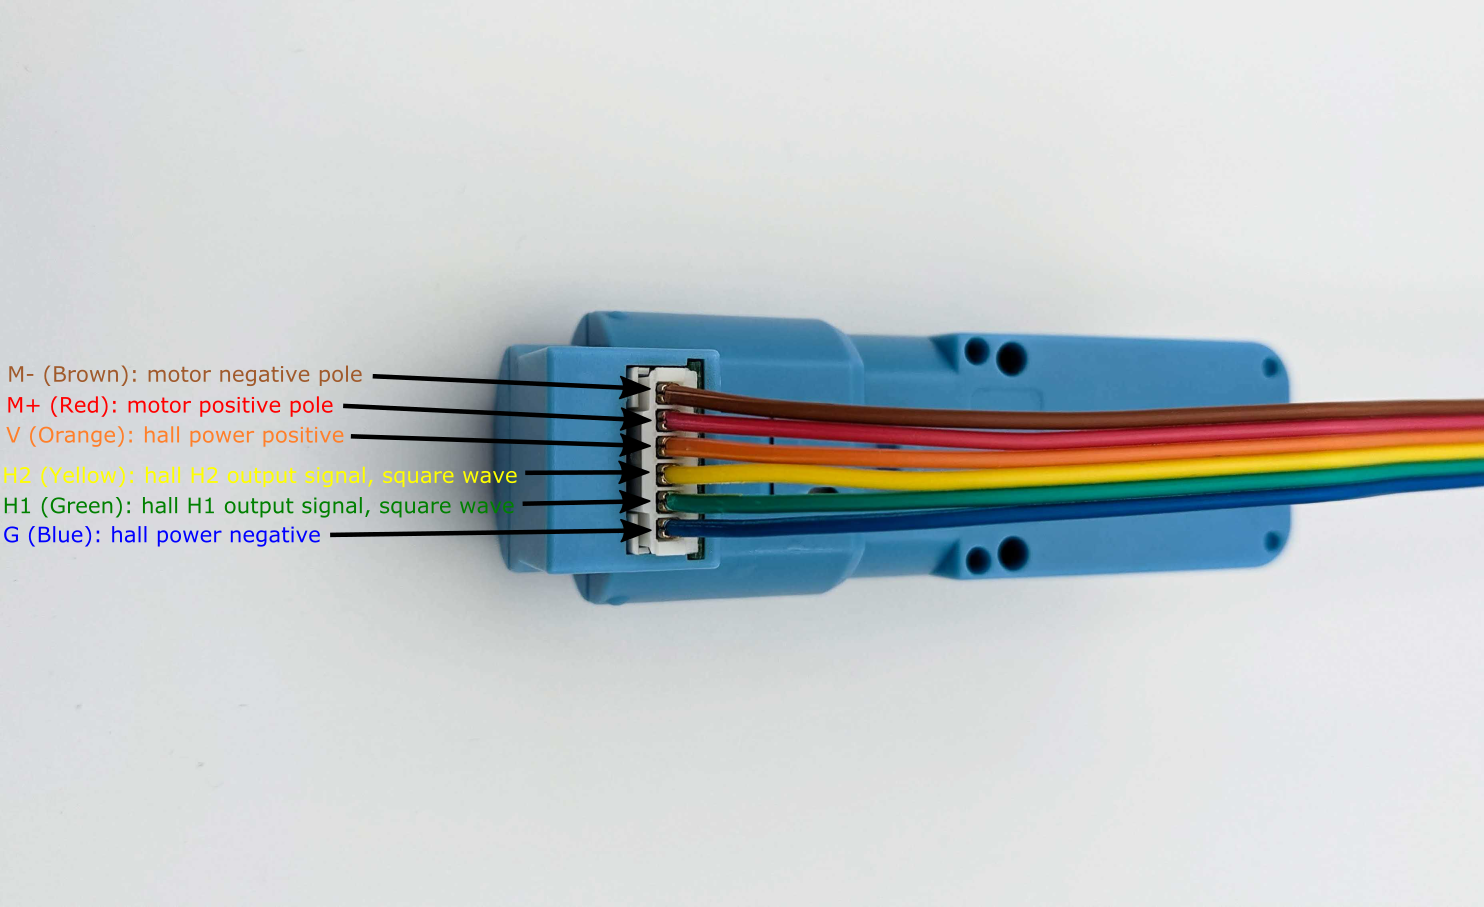
For more details such as the encoder pulses per revolution see the documentation on Motor and Encoder.
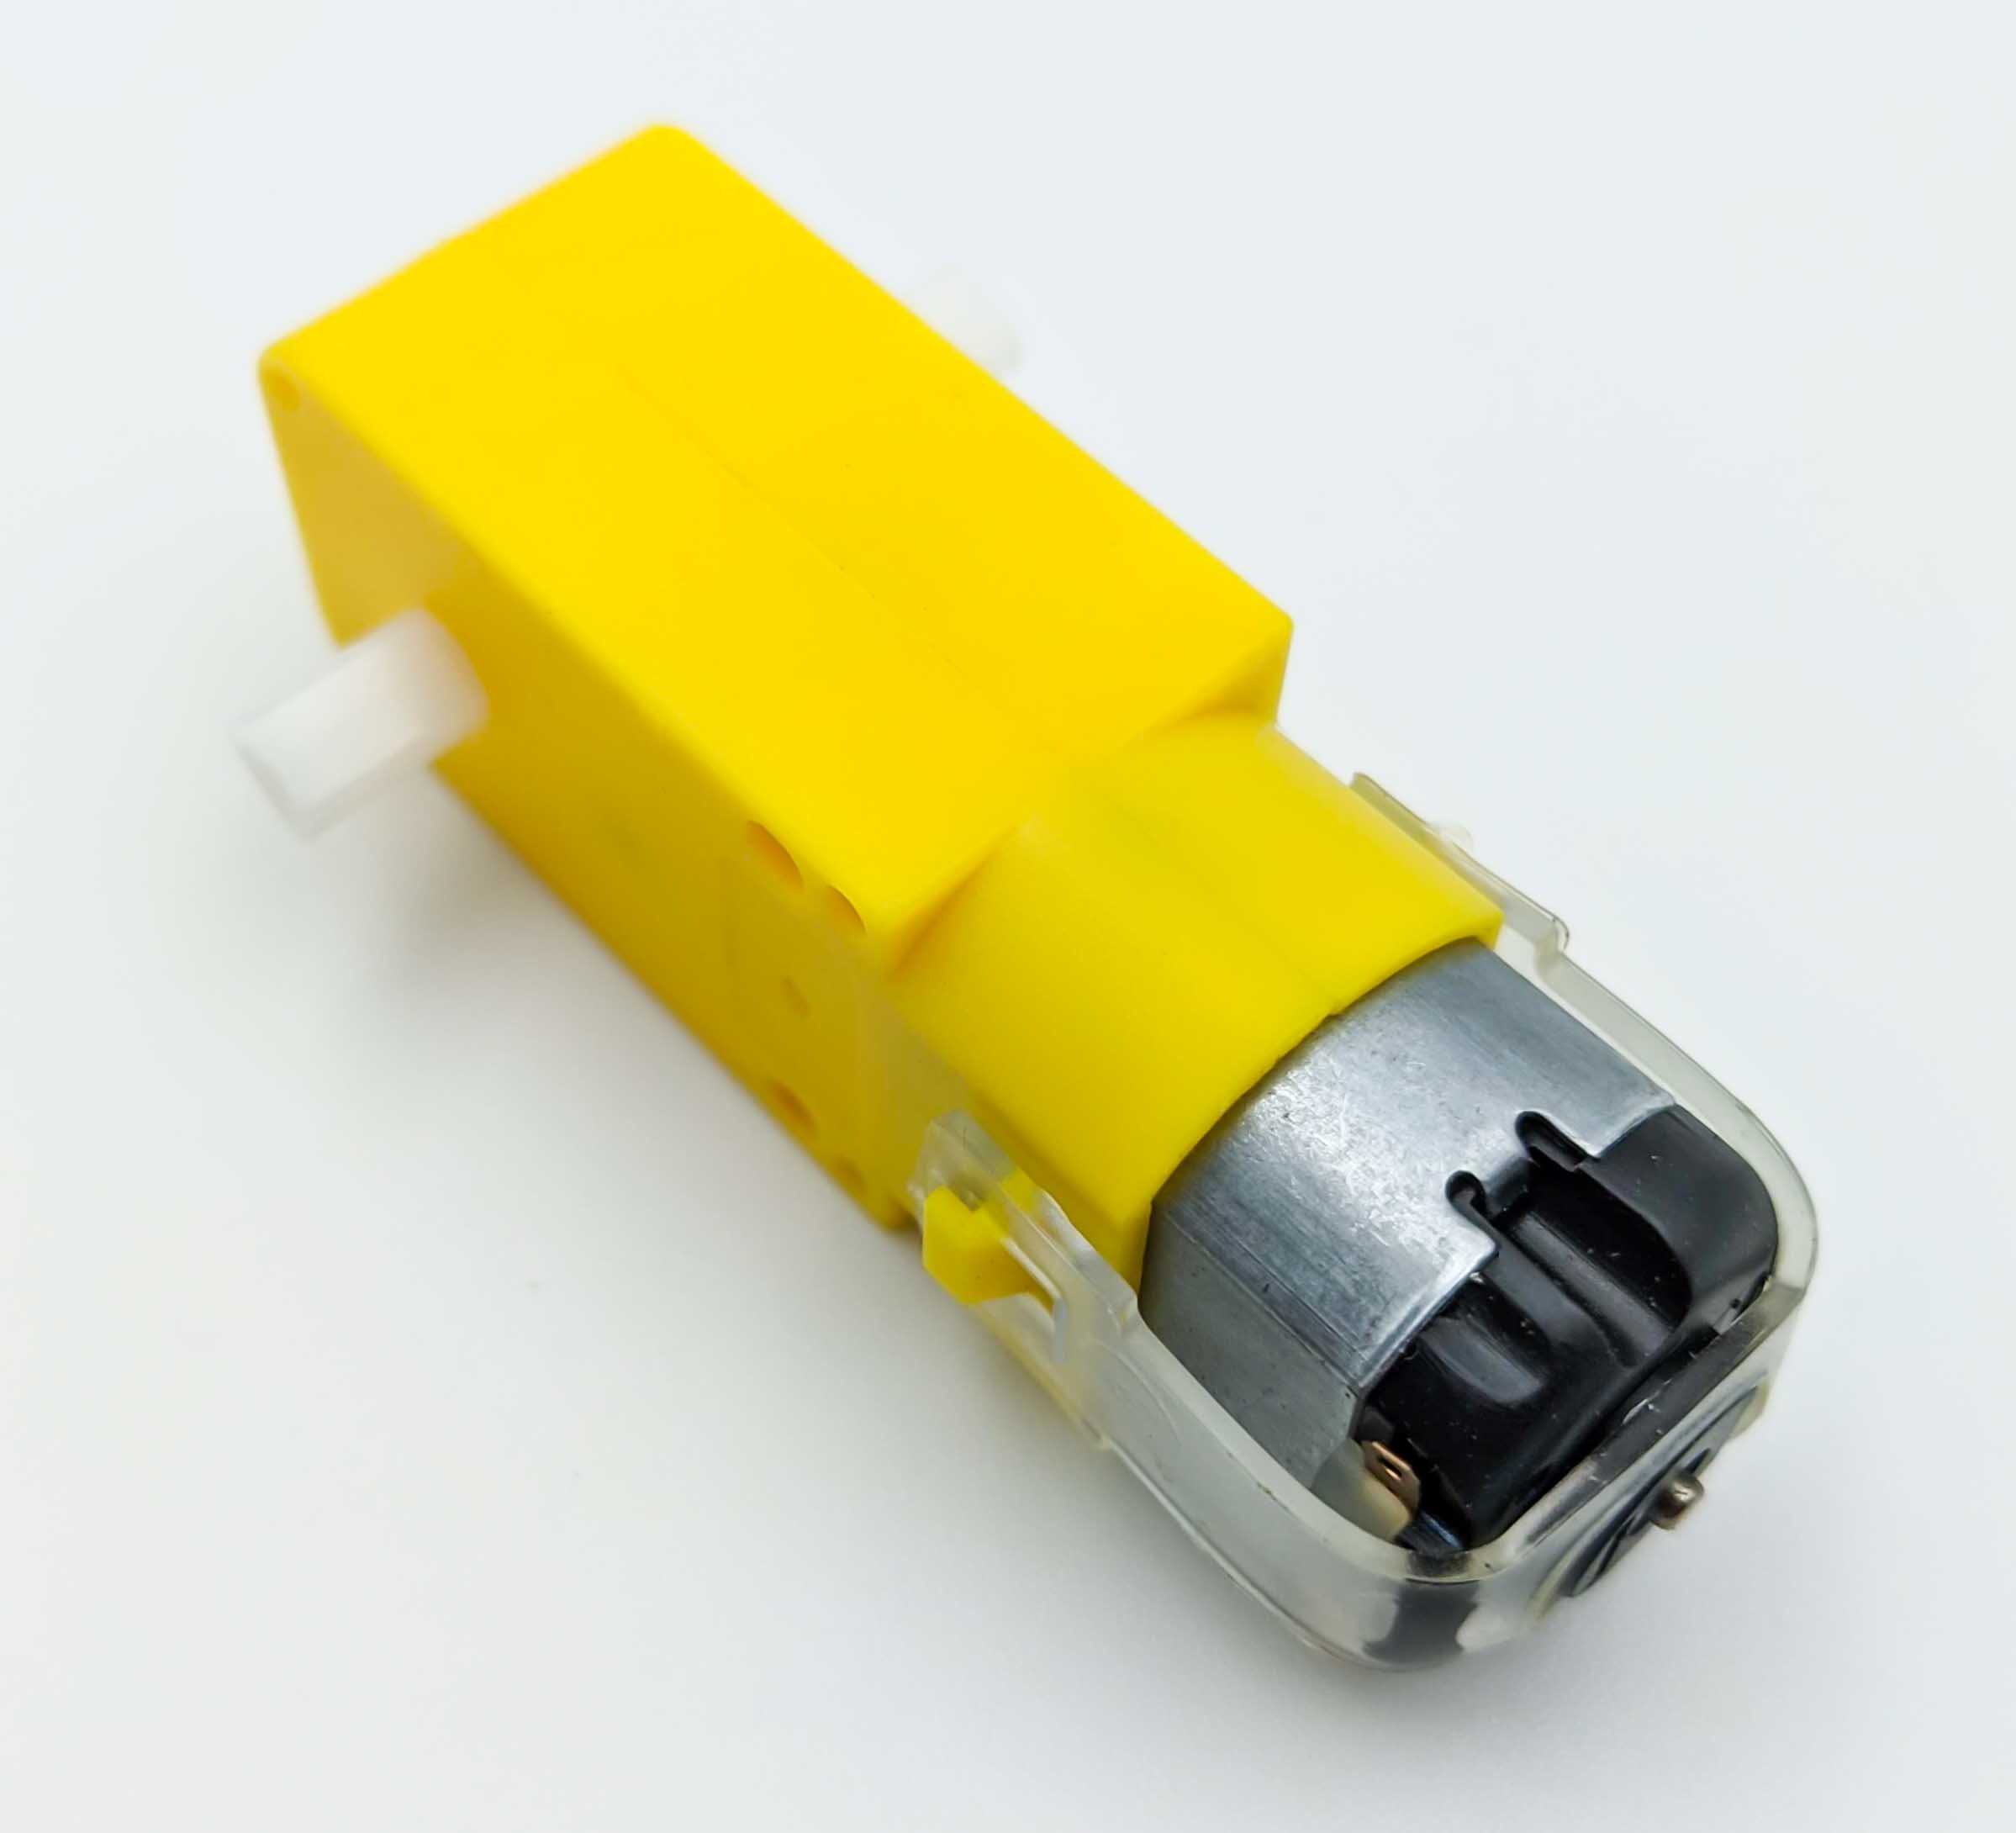
Alternative Brushed Gear Motor
Brushed Gearbox Motor
Human Machine Interface (HMI)
The human machine interface is the layer between the user and the robot.
OLED Display
To update the user with status messages the robot has a 0.96 inch oled (organic ligth emitting diode) display. The oled display used is the Grove I2C 0.96 inch OLED display from Seeed Studio.
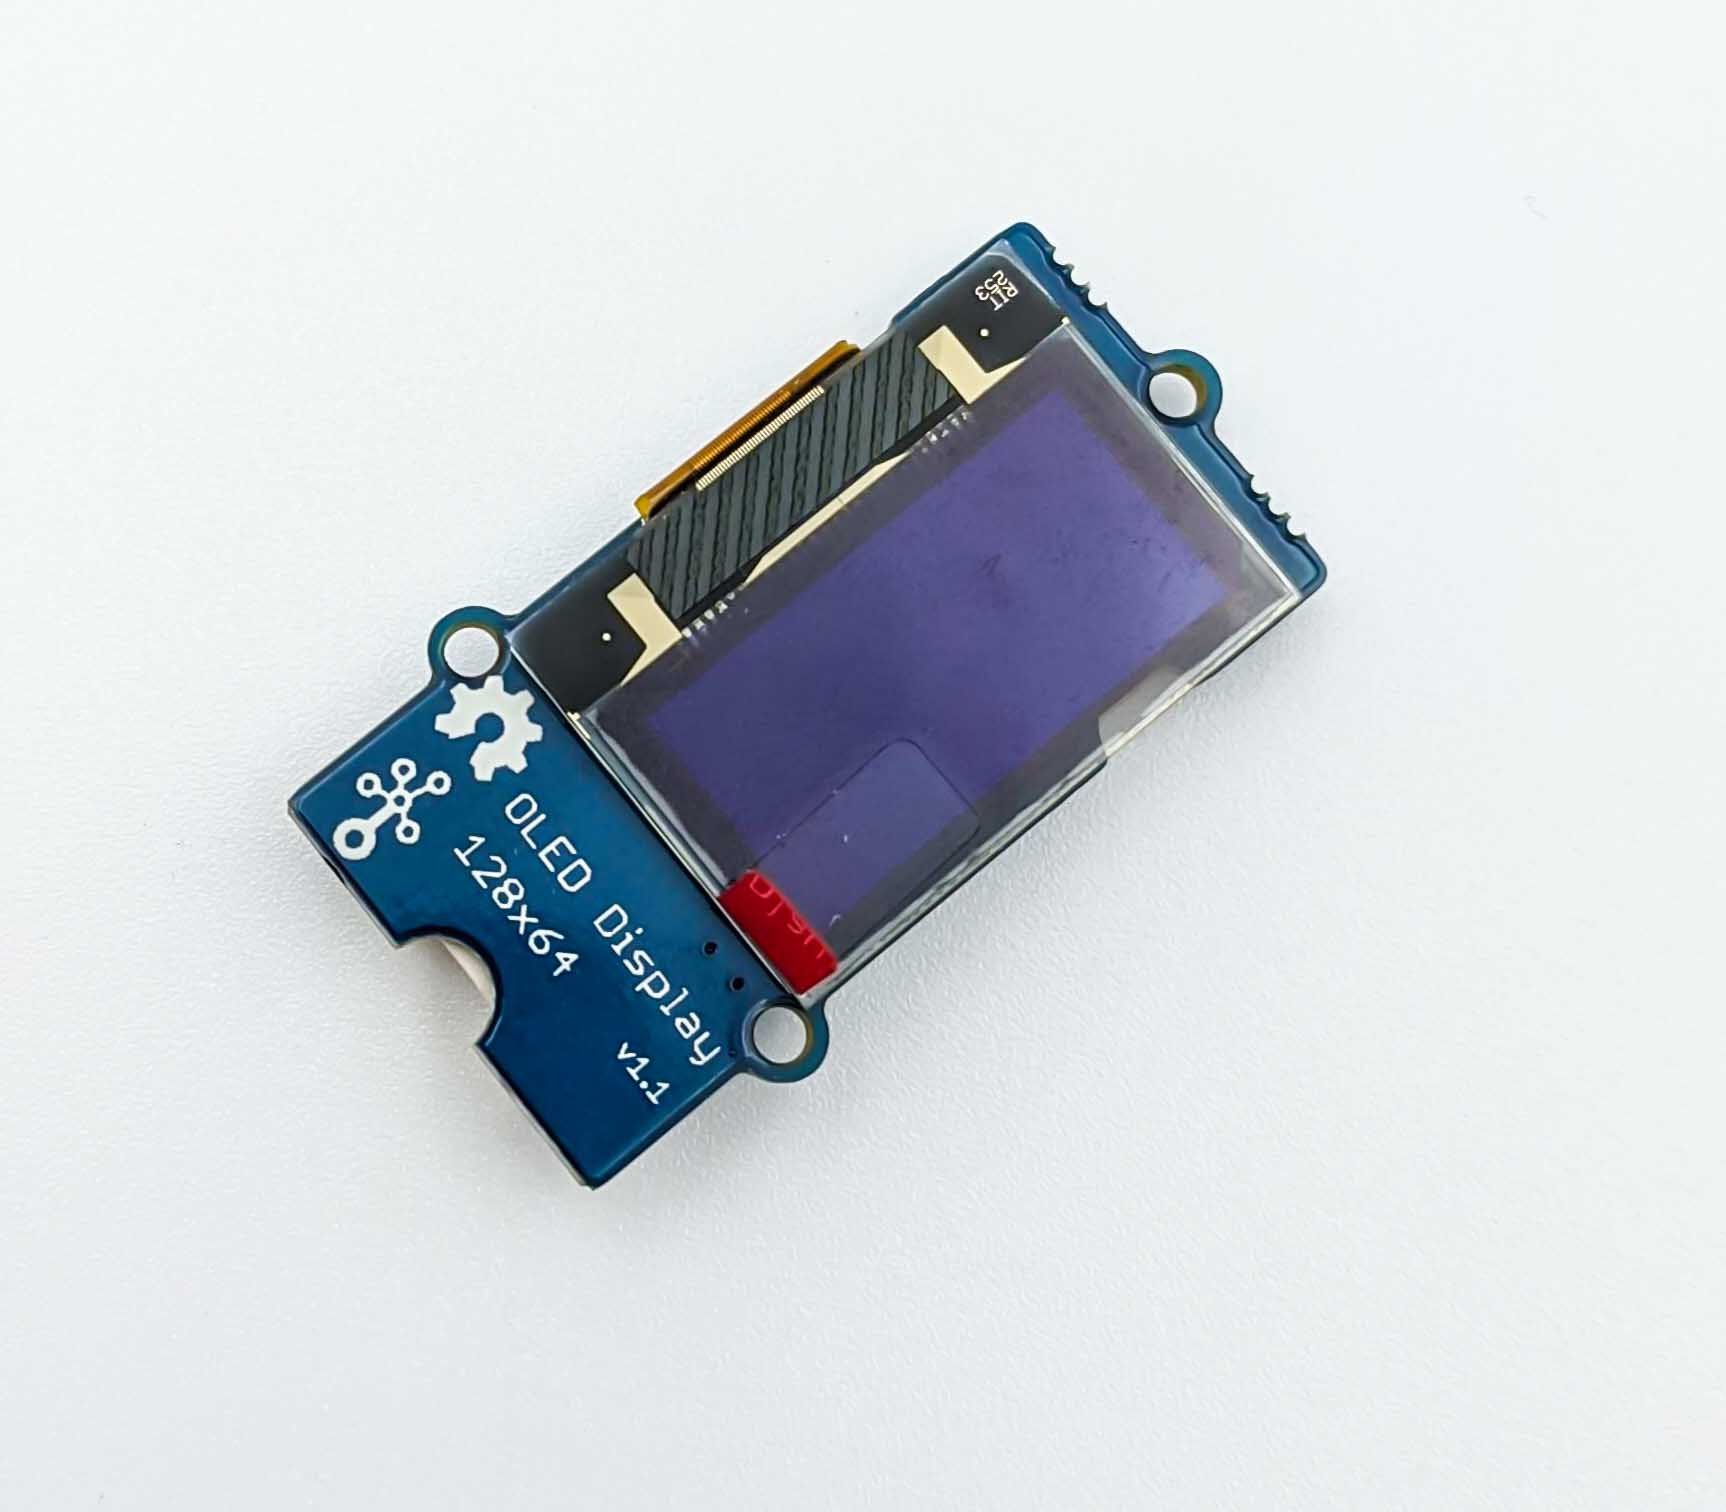
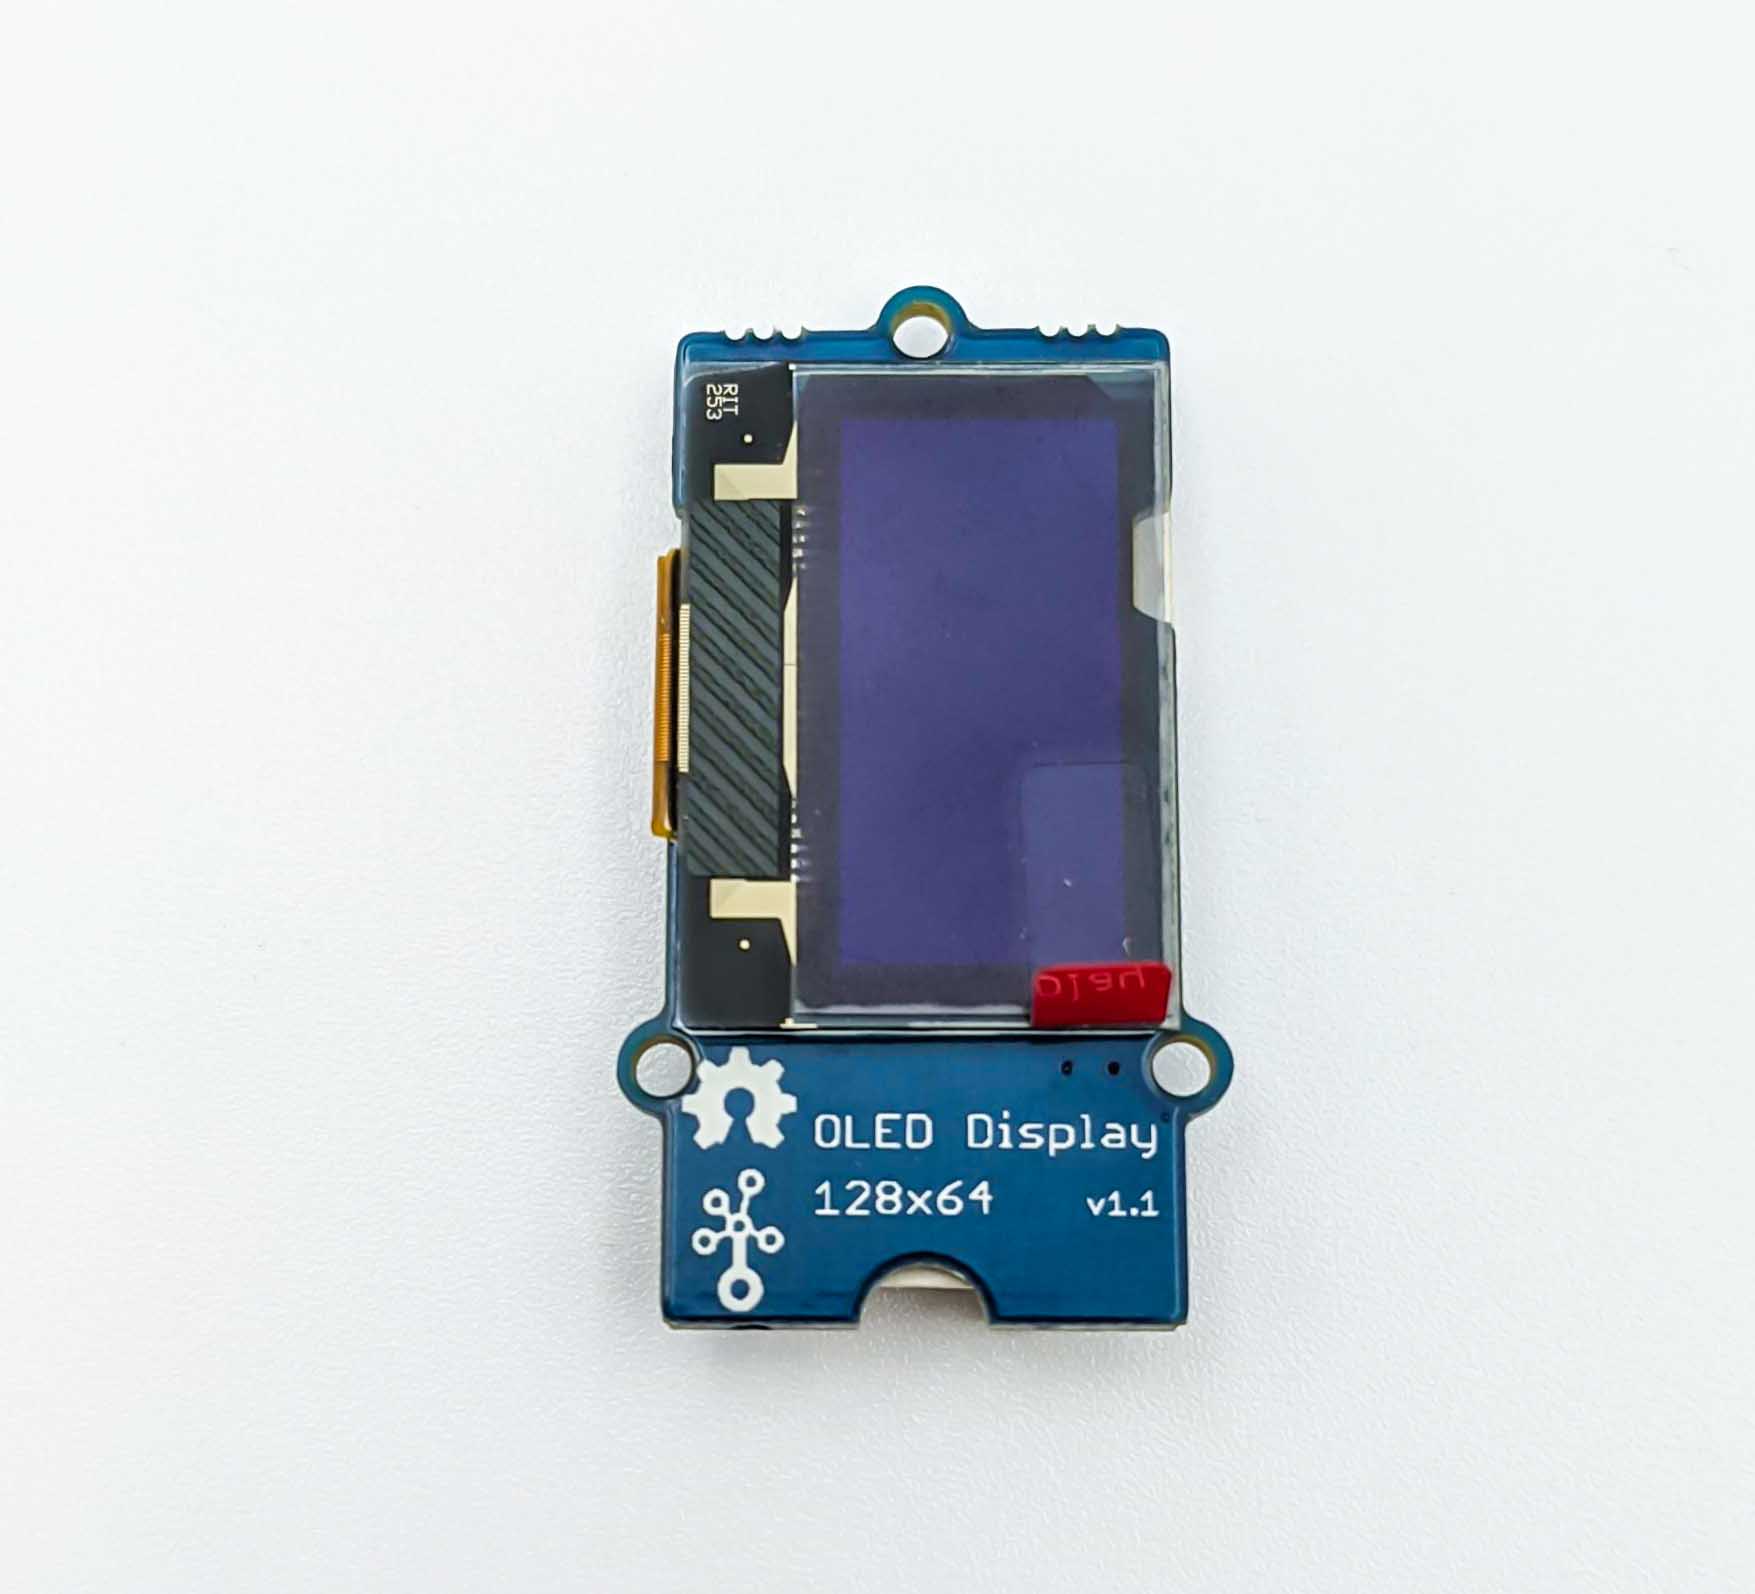
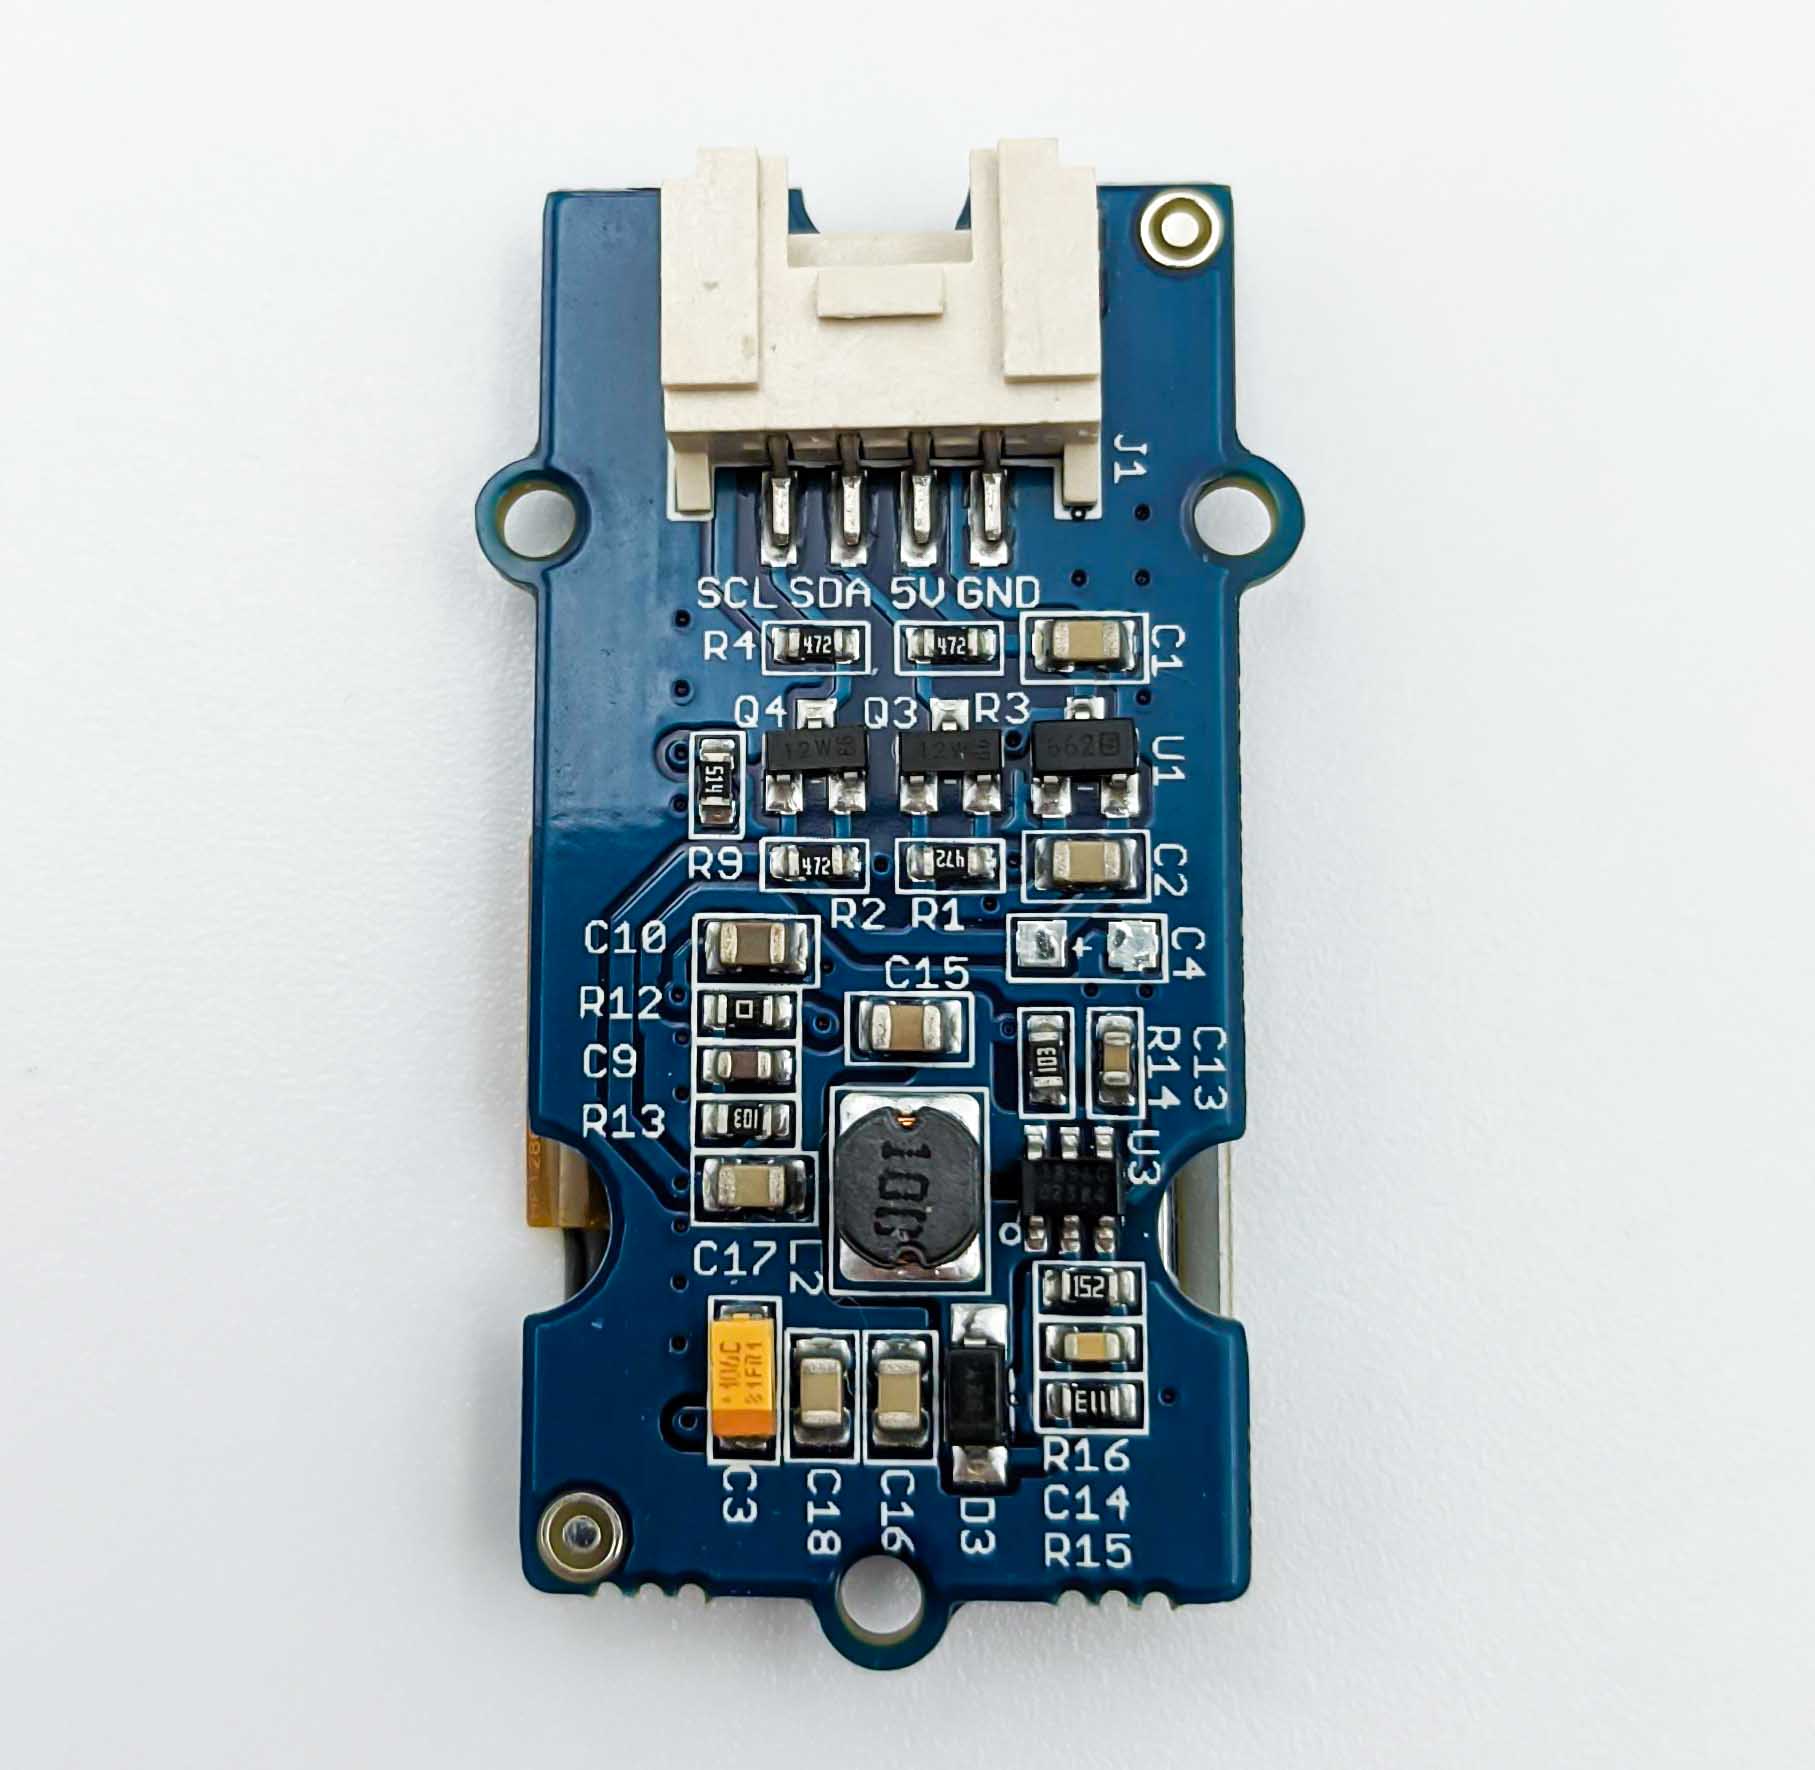
The display is connected to the RPi via I2C on the physical pins 27 (scl) and 28 (sda), refere to the pinout.